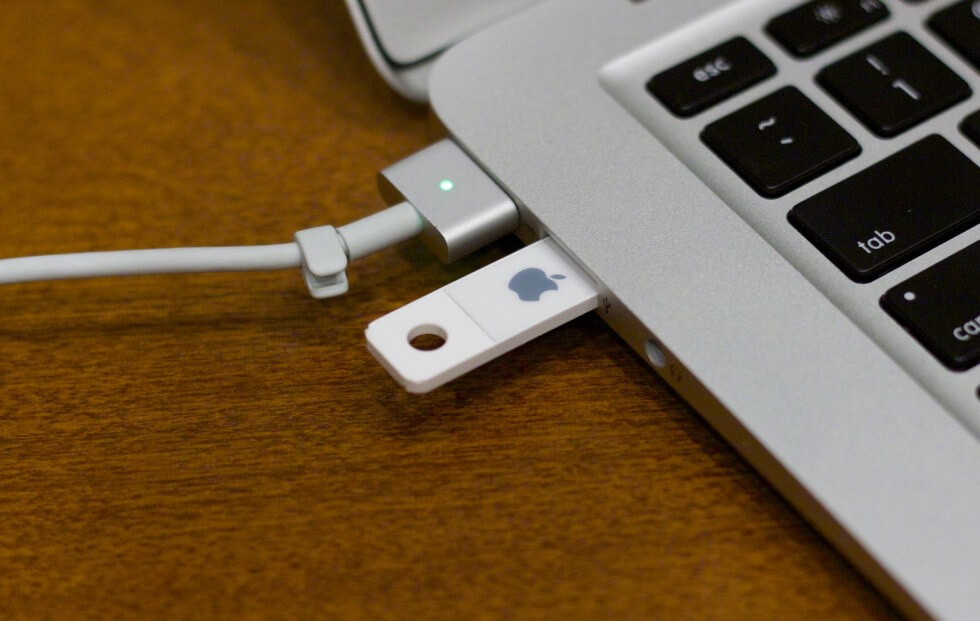
One of the most useful devices that we have nowadays is a USB drive. It is because of its wonderful usage of us allowing us to store more data in it. By the use of a USB device, you will be able to load up your files or you can also make use of it as a backup method.

Another use of a USB device is that you can also make use of it and load your songs as well as your movies and have it shared with your friends. However, there are instances the time will come when you will be needing the methods of how to format USB on Mac device.
People Also Read How Do You Speed Up Your Mac? Why Is My MacBook Pro So Slow and What to Do about It
Part 1: Things to Know When Formatting USB on MacPart 2: How Can I Format USB Flash Drive on A MacPart 3: Formatting USB Drive to FAT32 Using A MacPart 4: Removing Files from Mac – Unrecoverable
Part 1: Things to Know When Formatting USB on Mac
- You should know that flash drive is by default formatted for those Windows PC. And because of that, you will be needing to format your USB device using a Mac OS file for you to be able to have your USB device compatible.
- Your USB drive comes with limited space and with that, getting it formatted will allow you to get more space.
- Any USB device can become corrupted or can be infected by a virus. And with that, the only way for you to remove that virus is for you to format it.

Part 2: How Can I Format USB Flash Drive on A Mac
Formatting your USB drive on Mac is actually very easy to do. All you have to do is to follow the steps that we have included below.
Step 1: Go ahead and connect your USB device to your Mac. Make sure that your USB device is connected properly to your Mac.
Step 2: After that, open Applications and then choose Utilities.
Step 3: Then in Utilities, choose Disk Utility. You will then be taken to the Disk Utility page.
Step 4: From there, on the left side of your screen, you will be able to see a menu wherein you can find the name of your USB drive. So just select it.
Step 5: Once you have chosen your USB device name, start with the process. Just go ahead and choose the Erase tab from the right side of your screen.
Step 6: Then, click on the drop-down menu next to format. This will then show you some options for the formatting process. From there, you will be able to choose any format that you like. However, if you would want it to become fully compatible with your Mac, then choose the option “Mac OS Extended (Journaled).
Step 7: Then after that, you can now choose to set the name for your USB drive before you fully format your device. All you have to do is to click on the option next to Name and then type in any name that you want.
Step 8: Once you have set everything, then you can start with the formatting process. All you need to do is to click on the Erase button located at the lower right corner of your screen.
Step 9: Then, a pop-up box will then appear on your screen. From there, all you have to do is to click on the Erase button for you to confirm the formatting process. And once that the process is complete, then you will be able to use your USB device on your Mac and any other PC that you have.
Part 3: Formatting USB Drive to FAT32 Using A Mac
The very main reason why you will be needing to format your USB drive to FAT32 is so that you will be able to use the device on both your Windows and Mac devices. The FAT32 has the ability to read from and write whether you are using a Mac or a Windows PC. Now, if you would want to know how you can do this, here is a step-by-step guide that you can follow.
Step 1: Go ahead and have your USB drive connected to your Mac.
Step 2: Once your USB is properly connected, go to the Disk Utility page.
Step 3: From there, choose your USB drive.
Step 4: Once chosen, click on the Erase option.
Step 5: From there, you will be able to type in the formatted disk name and then choose MS-DOS (FAT32) or you can also choose ExFAT from the menu.
Step 6: Then, click on Erase and the process will then start. This may take some time though depending on the size of your USB drive. And once that the process is complete, then you can use your USB drive on your Mac or on a Windows computer.

Part 4: Removing Files from Mac – Unrecoverable
Now, in case that you have some files on your Mac that you think is not needed anymore but at the same time, they also contain important details, then deleting them in the way that no one will be able to recover it will be a great way. This way, they will be able to remain safe even if someone tries to access your Mac.
And with that, you will be needing a powerful tool to do this. And what we can recommend to you is by using the TechyCub Mac Cleaner.
TechyCub Mac Cleaner is considered to be a virtual toolbox that you can use. By using this tool, you will be able to manage the files on your Mac. There are several features that you can use. And one of which is called Junk Cleaner.
TechyCub Mac Cleaner has the ability to scan all junk files from every corner of your Mac. Then it can also help you in removing these files completely from your Mac without being recovered by anyone else, even you. It also has other features like App Uninstaller, Shredder, Duplicates Finder, Similar Image Finder and more to help you manage your files.
And because of that, you will be able to keep that certain file safe from anyone who would want to get it or recover it from your Mac.For you to know how this feature works, here is a step-by-step method that you can follow.
Mac Cleaner
Scan your Mac quickly and clean junk files easily.
Check the primary status of your Mac including the disk usage, CPU status, memory usage, etc.
Speed up your Mac with simple clicks.
Free Download
Step 1: Get TechyCub Mac Cleaner
The first thing that you will be needing to do is to download TechyCub Mac Cleaner from www.techycub.com. And once done, install it on your Mac.
Step 2: Open Up the Program
After getting TechyCub Mac Cleaner, have it open on your Mac. Now, on the main page of the software, you can check out the status of your Mac, such as Disk, Memory, and RAM usage.
Step 3: Select Junk Cleaner from the Above
You will also see modules from the left portion of your screen. As you can see, there is Junk Cleaner, App Uninstaller, Duplicates Finder and other features. So, simply select the Junk Cleaner module. You can also choose other module if needed.

Step 4: Select the File Manager Feature
Now, simply click the Scan button and the program will begin to scan and find all junk files on your Mac. This process is similar when it comes to other modules. All you need to do is wait for a few seconds till it is finished.
Step 5: Browse and Select Junks
After the scanning, TechyCub Mac Cleaner will show you all the junk files in category. Click one of them and you will see the files one by one. View and choose those files that you don't need anymore. Or you can also click "Select All" to auto select all of them.

Step 6: Clean Up Selected Junk Files
After selecting unwanted files, simply press the "Clean" button and the cleaning process will start automatically. When it is done, your Mac storage will be released. You will see how much space has been cleared on the interface of the program.

So as you can see, once you shred those files using TechyCub Mac Cleaner, those files will completely be gone from your Mac. At the same time, you can no longer have it recovered in any way. This means that those files that you have sherded using TechyCub Mac Cleaner will be kept secret and safe forever.
As you were able to figure out, formatting USB on Mac is actually not a difficult thing to do. All you need is to have the proper idea of how you can do it and the things that you should know before you go and format your USB device.
And by formatting it on a Mac, you will be able to have it used on any PC – whether you are using a Mac or a Windows computer – you will still be able to use your USB device with no hassle at all.
If you want to keep the files on your Mac safe by deleting them, then TechyCub Mac Cleaner is the best tool that you can actually have. This way, you will be able to remove those files completely from your Mac without getting to worry about someone recovering it – because they won’t be able to do that.
And also, TechyCub Mac Cleaner will also be able to help you in cleaning up your Mac the fastest way possible, yet very efficiently. This way, you will be able to free up more of your space and get your Mac to perform at its very best.
Mac Cleaner
Scan your Mac quickly and clean junk files easily.
Check the primary status of your Mac including the disk usage, CPU status, memory usage, etc.
Speed up your Mac with simple clicks.
Free Download
