FoneDog Screen Recorder
FoneDog Screen Recorder
Special Offer
Special Offer


By Nathan E. Malpass, Last updated: October 24, 2019
Your iPhone can have one of the best camera resolutions in the world. On the other hand, your Windows PC can be the tool you use to edit your photos. The computer might be the best tool to use when you want to use robust software such as Adobe Photoshop.
That’s why you might want to ask yourself the question, “How do I transfer photos from iPhone to PC (Windows 10)?" This is a query most people would want to know the answer to. In this article, we’ll show you how to move your images from your iPhone to that of your Windows 10 PC. We’ll give you various methods on how to do it.
But before you start, ensure that iTunes installed on your PC. We will be using the said application on some of the methods below. In addition, you will need a proper USB cable to connect your iPhone to your Windows 10 PC. Again, this is necessary for some of the methods we will outline. However, some can be done mainly through the Internet as well.
Method 01: Transfer Photos from iPhone to PC (Windows 10) Phone TransferMethod 02: Transfer Photos through Photos Application Of Windows 10Method 03: Export Photos to Windows 10 Using Windows ExplorerMethod 04: How Do I Transfer Photos from iPhone to PC Windows 10 Using DropboxMethod 05: How to Transfer Photos from iPhone to PC (Windows 10) Using iCloudMethod 06: How to Move Photos from iPhone to PC (Windows 10) Using EmailTo Wrap It All Up
Probably the best way to solve your “How Do I Transfer Photos From iPhone To PC (Windows 10)?” question is to use FoneDog Phone Transfer.
This is a great tool that allows you to move and transfer data from iOS devices, Android gadgets, and Windows PCs. Here’s are the steps you should follow in order to use it:
Download, install and launch FoneDog Phone Transfer on your Windows 10 PC.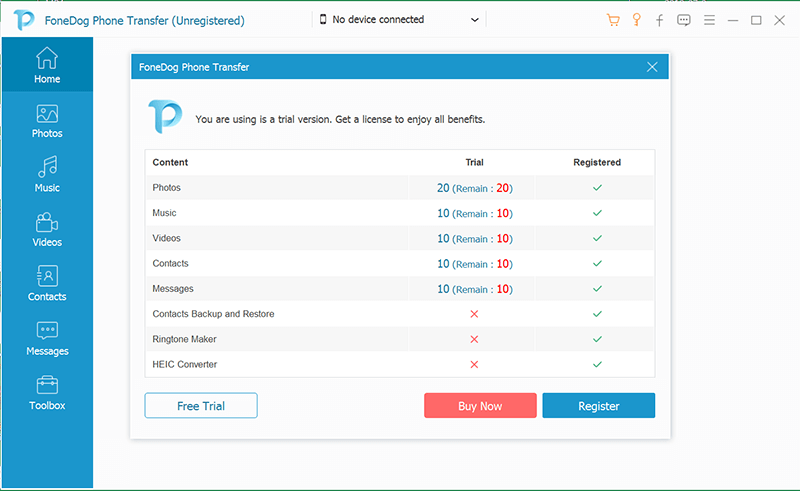
Connect the iPhone to the computer using the USB cable.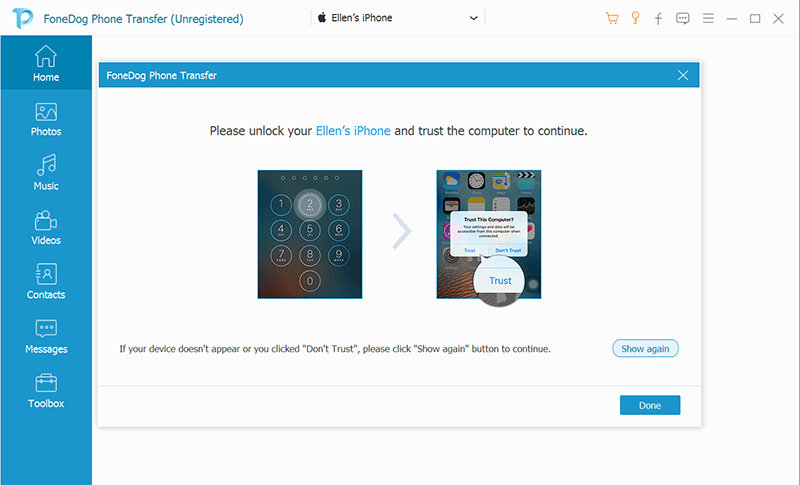
Select the photos you wish to transfer.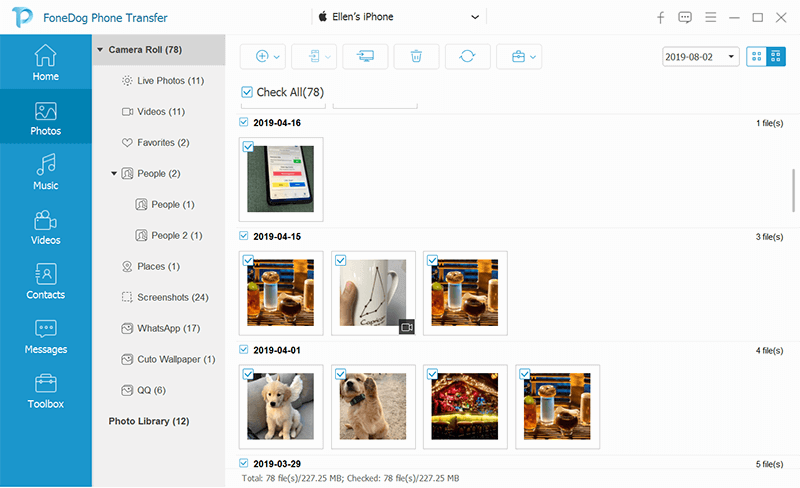
Transfer the files to your computer and wait until the moving process is complete.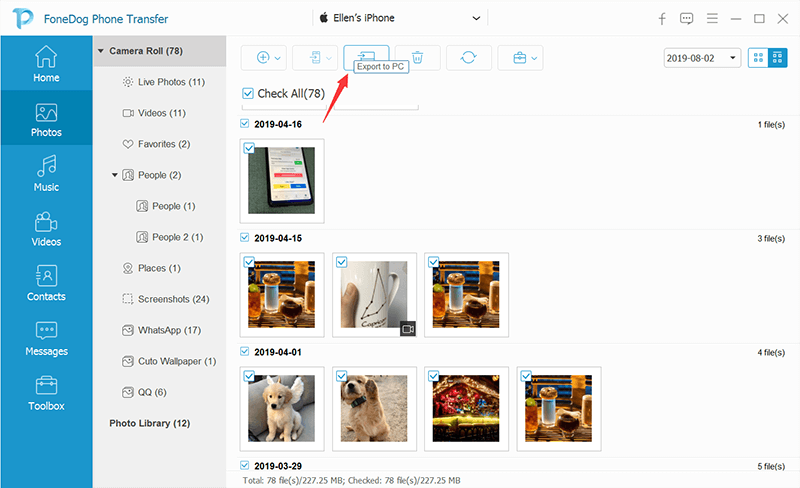
The second method we will implement is through the use of the Photos application within Windows 10. This method will allow you to transfer images in bulk. Plus, it is very easy to do and understand. Here are the steps on how to do it:
Step 01 – Connect your iPhone using a USB cable. Make sure you connect it to your Windows 10 PC.
Step 02 – Visit the Windows 10 PC Start menu and select the app known as “Photos.” Or, you can simply type in the word “Photos” for it to show up.
Step 03 – Launch the Photos application and press the button for “Import.” This is located within the upper right side of the screen.
Step 04 – Select the specific pictures you wish to transfer to Windows 10. Then, press “Import” again.
You will notice that when you use the Photos application, the process of moving files becomes faster. Once you have finished importing all photos, you can check it on your Windows PC using the Photos app.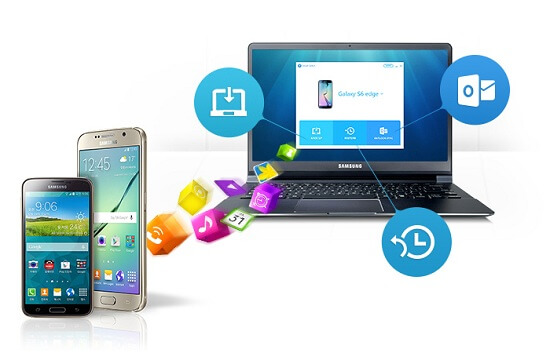
This is a manual way of solving the question, “How do I transfer photos from iPhone to PC (Windows 10)?” Here are the steps on how to do it:
Step 01 – Launch Windows Explorer and go to the section labeled “This PC.” This can be seen in the left sidebar.
Step 02 – Select the iPhone’s name within the sidebar menu.
Step 03 – Launch the directory for “Internal Storage” and then open the folder labeled “DCIM” in order to find all the images within the iPhone.
Step 04 – Select the photos and folders you wish to transfer. Right-click all of these and then press “Copy.”
Step 05 – Go to another folder in your Windows PC. This should be where you want to save the files. Right-click inside the folder and then press “Paste.”
Here are the steps you should follow in order to solve the question on how do I transfer photos from iPhone to PC (Windows 10) using Dropbox:
Step 01 – Install Dropbox within the Windows 10 PC and the iPhone.
Step 02 – Launch Dropbox within the iPhone and go to the tab labeled “Uploads.” Press the icon that looks like a plus (+) sign.
Step 03 – Select the photos you wish to transfer to the PC.
Step 04 – Select the destination for uploading it to Dropbox and then start the process of uploading images to the said platform.
Step 05 – Go to your computer and open Dropbox in it.
Step 06 – Find the images you have uploaded through your iPhone. Download it on your Windows 10 PC.
The iCloud service can be utilized for syncing images from your iPhone to your Windows 10 PC. First, you have to activate iCloud within the iPhone. This can be done within Settings. Then, activate Photo Stream.
Use your Windows 10 PC and download the iCloud Control Panel in it. When you take photos with your camera, it will be saved to iCloud instantly. Now, you can open your computer and iCloud within it.
Through the iCloud app on your Windows 10 PC, you can instantly access the photos you take on your iPhone. It will be automatically synced to your computer instantly. This is possible only when you have a Wi-Fi connection. In more general terms, syncing is possible when you are connected to the Internet.
This is pretty straightforward. You use your iPhone to attach images to your email message. Then, you send it to an account you can access on your computer. Once the message (with attachments) has been sent, you can open it on your computer. Finally, simply download the attached images and you have a copy of it in your Windows 10 PC.
In this guide, we’ve taught you six different methods to answer the question, “How do I transfer photos from iPhone to PC (Windows 10)?” These methods can be applied by everybody out there. Some methods require the use of a cable. Others require the use of an Internet connection.
What’s your favorite out of these methods? Do you recommend other things we can do to transfer photos? Help us learn more by interacting with the community. Send us your comments below.
Leave a Comment
Comment

iPhone/Android Devices’ Maintenance Expert
Staying home, listening to music, writing tech articles
Many people asked me to repair their mobile phones so I have a lot of experience in mobile phone repair, and I know a lot about Android or Apple phones.
Phone Transfer
Transfer data from iPhone, Android, iOS, and Computer to Anywhere without any loss with FoneDog Phone Transfer. Such as photo, messages, contacts, music, etc.
Free DownloadHot Articles
 /
/
INTERESTINGDULL
/
SIMPLEDIFFICULT
Thank you! Here' re your choices:
Excellent
Rating: 4.9 / 5 (based on 109 ratings)
