FoneDog Screen Recorder
FoneDog Screen Recorder
Special Offer
Special Offer


By Vernon Roderick, Last updated: June 21, 2020
Although messages are but tiny pieces of data, they are quite important to most users. They are what we use to communicate with our loved family and friends. That is why it is very crucial to know how you can manage them more effectively.
If you have mistakenly deleted messages on your iPhone, you can go to this article to get the deleted text messages back.
One way to effectively manage your files is by always having access to such files in your Mac. Your messages are no different. This article will show you how you can transfer iPhone messages to Mac so that you easily access them on both platforms. Let’s start with the most effective method.
#1 Transfer iPhone Messages to Mac through Messages App#2 Transfer iPhone Messages to Mac through iCloud.com#3 Transfer iPhone Messages to Mac with iTunes File Sharing#4 Transfer iPhone Messages to Mac using Text Message ForwardingAlternative to Transfer iPhone Messages to Computer with SoftwareConclusion
Most Mac and iPhone users have probably heard of the term “iCloud”. This is only natural since iCloud is a product of the Apple Company themselves. iCloud is basically the place where users can store their files for free. Files contained within this place can be accessed on any platform. That is why it is one way to transfer iPhone messages to Mac.
However, you can’t access your iPhone messages using your Mac just by knowing that. You will have to use the Messages app on your Mac. To use the iCloud feature to transfer iPhone messages to Mac, here’s what you need to do:
Once you have done the previous steps, your iPhone messages should now be getting synced into the iCloud Drive. All you have to do now is access them on your Mac.
Note: The Messages app is a default feature on Mac computers so there is no need to install them as it should be on the system long before you purchased it.
Once you have done this, all the conversations on your Messages app will be available on the iCloud and it will be easy to transfer iPhone messages to Mac. Since that’s the case, the conversations will also be available on the Messages desktop app. The first thing to do on your Mac is to check if it is logged in to the same Apple ID as your phone.
Now all you have to do is to access iCloud on Mac with these steps:
With this, you can access the messages that you have on your iPhone using the Messages app on Mac. It’s not exactly a way to transfer iPhone messages to Mac but to simply access the messages. If you’d like, you can download them.
Either way, you now have access to the messages in two ways and that would be through your iPhone and through your Mac.
The previous section involves one way to access iCloud. What you need to know is that there are actually many ways to access iCloud, and this section will talk about one of them. You may have an idea of what the iCloud.com website is. It is basically the website where you go to using your browser to access the iCloud platform, and that would be what we will be doing.
In order to use this method, you have to go to the iCloud website and transfer iPhone messages to Mac, you have to follow these steps:
That’s pretty much how you can transfer iPhone messages to Mac through the iCloud.com website. Compared to what you did in the previous section, this is actually a lot easier since you don’t have to download the Messages app. However, you have to visit the website often to get notifications and updates, unlike with the app which is basically open every time.
If you are familiar with iCloud, then maybe you also have an idea what iTunes is, since it is a bit similar to what iCloud is and it’s not only in a way that it both ahs the capability to transfer iPhone messages to Mac.
iTunes is a built-in function on every Mac computer just like iCloud. It was originally a multimedia player, but major updates turned it into a multipurpose tool. One of its functions is iTunes File Sharing which allowed users to add and manage files from their iPhones, which is why we will be using this for our goal.
Here’s how you can transfer iPhone messages to Mac with this function:
The iTunes File Sharing feature was created so you can transfer files from specific apps. Since Messages is basically an app, you can transfer iPhone messages to Mac with this feature.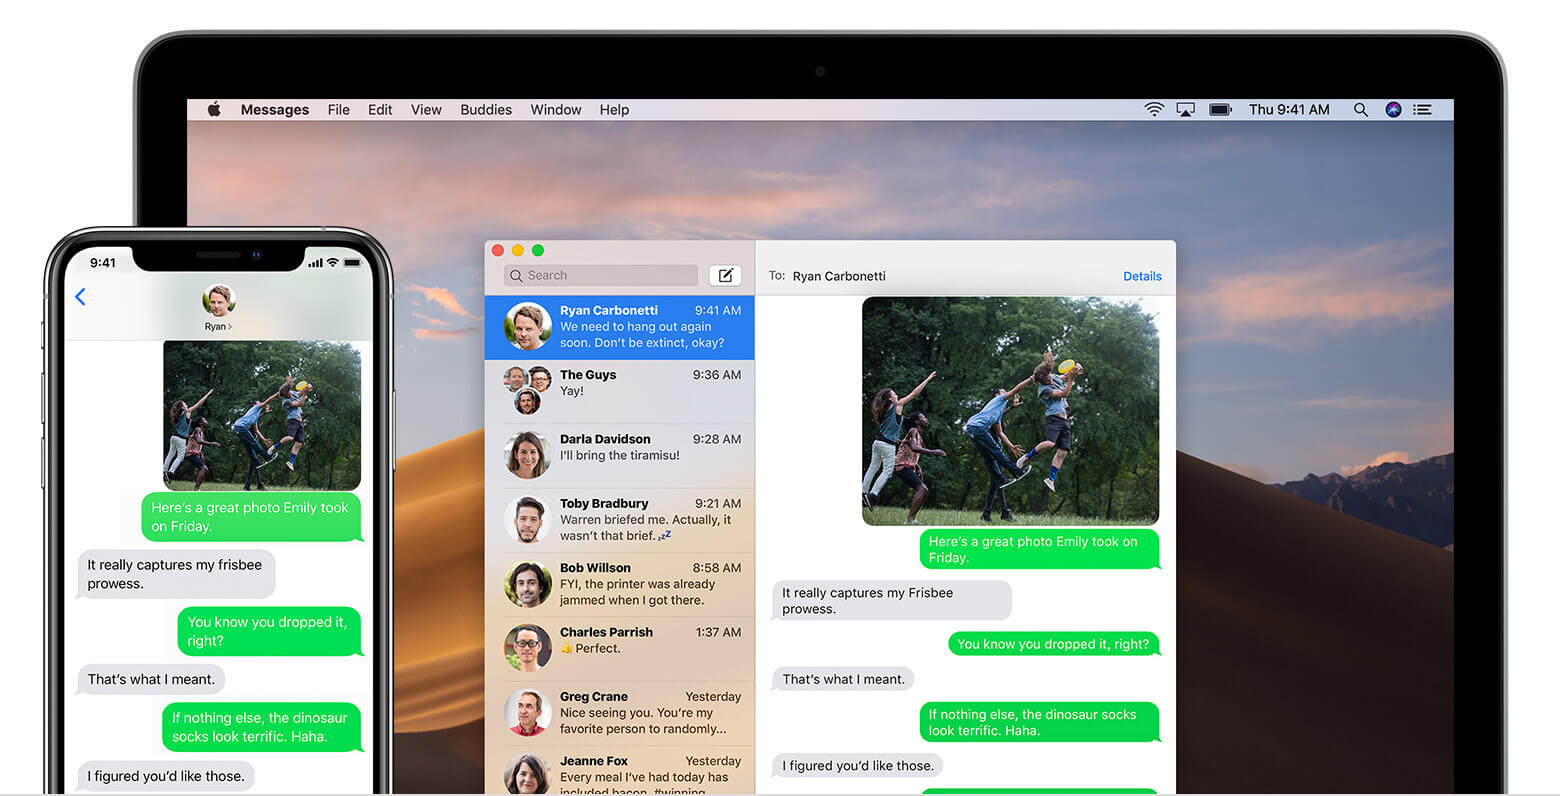
One method to transfer iPhone messages to Mac than not many know about is the Text Message Forwarding feature in the Messages app settings. Since only a handful of iPhones has this feature, it’s understandable why it’s not a very popular method. Either way, here’s how you can use this feature:
Either way, you should now be able to transfer iPhone messages to Mac more easily from now on. Just make sure that you are careful so as to avoid data loss on your messages.
Normally, we will use a tool to do the job for us. This guide to transfer iPhone messages to Mac is no exception. However, as unfortunate as it may be, the software that I normally recommend, FoneDog Phone Transfer, doesn’t support Mac.
In that case, you may want to look elsewhere. But if you happen to enter a situation where you need to transfer files that don’t involve Mac, FoneDog Phone Transfer would be your best bet.
FoneDog Phone Transfer is a tool that specializes in transferring all kinds of files from one device to another. It supports iOS, Android, and Windows PC. The best thing about this is that, unlike other tools, it is capable of transferring messages. Nonetheless, you should look into it if you want a reliable tool always available to you. You can also use this professional software to move your files from PC to iPhone.
Phone Transfer
Transfer files among iOS, Android and Windows PC.
Transfer and backup text messages, contacts, photos, video, music on computer easily.
Fully compatible with iOS 13 and Android 9.0.
Free Download

No one wants their messages to be inaccessible to their devices. That is why Mac users tend to look for ways to transfer iPhone messages to Ma cwhen they don’t use their iPhones often. Fortunately, Apple answered them with these five methods.
Although you can now transfer iPhone messages to Mac, you should still be cautious when handling your messages. After all, they are still vulnerable to data loss even if you can access them through your iPhone and Mac.
Leave a Comment
Comment

Technical Expertise for PC/Website Optimization
One of my passion is to develop software of my own
I write articles to share knowledge about IT technology and some experience in developing my own software, and developing my own software is one of my passions for work.
Phone Transfer
Transfer data from iPhone, Android, iOS, and Computer to Anywhere without any loss with FoneDog Phone Transfer. Such as photo, messages, contacts, music, etc.
Free DownloadHot Articles
 /
/
INTERESTINGDULL
/
SIMPLEDIFFICULT
Thank you! Here' re your choices:
Excellent
Rating: 4.8 / 5 (based on 102 ratings)
