FoneDog Screen Recorder
FoneDog Screen Recorder
Special Offer
Special Offer


By Gina Barrow, Last updated: April 28, 2019
When you sync iPhone to Mac, you can create a backup of the contents of the device and settings on your computer. Generally, regular synchronization is suggested to avoid any loss of content in case your iPhone ends up with issues or lost due to unforeseen circumstances.
The backup files of your iPhone can also be restored in case you want to reset it or if you replace it with a new model. Remember that syncing is also an effective approach to copy fresh content to your iPhone that you download from the iTunes Store on your Mac.
In the past, syncing your iPhone to your Mac was a regular activity. With the advancements throughout the years with rapid mobile speed, better space and streaming applications and the preference of many to sync data with iCloud, physically syncing your devices is not considered as a necessity anymore. This is true when Apple made a change in which the iOS updates no longer need to run through iTunes on your Mac.
Some still want to add music, movies, and TV shows to their iPhones. Some want to save photos and videos directly to their Mac which requires one to sync iPhone to Mac from time to time. Luckily, there are several options if you want to sync iPhone to Mac.
People Also ReadHow to Backup iPhone Contacts to Google?How Long Does it Take to Restore An iPhone?
A Quick Trick on Using FoneDog iOS Data Backup & RestoreCommon Ways to Sync iPhone to Mac
Before you decide to sync iPhone to Mac, it is recommended to back up your data. An efficient way to do this is to use FoneDog iOS Data Backup & Restore.
With just a single click of your mouse, you can back up your iPhone or iPad data such as contacts, photos, messages or more. You can even choose the types of files to backup. Remember that a new backup file will not overwrite the old one. Furthermore, you can preview and restore any items from your backups.
Another noteworthy feature of the tool is to restore data. In case you want to restore the iOS data, you can only restore notes and contacts for now but it is expected to support more in the future.
Let us take a close look at the steps when using the tool.
If you want to backup additional files, simply click “Backup More” or tap on “Restore iOS Data” to transfer data to your computer or another iOS device.
With these simple steps when using the FoneDog iOS Data Backup & Restore, you can easily backup your data before you decide to sync iPhone to Mac or if you want to restore data in the future.
The commonly used approach to sync iPhone to Mac is using the cable included with your phone. Simply use this cable to link your iPhone to your Mac and open iTunes in case it does not automatically open to initiate the syncing process.
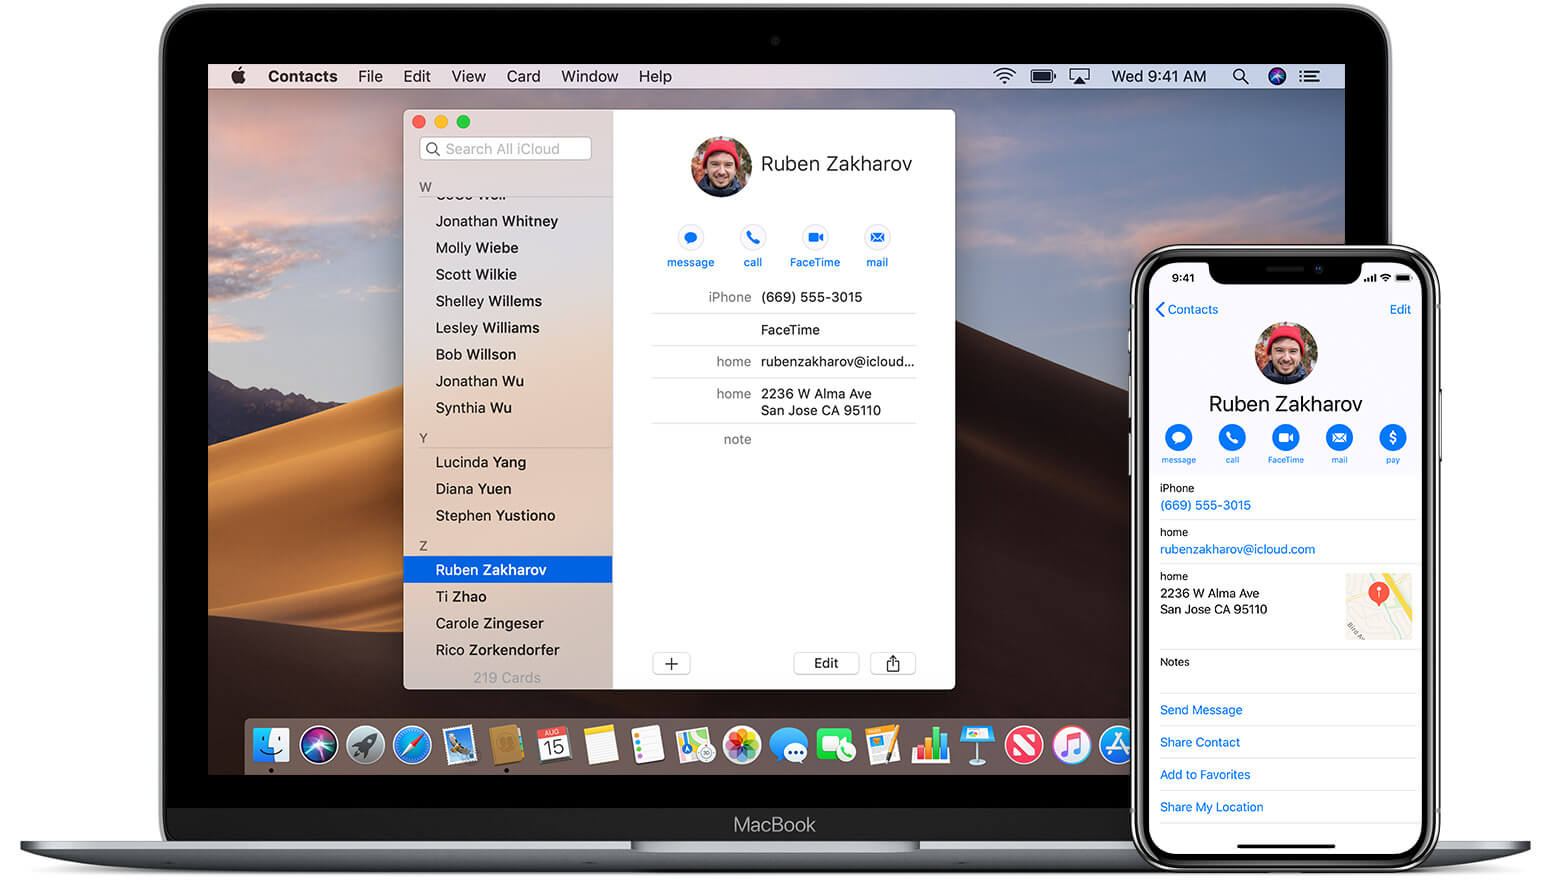
Aside from syncing media, iTunes can also sync notes, contacts from your iPhone to Mac or sync your Mac calendar with your iPhone. You can easily sync these in iTunes or by switching on the iCloud sync in each app.
If you want to sync iPhone to Mac using cable, simply follow these steps:
At present, another approach if you want to sync iPhone to Mac is via Wi-Fi. You no longer need to physically plug in your iPhone to your Mac to be able to sync with iTunes.
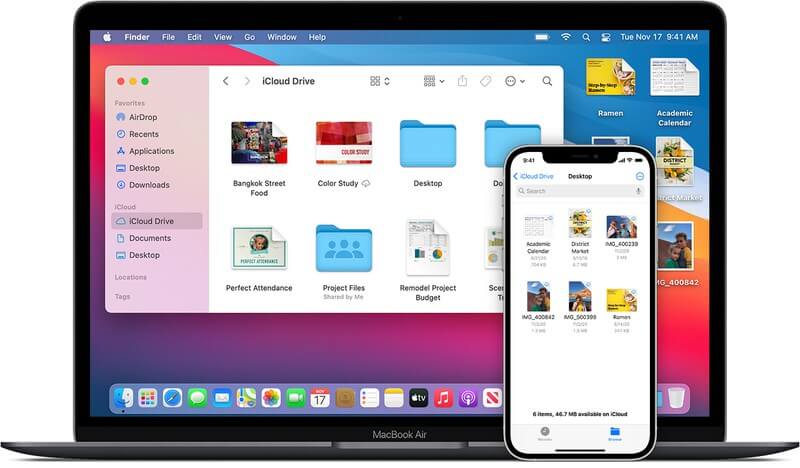
You can sync iPhone to Mac wirelessly in the same manner as using a USB cable. Depending on the options you have chosen in iTunes, your phone will be backed up to your Mac or iCloud account. All the content you have chosen to sync – apps, music, movies, photos, TV shows, books, etc. – are transferred from your Mac to your iPhone and vice versa.
Remember that the synchronization can occur if both devices are turned on, connected to the same wireless network and if the iPhone is connected to an external power source.
When the wireless syncing is enabled, you can set up your iPhone to sync automatically with your Mac. In case you want to manually sync your iPhone, you can easily turn off the automatic sync option. If you do this, always remember to click on the “Sync” option every time you want to synchronize the content.
Simply follow these steps:
In case you have chosen the “Automatically sync when this iPhone is connected” option, you no longer need to worry about performing a manual sync. If you did not check the automatic synchronization option or you simply want to synchronize your iPhone manually, simply note down these steps:
As an additional tip, the Wi-Fi Sync element on your iPhone might be buggy on some occasions. In case the “Sync Now” button appears gray and you cannot tap on it, it is recommended to quit and reopen iTunes on your Mac which should fix this issue.
Remember that the initial synchronization might take some time which is based on the amount of content stored on your iPhone.
Open “Settings” on your iPhone. Tap on “General” and click on “iTunes Wi-Fi Sync” option. At this point, check on the “Sync Now” option to activate the Wi-Fi synchronization manually when your iPhone is charging.
Leave a Comment
Comment

Technical/Creative Writer
Kitchen, my safe space; black, my favorite color
Was a Technical Specialist for a while, troubleshooting Smartphone and Software-related issues until a writing stint caught my attention.
iOS Data Backup & Restore
Back up your data to PC and selectively restore iOS data from backups.
Free Download Free DownloadHot Articles
 /
/
INTERESTINGDULL
/
SIMPLEDIFFICULT
Thank you! Here' re your choices:
Excellent
Rating: 5.0 / 5 (based on 1 ratings)
