FoneDog Screen Recorder
FoneDog Screen Recorder
Special Offer
Special Offer


By Nathan E. Malpass, Last updated: October 27, 2019
Do you want to know how to transfer files from PC to iPad without iTunes? We’ll help you with that problem. iTunes can be very tedious to use that’s why you’re looking for alternatives on how to transfer data from one device to another.
In this article, we’ll teach you various methods of doing so. Let’s get started with the easiest method below:
Method 01: How to Tranafer Files from PC to iPad with Phone TransferMethod 02: Use iCloud Drive to Tranafer Files from PC to iPad without iTunesMethod 03: Use Microsoft OneDrive to Tranafer Files from PC to iPad without iTunesMethod 04: How to Tranafer Files from PC to iPad without iTunes Using Google DriveTo Wrap It All Up
The various methods we will show you are FoneDog Phone Transfer, iCloud Drive, Google Drive, and Microsoft One Drive.
The best solution to this problem is to use FoneDog Phone Transfer. This tool allows you to transfer data among various devices such as computers, Android phones, and iOS gadgets. This is the tool that will help you solve the problem on how to transfer files from PC to iPad without iTunes.
Aside from the said functionality, FoneDog Phone Transfer enables you to back up your Android phone or iOS device contacts. Plus, this backup can be restored to any device you want. The steps to use the tool can be seen here. It can also be downloaded from the said website.
Here are the steps on how to use the tool:
Download, install and launch FoneDog Phone Transfer.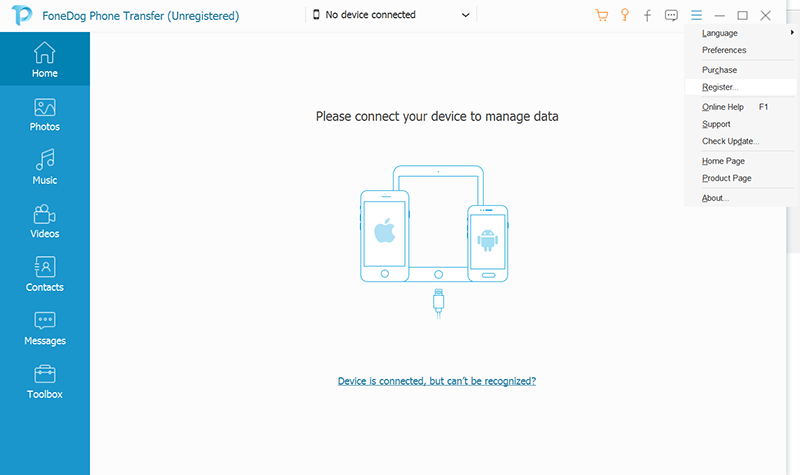
Connect your iPad to your PC using your data cable.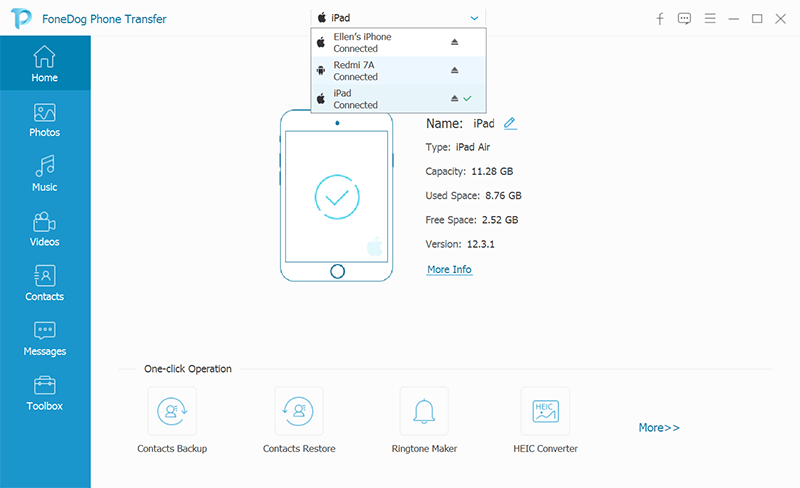
Select the file types you wish to transfer to your iPad on the left column.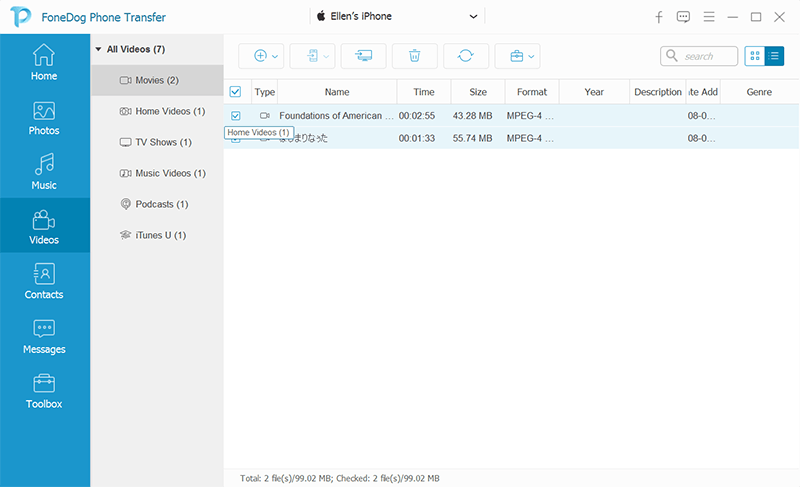
Click the button that allows you to transfer files to your iPad. This is located at the top part to the left of the button that says “Add Item".

Wait until the entire process is complete.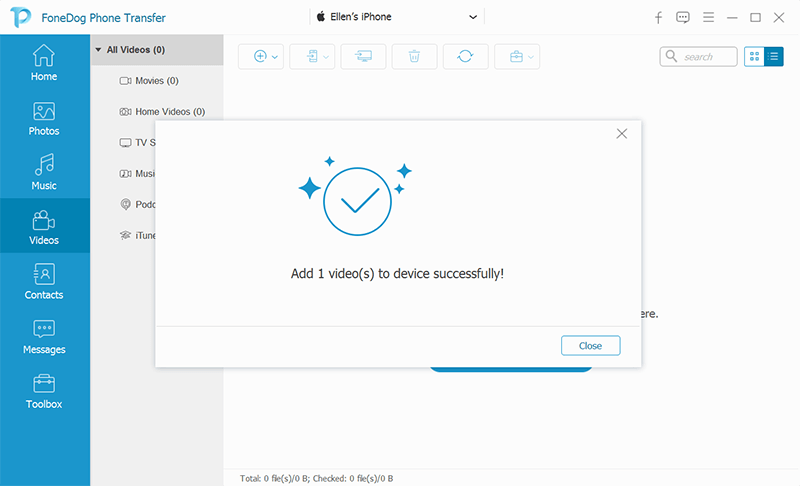
You can also use iCloud Drive in order to move files from your PC to your iPad. This does not require the use of iTunes. Here’s how to do it step by step:
Step 01 – Visit iCloud’s site using your web browser.
Step 02 – Log in using your iCloud account. Input your Apple ID and its corresponding password. If you have activated two-factor authentication, make sure you have your device ready to get the code.
Step 03 – Press iCloud Drive.
Step 04 – Press the Upload button. This is located at the page’s top section.
Step 05 – Select the files you wish to upload to that of your iCloud Drive.
Step 06 – Press Open. This will start the upload process. Wait until the upload process is complete.
Step 07 – Open the Files application of your iPad. Press the tab labeled Browse.
Step 08 – Press “iCloud Drive.” If you can’t locate this option, press the heading labeled “Locations.”
Step 09 – Press “Select.” This is located within the screen’s top-right section.
Step 10 – Tap the various files you wish to transfer to the iPad. Then, press Move.
Step 11 – Press “On My iPad” and then select the folder where you wish to save the selected files. Finally, press “Move.”
Now, you have finished the steps on how to transfer files from PC to iPad without iTunes. Let’s get started with the third method.
Microsoft One Drive is like Dropbox but is owned by Microsoft itself. Below are the steps you should follow in order to transfer files from your Windows PC to your iPad using Microsoft OneDrive:
Step 01 – Go to Microsoft OneDrive’s site using your browser. If you are already logged in, then this will open the main page. If you’re not logged in, then input your email address and the corresponding password.
Step 02 – Press “Upload.” This is located at the top part of the page. It will open a dropdown menu. However, if you wish to save certain files and folders in a certain folder, press the said folder first.
Step 03 - Press “Files” within the dropdown menu. This will launch Windows File Explorer. However, if you wish to place an entire folder that has files within it, press “Folder” instead.
Step 04 – Select the specific files you wish to upload to Microsoft OneDrive. Or, if you wish to move the entire folder filled with files, then upload that folder instead.
Step 05 – Press “Open”. This is located in the window’s bottom-right section. Now, your files will be uploaded to Microsoft OneDrive. Wait until all the files (or folders) are uploaded. This will depend on the size of the data you’re uploading.
Step 06 – Go to OneDrive using your iPad. If you’re not logged into the platform, input your email and the corresponding password.
Step 07 – Press and then hold the files (or folders) you wish to get from the same Microsoft OneDrive account. You can select more than one file if you wish. Then, press the icon for “Share.”
Step 08 – Press “Save To Files.” This is found at the screen’s bottom part. Then, press “On My iPad.” This will display multiple folders located within your iPad device.
Step 09 – Select the folder where you want the files to be saved. Finally, press Add.
Now, you have learned how to transfer files from PC to iPad without iTunes. In this case, you have learned how to do it with Microsoft OneDrive. The next one will be Google Drive. The premises are the same with this method.
In the last method on how to transfer files from PC to iPad without iTunes, we will use Google Drive. Here are the steps on how to do it:
Step 01 – Visit Google Drive in your Windows PC using your browser. Log into your account.
Step 02 – Press New and then press “ File Upload.”
Step 03 – Select the file or folder you wish to upload within Google Drive. Then, press “Open.”
Step 04 – Wait until all of your files (or folders) are uploaded into Google Drive.
Step 05 – Use your iPad and open Google Drive. Make sure you are logged into your account.
Step 06 – Tap the file or the folder you wish to download to your iPad.
Step 07 – Tap the icon that has three dots in it (…)
Step 08 – Press “Make Available Offline.”
That’s it! These are the steps you can do in order to transfer your files (or folders) from your Windows PC to that of your iPad.
In this guide, we taught you how to transfer files from PC to IPad without using iTunes. The iTunes platform can be really confusing to use that’s why you might want to use other tools. The ones stated above will help you deal with the problem easily. You just have to choose the one that you prefer.
How about you? What method of transferring files do you prefer? What are the steps to using it? Let us know in the comments section below.
Leave a Comment
Comment

iPhone/Android Devices’ Maintenance Expert
Staying home, listening to music, writing tech articles
Many people asked me to repair their mobile phones so I have a lot of experience in mobile phone repair, and I know a lot about Android or Apple phones.
Phone Transfer
Transfer data from iPhone, Android, iOS, and Computer to Anywhere without any loss with FoneDog Phone Transfer. Such as photo, messages, contacts, music, etc.
Free DownloadHot Articles
 /
/
INTERESTINGDULL
/
SIMPLEDIFFICULT
Thank you! Here' re your choices:
Excellent
Rating: 4.8 / 5 (based on 62 ratings)
