FoneDog Screen Recorder
FoneDog Screen Recorder
Special Offer
Special Offer


By Adela D. Louie, Last updated: July 30, 2020
Do you have some current photos from your camera that you wanted to transfer over to your iPhone device? Are you wondering if this process is even a possible thing to do? Well, guess what, it most certainly is. And we are going to show you a complete and easy guide on how to transfer photos from camera to iPhone.
iPhone devices nowadays are known to have the best features of a camera to offer to all its users. However, even though the camera of the iPhone is considered to be the best, there are still some people who would prefer to use a camera for them to capture precious moments in one's life.
We all know that iPhone devices come in handy and that you can do a lot of things with it such as taking the good quality of pictures. However, if you are going to compare it with let’ say a DSLR camera, iPhone’s camera feature is nothing. Because by using these types of cameras (DSLR camera), you will be able to capture photos clearly and professionally. Plus, you will be able to have more control over the item or person that you are working with.
Another good thing about using a camera instead of the iPhone in taking photos is that you can take many photos as you like without worrying about the storage space getting full. Because in the DSLR camera, for example, you have the option to extend its storage capacity by using an SD card.
But what if there are some photos taken by using your camera that you wanted to transfer over to your iPhone device? Is it possible that you can do this process? Now, if you want to find the answers to these questions, then go ahead and read through this post. And once that you are done, you will then surely know how to transfer photos from camera to iPhone.
One way that you can transfer your photos from your camera to your iPhone device is by using the FoneDog Phone Transfer.
This is a program that is highly recommended by many people because it does a great job when it comes to transferring certain data from one device to another. And Aside from the fact that you can transfer your photos to your iPhone device using this program, there is also some other program that you can work with using the FoneDog Phone Transfer.
This includes your videos, messages, music, and contacts. Plus, it is very easy to use and safe as well because this will not overwrite any existing data on your iPhone device. And before you go ahead and transfer photos from camera to iPhone, you will be needing to move over those photos from your camera to your computer by using an SD Card Reader. And one that you were able to transfer those photos, then you can go ahead and move them over to your iPhone device.
Just download and install the FoneDog Phone Transfer to your computer and then follow all the steps indicated below.
After installing the program on your computer, go ahead and double-click on it to launch it on your computer. And then, have your iPhone device connected to your computer and wait for the program to recognize your iPhone. Then, at the top of your screen, go ahead and click on the arrow down button and choose your computer first because this is where you have moved your photos from your camera using the SD Card Reader.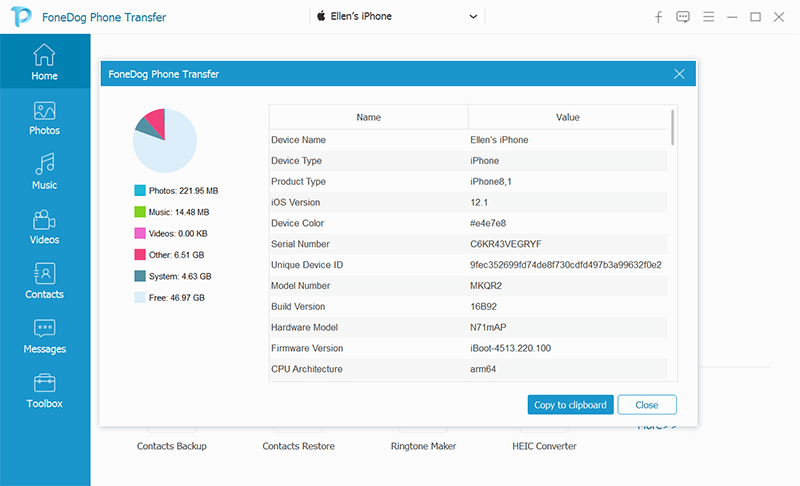
Then, on the left side of your screen, there is a list of data types that this program can handle. So from that list, go ahead and simply click on Photos.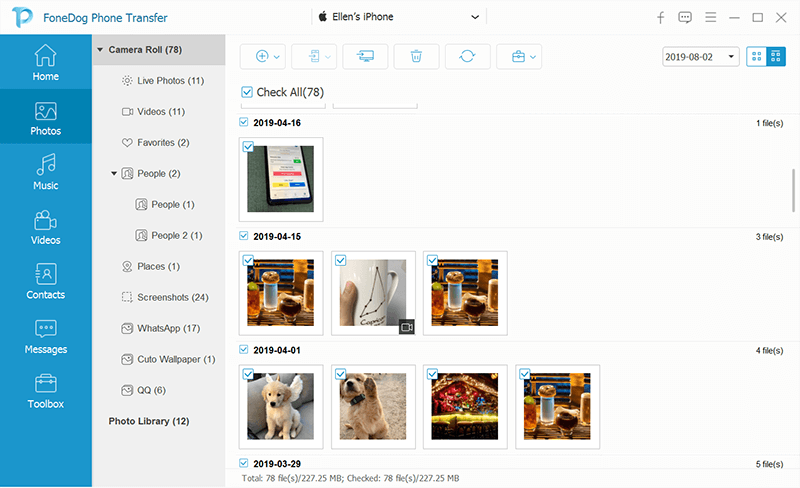
And then, the FoneDog Phone Transfer will then show you all of the photos that you have on your computer including those that came from your camera. So, from there, go ahead and choose all of the photos that you would like to transfer to your iPhone.

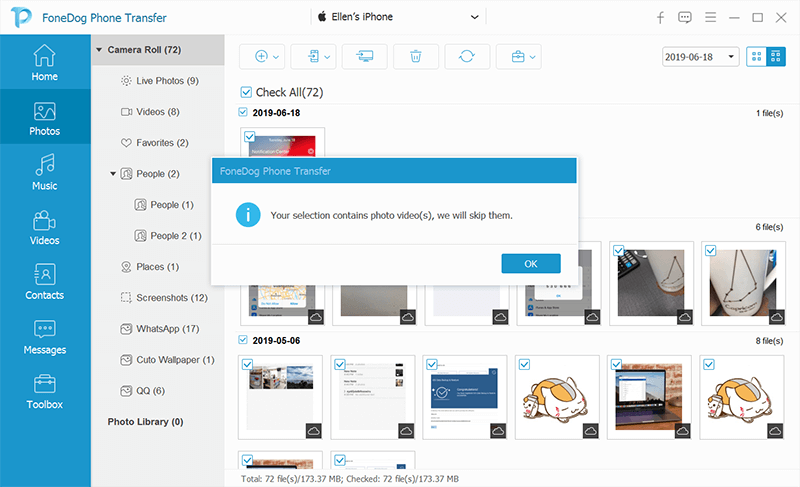
After selecting all of the photos that you would like to transfer over to your iPhone from your camera, then you can now go ahead and finish the process. All you need to do here now is to click on the Export to Device button located at the top of your screen in the menu bar. Then, the transfer process will start so all you need to do is to wait for the process to complete.
NOTE: The FoneDog Phone Transfer also comes with a HEIC converter that you can use just in case you want to convert your HEIC photos to JPG format or PNG format.
There are different ways on how you can transfer photos from camera to iPhone easily. However, the process will depend on the storage type you are using with your Camera. It also varies if your camera comes with a certain application that you can use in order to transfer photos from the camera to iPhone.
So, with that all being said, here are some easy ways for you to transfer photos from camera to iPhone.
This first method that we are going to show you is one of the most traditional ways of how you can transfer photos from camera to iPhone easily. And that is by simply using a lightning to SD card reader and at the same time, using an iOS application for photos. And with that, here are the steps that you need to follow.
Now, in case that the camera you are using has an associated application that you can use to transfer your photos, then you can also make use of it as well. And here are the steps that you will need to follow.
In this method, it is preferred by some users because they no longer need to connect any cables to their devices. But, the only problem is that this process is not advisable for you to do is you have tons of photos that you would like to transfer from your camera to your iPhone device.
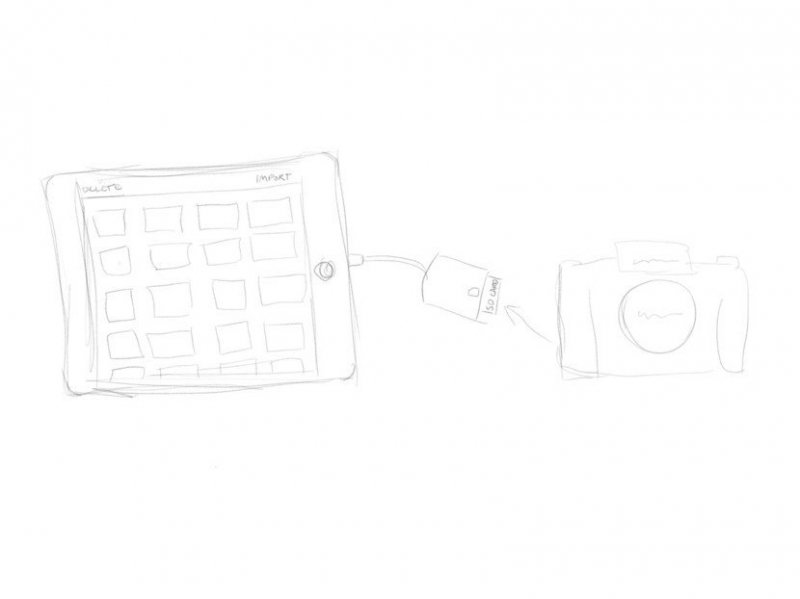
How do you transfer pictures from your camera to your phone? If your camera is one of those types that comes with its own built-in storage and does not support using an SD card, then what you will be needing to do is to use a lightning to USB camera adapter. And for you to know how you can do this, then follow the simple steps below.
How do I transfer photos from the camera to the iPhone wirelessly? In today’s technology, manufacturers are now trying so hard for us to do any data transfer without the need of using wires. And the first one that they have invented was Infrared. Then followed by the invention of Bluetooth so we can transfer any data that we want from one device to another easily. And now, we have our Wi-Fi connection which is also another thing that we can use in order for us to transfer data.
And because of those developments made, Wi-Fi adapters now exists. And because of these kinds of devices, we are able to transfer any data a lot easier and they have made one for your camera as well. There are some camera companies that had this type of invention that you can greatly take advantage of in order for you to transfer photos from the camera to the iPhone.
So, if in case you have one wireless adapter that comes with your camera, then you can make use of it to transfer photos from camera to iPhone easily. Just follow the steps that we are going to show you below.
So, whatever your reason is as to why you need to transfer photos from camera to iPhone, just go ahead and choose from all of the given methods to you above. You can choose whatever you find is easy to do in order to transfer photos from the camera to the iPhone. But in case that one of your reasons for doing this process is to free up some space on your camera, then you can also opt to move your photos over to your computer as well so you can free up space on your camera.
Leave a Comment
Comment

Tech Website Writing /Content Optimization
Singing, smiling, surprising every day!
So as a technical writer, it is my duty to gather effective and reliable solutions to answer questions on how to deal with the issues they are having with their devices.
Phone Transfer
Transfer data from iPhone, Android, iOS, and Computer to Anywhere without any loss with FoneDog Phone Transfer. Such as photo, messages, contacts, music, etc.
Free DownloadHot Articles
 /
/
INTERESTINGDULL
/
SIMPLEDIFFICULT
Thank you! Here' re your choices:
Excellent
Rating: 4.7 / 5 (based on 93 ratings)
