FoneDog Screen Recorder
FoneDog Screen Recorder
Special Offer
Special Offer


By Adela D. Louie, Last updated: January 12, 2024
Losing your data on your device is one of the most common issues that most people have. This could happen because of a virus attack, a system crash, an accidental deletion, or a hardware problem. But luckily, there are ways on how you can recover those deleted data from your device.
And when it comes to recovering your lost data, the TestDisk tool is known to be one of the most popular recovery tools. However, this tool is a bit complicated for those who are beginners in using this tool. That is why in this post, we are going to show you how to use TestDisk.
Part 1: What is TestDisk and What Does it Do?Part 2: How to Use TestDisk for Windows Computer (Windows 7/8/10)Part 3: How to Use TestDisk for MacPart 4: Conclusion
TestDisk is known as a recovery tool that will help its users to get back those deleted data, those lost partition, and as well as to have those un-booting disks turned to bootable disk again. And the TestDisk tool can be used on a Windows or a Mac computer.
Being able to use the TestDisk for you to recover deleted files on your Windows computer can seem to have a very long process. But, if you are going to follow the instructions step by step. And with that, here is how to use TestDisk on your Windows computer:
Go ahead and run the TestDisk program on your PC. And once that it is up and running, press on the Enter button.
Then, go ahead and choose the Create option and then press on the Enter button. The TestDisk program will then start to scan for any connected hard drives that you have.
After that, you will be able to see a list of hard drives on your screen. From here, you can simply use the arrow keys for you to choose the hard drive that you select to scan. And then press on the Enter button.
Then, go ahead and select the partition table and then move forward by pressing Enter.
Then next is you have to click on Analyze and then press the Enter button. The TestDisk program will then begin to analyze the hard drive that you have chosen earlier.
And once that the analyzation is done, go ahead and make use of the Quick Search for you to be able to scan your drive.
From here, you will then be able to see all of the files that have been deleted or lost. From that list, go ahead and go to the folder or the files that you want to get back and then press on the C button for you to copy them.
After that, simply select the location of the folder for your copied files and then press the Y key for you to begin the process. The TestDisk program will copy all of the files that you have chosen to the folder that you have selected. After the whole process is complete, there is a Copy Done message that will show up on your screen.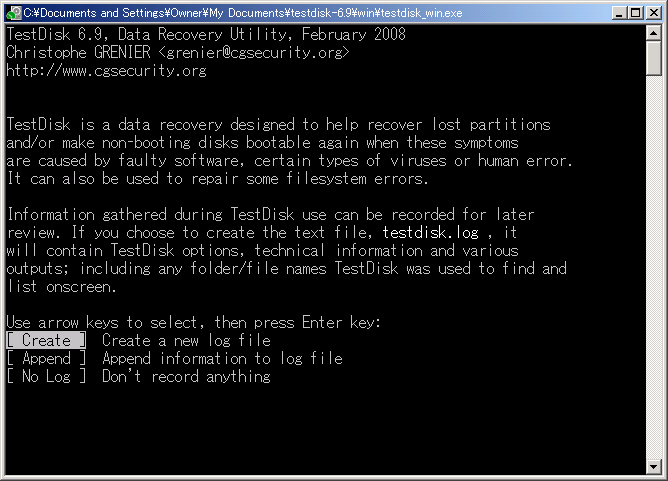
The method on how to use TestDisk on a Mac computer is somewhat similar to a Windows computer. But of course, there are things done differently. So, for you to know how to use TestDisk on a Mac computer, here is what you need to follow.

The TestDisk tool as you can see is not that complicated to use as long as you follow the instructions carefully. Simple, yet an effective way for you to recover those deleted files on your Mac or Windows computer.
The TestDisk tool may seem a bit complicated to use at first especially if it is the first you are using it. However, once you get the hand of using this tool, everything will be easy for you to handle.
Data Recovery
Recover deleted image, document, audio and more files.
Get deleted data back from computer (including Recycle Bin) and hard drives.
Recover loss data caused by disk accident, operation system crushes and other reasons.
Free Download
Free Download

Leave a Comment
Comment

Tech Website Writing /Content Optimization
Singing, smiling, surprising every day!
So as a technical writer, it is my duty to gather effective and reliable solutions to answer questions on how to deal with the issues they are having with their devices.
Data Recovery
FoneDog Data Recovery recovers the deleted photos, videos, audios, emails, and more from your Windows, Mac, hard drive, memory card, flash drive, etc.
Free Download Free DownloadHot Articles
 /
/
INTERESTINGDULL
/
SIMPLEDIFFICULT
Thank you! Here' re your choices:
Excellent
Rating: 4.5 / 5 (based on 101 ratings)
