FoneDog Screen Recorder
FoneDog Screen Recorder
Special Offer
Special Offer


By Adela D. Louie, Last updated: November 15, 2019
Notes on an iPhone device are considered to be one of the most used application. Through this application, you can write down the important notes about whatever you are doing – whether you are working, students, or even for small notes for your household. It can be a huge help for you to stay organized as well.
And because of the important functionality of the Notes app on your iPhone device, it could be devastating if you tend to lose them. So with that, we are going to show you some easy and quick way on how to backup Notes on iPhone so that in case something happens to your iPhone device, you will be able to get them back.
Part 1: Backup Notes Using iOS Data Backup and RestorePart 2: How to Backup Notes on iPhone Using iCloudPart 3: How to Backup Notes on iPhone Using GooglePart 4: How to Backup Notes on iPhone Using iTunesPart 5: Conclusion
When it comes to backing up data on your iPhone including your Notes, the FoneDog iOS Data Backup and Restore is the most recommended tool that you can use to fulfill this task. It is because the FoneDog iOS Data Backup and Restore can easily backup any data that you have on your iPhone device such as your Notes, Messages, Contacts, Photos, Videos, and so much more.
Through the FoneDog iOS Data Backup and Restore, you will be able to selectively choose which of your notes you would like to backup. And, of course, getting them back means that you will be needing to recover them as well. Do not worry, because this program will also restore them for you.
So, for you to backup your Notes on the iPhone device, here is a quick tutorial on how to use the FoneDog iOS Data Backup and Restore.
Download and install the FoneDog iOS Backup and Restore on your Windows or Mac PC. And then open the software and have your iPhone device plugged into your computer using your USB cable. Wait for the program to recognize your iPhone. Once it does, go ahead and choose iOS Data Backup and Restore and then choose on iOS Data Backup.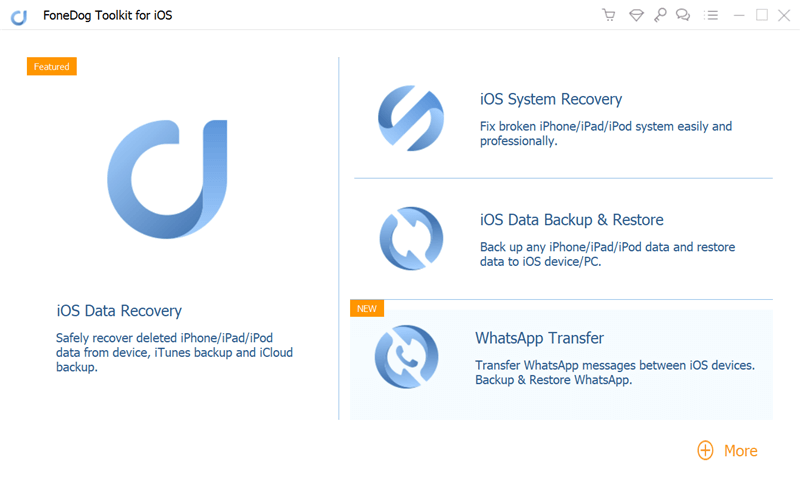
After that, the FoneDog iOS Data Backup and Restore will then ask you on how would you like to backup your data from your iPhone device. You can choose from two options for your backup. One is the Standard Backup and the other one is the Encrypted Backup wherein you can add a passcode for your backup file. And once that you have chosen on the backup mode that you like, simply click on the Start button for you to proceed on the next step.
Once that you have clicked on the Start button, the FoneDog iOS Data Backup and Restore will then let you show the files that you can backup. From there, go ahead and choose Notes & Attachments and then click on the Next button to continue.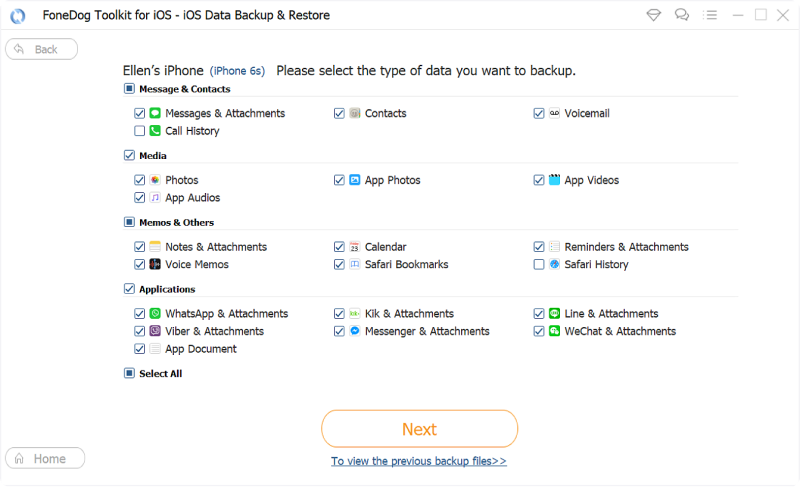
Once that you have clicked on the Next button, the FoneDog iOS Data Backup and Restore will then begin the backup process. Once that the backup process is complete, the FoneDog iOS Data Backup and Restore will then show you the name and as well as the size of your backup file.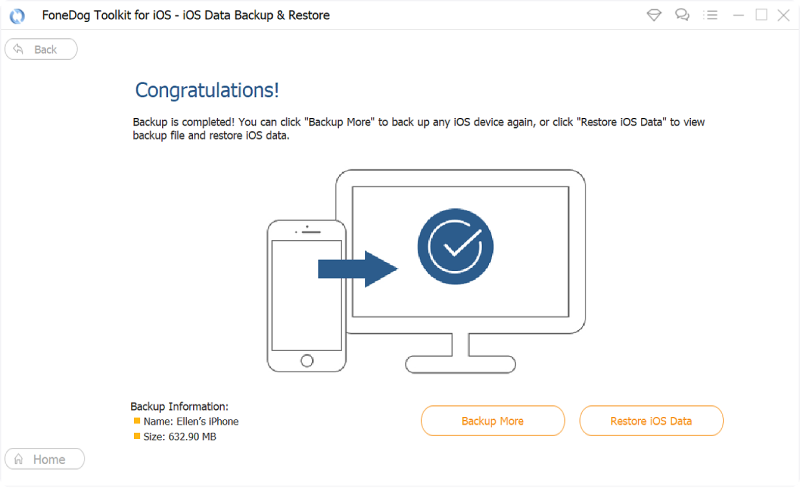
And that is how you can backup your Notes from your iPhone device. And in any case that something happens to your Notes such as accidentally deleted them, then you can easily have them restored on the same iPhone device.
And in case that you are wondering on how you can use the same program for you to restore your notes that you have backed up using the FoneDog iOS Data Backup and Restore, here is a quick view of the Restoration process of the same program.
Connect your iPhone device to your computer and launch the FoneDog Toolkit. On the main screen of the FoneDog Toolkit, go ahead and simply click on the iOS Data Restore option.
And then, the program will show you a list of backup files that you have. From there, go ahead and choose on the backup file that contains the notes that you were able to back up earlier. You can base it on the time and the date when the backup was made. Then, go ahead and click on the View Now button.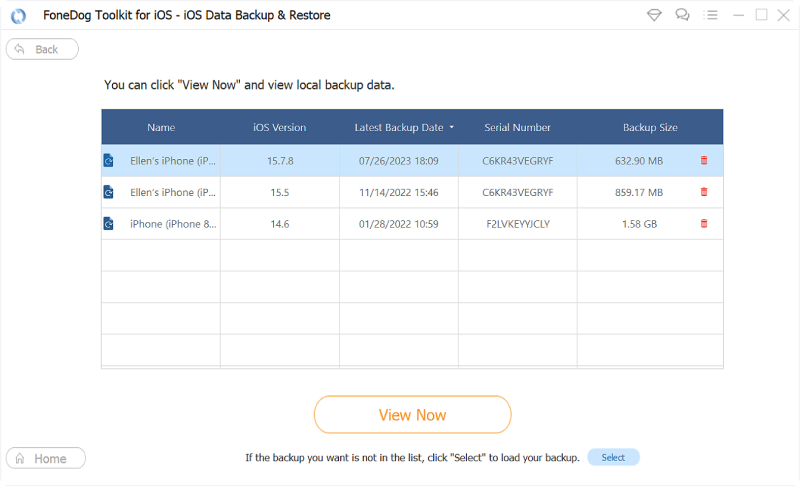
After choosing the backup file that you want and clicking on the View Now button, the FoneDog iOS Data Backup and Restore will then start scanning your backup file.
And once that the scanning of your backup file is complete, you can go ahead and preview the data that contains your backup file. From there also, you will be able to choose those data that you only want to recover. And when you are done choosing, you can go ahead and click on the Restore to iDevice option or Restore to PC option depending on where you would like to restore your data.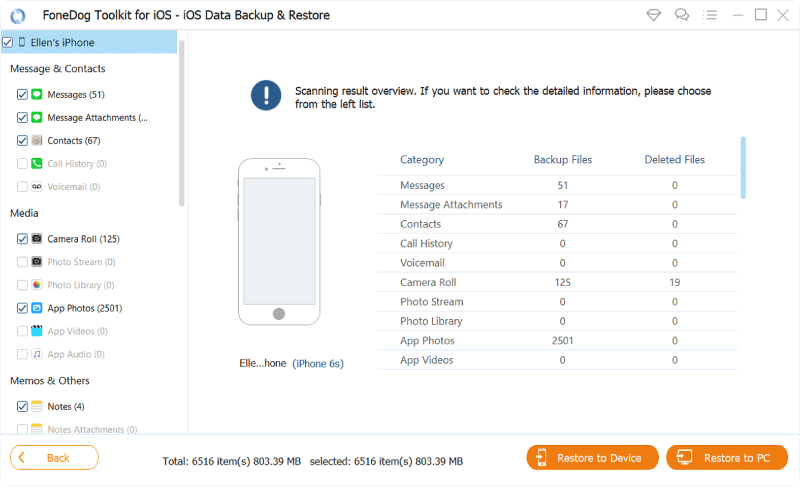
As you can see, backing up and restoring your notes using the FoneDog iOS Data Backup and Restore is a piece of cake. At the same time, your data will be safe as well and that you will be able to back up your notes in the fastest way possible.
Now, what if you cannot back up your Notes on the iPhone device to your computer because you do not have a working USB cable? Well, in this case, you can simply use your iCloud for you to backup your notes on your iPhone device. Here, you only need to make sure that your iPhone device has enough battery level for before you to this method. Also, you must make sure that you have a stable Wi-Fi connection and memory space to avoid any interruptions.
Step 1: Using your iPhone device, go ahead and launch Settings and then go to iCloud.
Step 2: From there, go ahead and tap Storage and Backup and then choose Backup Now for you to start backing up your Notes on your iPhone device.
You have to keep on mind that the iCloud storage can only give you a free 5GB of storage space for your backup files. An if ever you go beyond this, you will then be needing to buy more storage space to proceed.
Another way for you to backup your Notes on iPhone is by using Google or your Gmail. And for you to know how you can do this, here are the steps that you need to follow.
Step 1: On your iPhone device, go ahead and launch Settings.
Step 2: From there, go ahead and choose Mail, Contacts, Calendar.
Step 3: And then go ahead and insert another account and then select on Google.
Step 4: On the next page, go ahead and enter your username and the password of your Gmail account for you to continue backing up Notes to Gmail. Also, you have to make sure that Notes is turned on.
Step 5: After that, your notes on your iPhone device will then be synced to the Gmail information that you have just entered. For you to check on this, all you have to do is to go to your Gmail and then open the Notes folder from there.
Using iTunes is also a possible way for you to backup your notes on an iPhone device. All you need to do are the following steps.
Step 1: Go ahead and connect your iPhone device to your computer using your USB cable.
Step 2: And then, go ahead and launch the iTunes program and then click on the Summary tab.
Step 3: From the Summary tab of your iTunes program, go ahead and choose the option This Computer and then click on the Backup Now button.
Doing the following steps above will then let you backup not just only your notes from your iPhone device but also the other data that it supports to backup.
Notes are really important to many iPhone users as they have been using this to keep details organized or even to remind them of the things that are needed to be done. Now that you can know how to backup notes on an iPhone device, then you have to make sure now that you make backing up a regular habit. This way, you will be able to keep safe your data if in any case that something bad happens to our device.
Leave a Comment
Comment

Tech Website Writing /Content Optimization
Singing, smiling, surprising every day!
So as a technical writer, it is my duty to gather effective and reliable solutions to answer questions on how to deal with the issues they are having with their devices.
Hot Articles
 /
/
INTERESTINGDULL
/
SIMPLEDIFFICULT
Thank you! Here' re your choices:
Excellent
Rating: 4.0 / 5 (based on 1 ratings)
