FoneDog Screen Recorder
FoneDog Screen Recorder
Special Offer
Special Offer


By Nathan E. Malpass, Last updated: April 17, 2019
Are you still looking for a free and convenient PDF compressor for Mac? If your answer is yes, go through the passage and know how to use FoneDog PDF Compressor. Before you start to read the operation, let’s get some basic information about FoneDog PDF Compressor.
As a successful PDF compressor of FoneDog, this compressor has two editions-an online versions and an application version. If you don’t want to download the app, use the online compressor; if you want to enjoy more functions, download one on your Mac. Now let’s go to the specific usage one by one!
TIPS:
How to Use FoneDog PDF Compressor OnlineHow to Use FoneDog PDF Compressor on Mac Conclusion
It is very easy for you to use the online one to compress your PDF files. The interface is so simple that it just has two functions keys-Select PDF File & Or drop your PDF here.
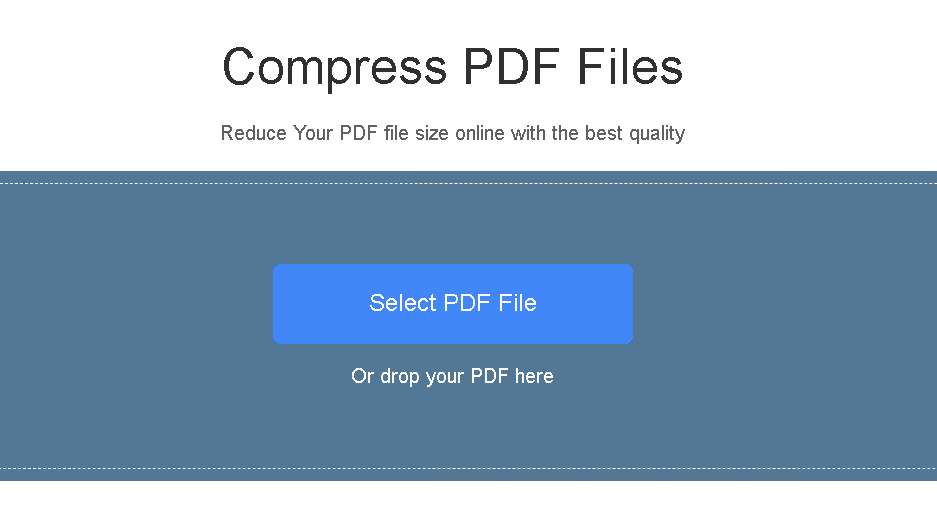
When you click Select PDF File, your folder will automatically open. Next, search the PDF file that you want to compress and select it. Then, wait for a second or minute. The compressing time is based on the size of the file.
When you click Or drop your PDF here, just find out the file and drag it to the interface. Then, wait for a second or minute.
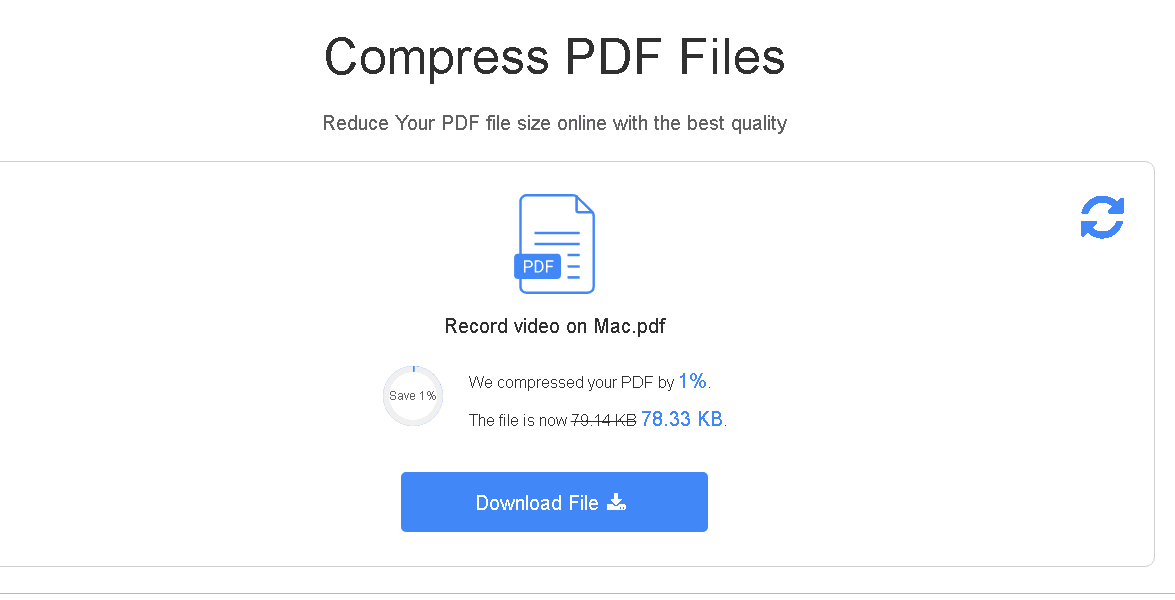
After the compression finished, press Download File. Then, the compressed one is on your computer. By the way, the online version is applicable to both Windows and Mac.
Some people want to download the application and enjoy more functions. If you’re one of them, continue reading the following usage introduction, it is also very simple and easy to learn.
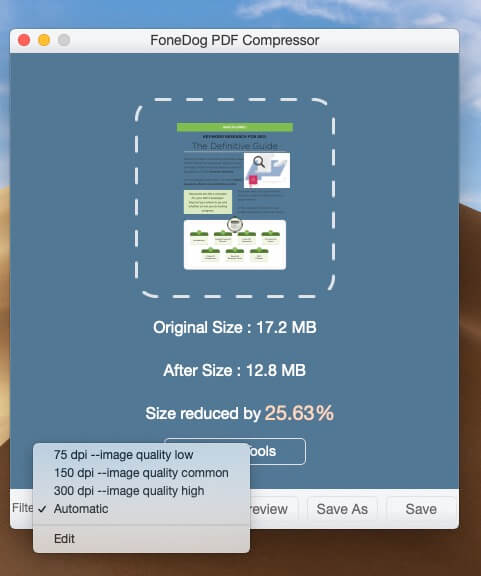
The first thing you should do is to download the software and launch it. Then, you will see a concise interface with several buttons on the button. They are Filter, Preview, Save As and Save. In the middle part, there is a rectangular frame where the PDF file being compressed. Below the frame, you can see the file’s original size, after size and its reduced percentage.

If you have a certain need or requirements of the image’s DPI (dots per inch), which means the image quality after compression, you should click the Filter button and choose the DPI you want or edit it by yourself. If not, the DPI will be set into Automatic by default.
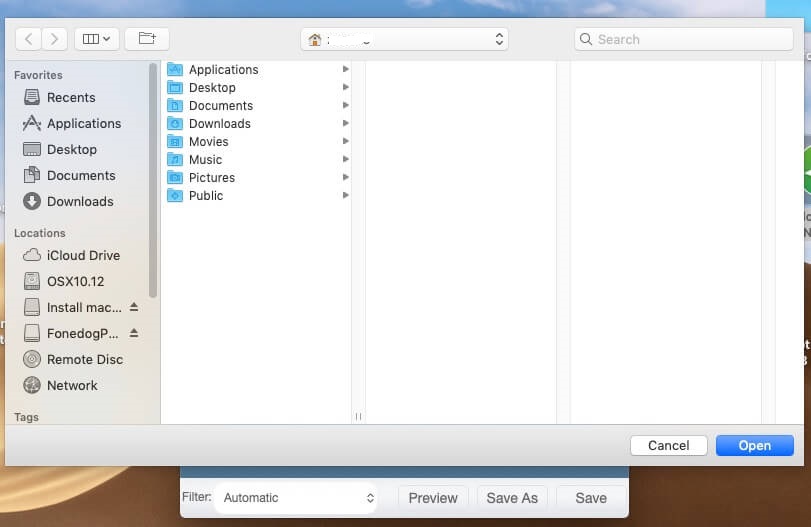
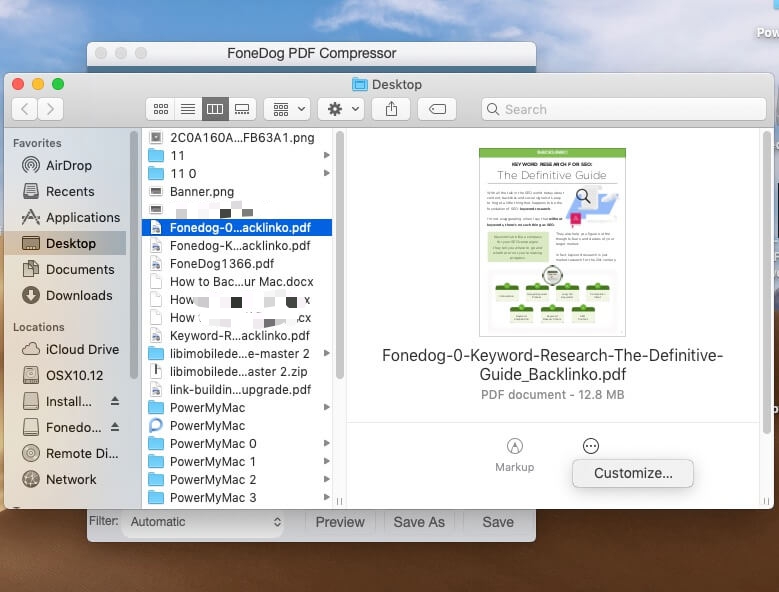
The operation is the same as the one of the online compressor. You can click the blank anywhere within the rectangular frame which will then pop up the paper folder for file selecting. Or you can just drag the file into the frame. When it is done, wait for the compression.
After the compression is done, you can click Preview to check whether it is the one you want. If not, you can choose the DPI you want and re-compress the file until you’re satisfied.
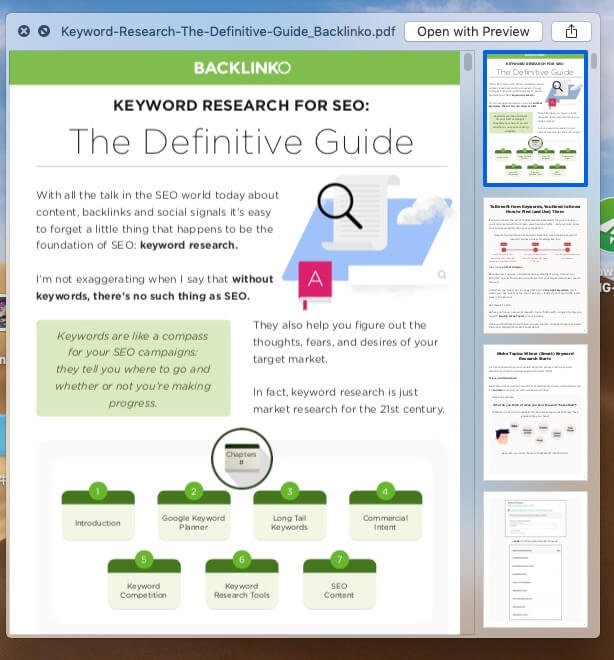
(Tip: There is a Send button on the upper right corner. If the file is OK, you can send it to others by Mail, Messages, AirDrop, Notes, Simulator or More.)
When the compression is finished and you’ve checked there are no problems in the compressed file, then you can save it on your Mac by clicking Save As or Save. The difference is that the Save As allows you to save it in the folder you want while the Save function gives you no selections but saves it on the Desktop.
(Tip: Before you ultimately save it, during the saving process, you will find there is two small buttons help you to Markup and Customize the compressed file with Apple and third-party extensions. By the way, there also has a Send button. So sweet, isn’t it?)
Now you’ve ultimately finished the compression in the way you like. You’ve compressed it, edited it, saved it or sent it. The last step is to exit it and write down your experience! If you want to try more products, hit the More Tools button in the main interface before you quit.
See! The operations are so easy! Please do not worry about the security and compressing proficiency, for FoneDog PDF Compressor is absolutely safe and high-efficient. You file won’t have any risk of being hacked until you unload it online. If you want to compress your PDF files, try to drag your file on FoneDog PDF Compressor Online or download its app for daily use. Now the compressor is for free!
Leave a Comment
Comment

iPhone/Android Devices’ Maintenance Expert
Staying home, listening to music, writing tech articles
Many people asked me to repair their mobile phones so I have a lot of experience in mobile phone repair, and I know a lot about Android or Apple phones.
Hot Articles
 /
/
INTERESTINGDULL
/
SIMPLEDIFFICULT
Thank you! Here' re your choices:
Excellent
Rating: 5.0 / 5 (based on 2 ratings)
