FoneDog Screen Recorder
FoneDog Screen Recorder
Special Offer
Special Offer


By Vernon Roderick, Last updated: September 23, 2020
iPad is one of the mobile devices which is designed and developed by Apple built in an iOS operating system. With an iPad tablet, you can do many functions like that of an iPhone or a computer. It helps you in managing apps, sending and receiving messages, calls, emails, taking photos, videos, playing music, games, and a lot more.
You can run applications, create documents, or connect to the web and other tasks that you do in the day to day operations. Sometimes an issue will occur such as an iPad won’t connect to Wi-Fi network which can be a bit of a hassle when you want to browse the web. This article will help you on how to resolve this issue.
Part 1: Methods on How to Resolve iPad Won’t Connect to Wi-Fi IssuePart 2: In Summary
This section presents multiple methods with detailed instructions on how to resolve an issue on iPad won’t connect to Wi-Fi network. You can try to follow the different processes which can be dependent on the situation that you encounter.
Make sure that your Wi-Fi modem and router are turned on, working properly, and have a stable connection. Try to restart your Wi-Fi modem and router. You can do this by unplugging it for 10 seconds to make sure it is completely turned off then plugging it in again. Now, connect again your iPad device to Wi-Fi. Check also the cables in your modem and router are not faulty.
When you are done verifying that your Wi-Fi modem and router are working well with a stable connection, make sure to connect your iPad device to Wi-Fi.
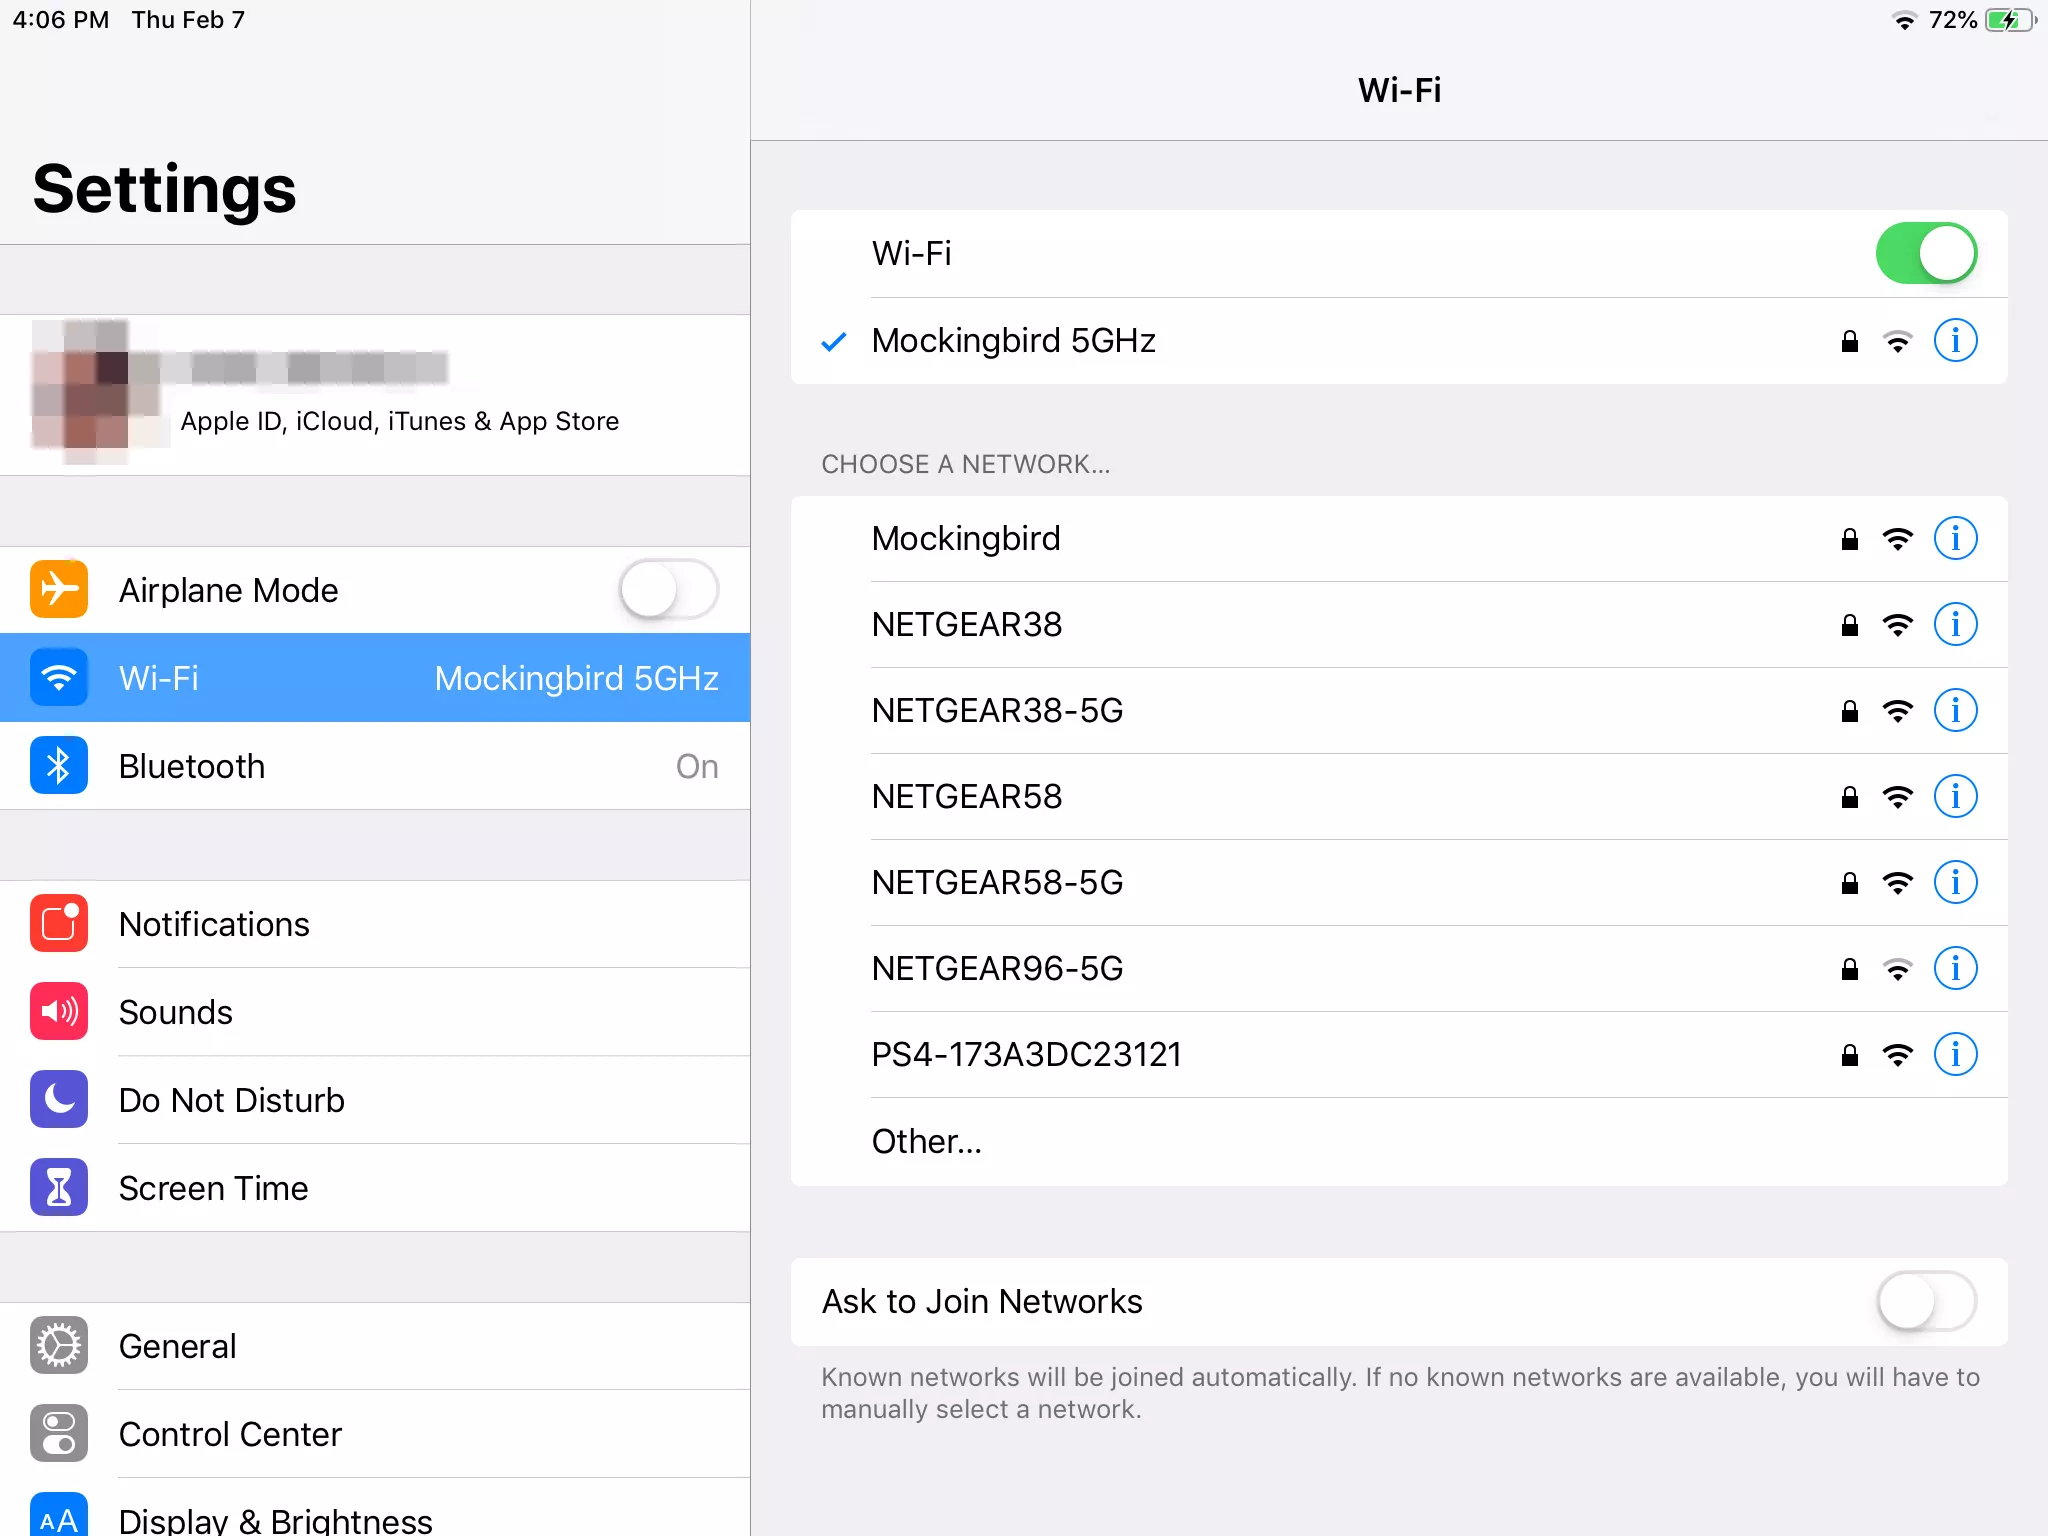
When you cannot connect to the registered Wi-Fi connection, try to reset the Wi-Fi connection settings and register again.
If the issue still persists, it is best to do a restart of your iPad device. After it boots successfully,d check if the issue is resolved and you can connect successfully to the Wi-Fi network.
How about resetting the network settings on your iPad device and check if the issue is resolved? Once you reset the network settings, it will delete only the Wi-Fi network, saved passwords, APN, cellular settings, VPN, and the like but not your data.
If the issue on the iPad won’t connect to Wi-Fi still occurs, try using another device to connect to your Wi-Fi network and see if you can connect successfully. If the same thing happens on your other device, then the issue will be on the Wi-Fi network which you need to escalate to your internet provider support hotline. You may check with them if the router supports your iPad device and you may need to update the firmware of the router.
You can also try to connect your iPad device to the same Wi-Fi network and change your location and see if the issue on the iPad won’t connect to Wi-Fi gets resolved. Get closer to the router because if you are too far away, then you may not get a good signal of the Wi-Fi to your iPad device.
In another way, try to connect to a different Wi-Fi network on your iPad device. Check if the Wi-Fi connection is now established successfully on your iPad. It is also possible that you are joining a closed or hidden network that you will not be able to connect. Select Other from the network list if you will join a closed or hidden network. Enter the network name and password when prompted.
Check that your iPad device has the most recent updates of iOS installed in order to prevent the issue on iPad won’t connect to Wi-Fi
When you have turned on the Wi-Fi setting but accidentally turned on also the Airplane Mode, then this might cause the issue that your iPad won’t connect to Wi-Fi.
To help resolve the issue on the iPad won’t connect to Wi-Fi, try resetting all settings in your iPad device.
Confirm if Wi-Fi is supported in your wireless plan or your wireless carrier enabled it. You can contact your wireless carrier to get a confirmation. You can get the customer support number from the carrier’s website and ask them if the functionality is enabled.
The installed APN certifications on your iPad device can sometimes affect the Wi-Fi. APN certificates make your iPad device to work with some phone companies. Make a backup of that specific data whenever you delete something on your device.
A DFU mode or Device Firmware Update is a deep restore of your iPad device, deeper than the recovery mode. This mode will erase all the data on your device and restores a new one. It is highly recommended to create first a backup of your important data from your iPad device before implementing the DFU restore. You can back up your data from iPad to iCloud or to your computer via iTunes.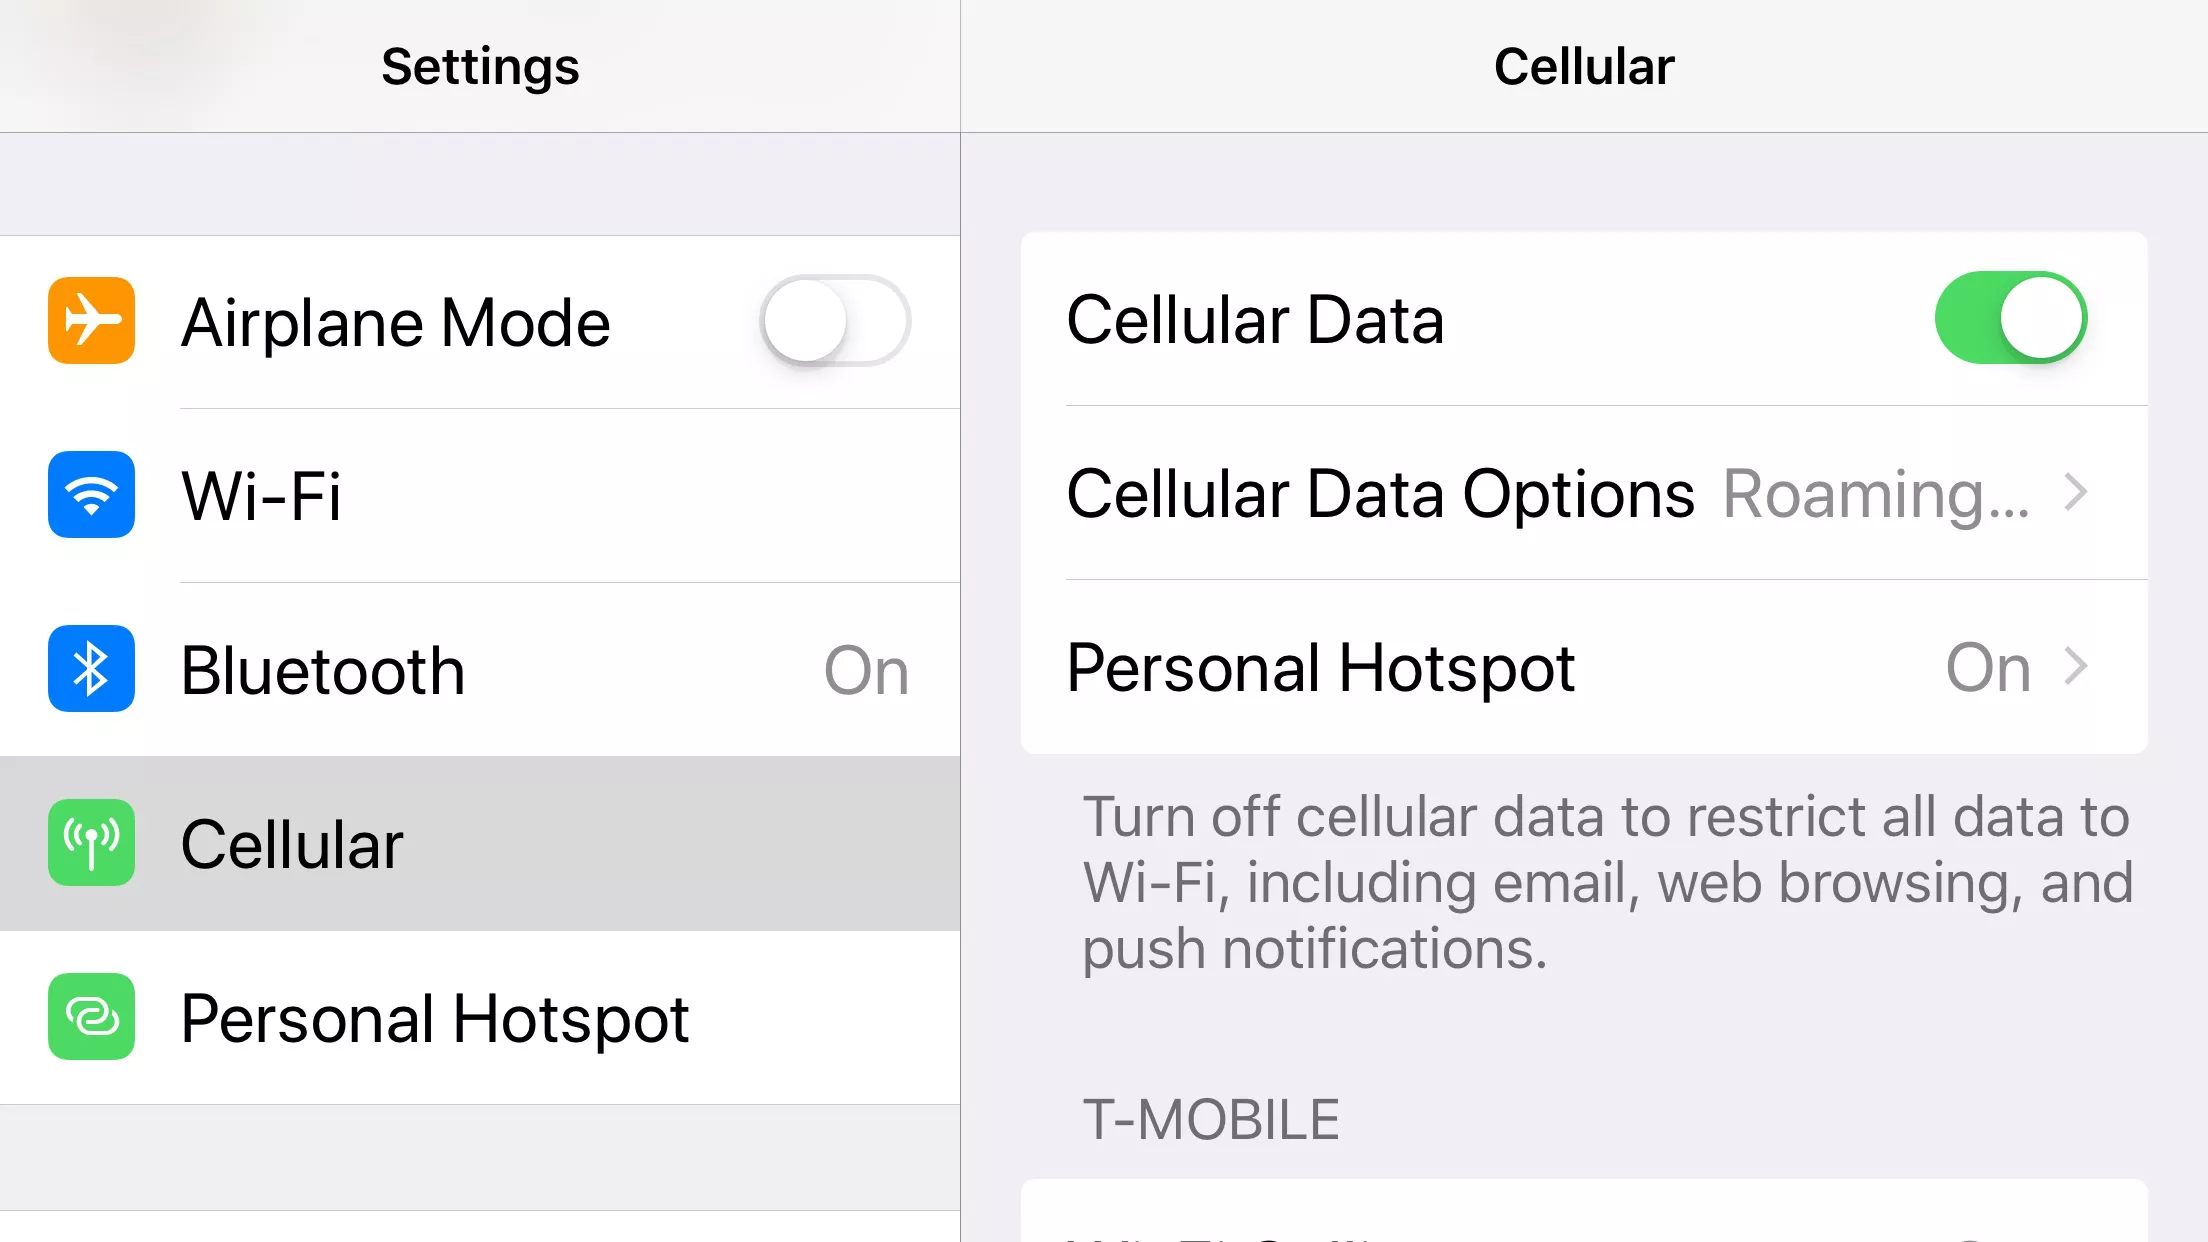
This process will teach you how to reset your iPad device to its original factory settings. Take note that all of your data on your iPad will be deleted so you must first perform a backup of your important data from your device. You can upload the backup to iCloud or via iTunes the computer. After the reset, you can restore the backed up data to your device.
How to restore the backed up data:
How to change the name of your device:
After performing the other methods but the issue on iPad won’t connect to Wi-Fi still comes up, it is possibly due to a hardware problem on your iPad device which affects the connection to Wi-Fi like some damage to its antenna. You need to contact the Apple Support online or you can visit an Apple Store near your area.
An iPad device is a useful mobile device that you can carry wherever and whenever. It is a portable device that is built on an iOS system. With it, you can perform many tasks. But whenever you will encounter an issue such as an iPad won’t connect to the Wi-Fi network, you can follow the various methods in this article on how to solve the problem.
iOS System Recovery
Fix with various iOS system issues like recovery mode, DFU mode, white screen looping on start, etc.
Fix your iOS device to normal from white Apple logo, black screen, blue screen, red screen.
Only fix your iOS to normal, no data loss at all.
Fix iTunes Error 3600, Error 9, Error 14 and various iPhone Error codes
Unfrozen your iPhone, iPad and iPod touch.
Free Download
Free Download

Leave a Comment
Comment

Technical Expertise for PC/Website Optimization
One of my passion is to develop software of my own
I write articles to share knowledge about IT technology and some experience in developing my own software, and developing my own software is one of my passions for work.
Hot Articles
 /
/
INTERESTINGDULL
/
SIMPLEDIFFICULT
Thank you! Here' re your choices:
Excellent
Rating: 4.7 / 5 (based on 65 ratings)
