FoneDog Screen Recorder
FoneDog Screen Recorder
Special Offer
Special Offer


By Gina Barrow, Last updated: April 6, 2020
Most of our essential files are stored on the computer and it seems a bit of a hassle that you need to open your computer now and then just to transfer files perhaps to your iPad or Smartphone. Somehow, iTunes has been helpful in file transfers however, iTunes needs a lot of work like data syncing. It involves a lot of time and effort to do so, plus you cannot select certain files to transfer only.
Good thing, there are 3 quick and easy methods on how to transfer files to iPad. Find out which one works best for you.
Part 1. How to Transfer Files to iPad Using Phone TransferPart 2. Transfer Files to iPad Using iCloud Drive and iCloud.comPart 3. Transfer Files to iPad via Google Drive and DropboxPart 4. Bonus! Transfer Files to iPad via EmailPart 5. Summary
If you think iTunes is the only solution to your file transfer query, well, think again; there are many software solutions that you can use and perform transfer.
FoneDog Phone Transfer easily lets you transfer an array of files in between varying devices such as your iPad, iPhone, Android smartphones and tablets, and even computers: Windows and Mac.
With FoneDog Phone Transfer, you can quickly transfer files in between your iPad and your computer or vice versa, or from another device.
Phone Transfer
Transfer files among iOS, Android and Windows PC.
Transfer and backup text messages, contacts, photos, video, music on computer easily.
Fully compatible with iOS 13 and Android 9.0.
Free Download

It has the following standout features:
Here’s a three-step method on how to transfer files to your iPad using FoneDog Phone Transfer:
First, you need to download and install FoneDog Phone Transfer on your computer and once the software is successfully downloaded, connect your iPad using your USB cable.
The program will automatically detect your iPad and will display your information on the program screen.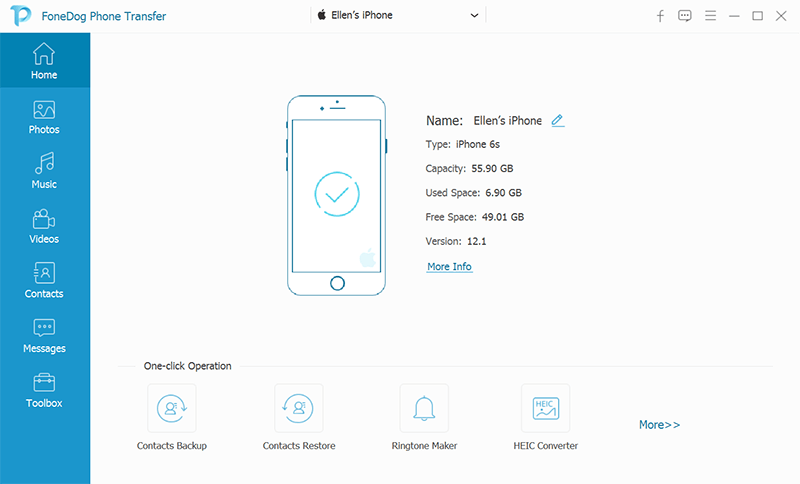
On the main menu, you can select the file transfer option you need such as import files from the computer or you can select the types of files that you want to transfer to the computer or to another device from the left side menu.
This includes your photos, music, videos, contacts, messages, and toolbox.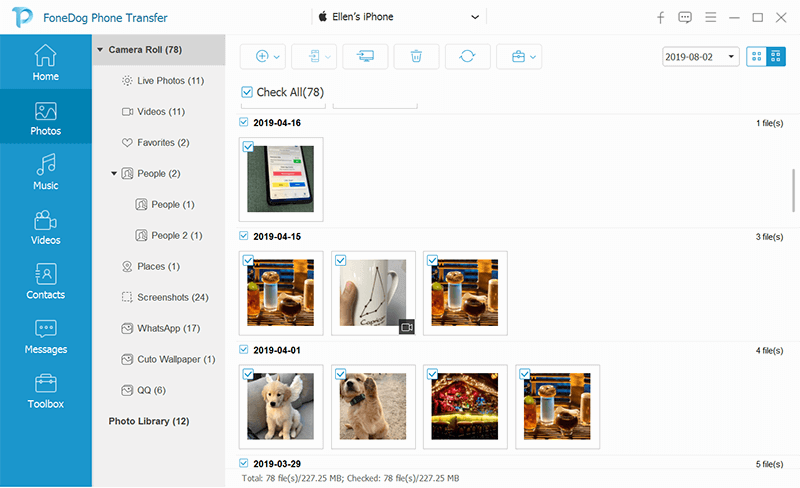
Select the category item you wish to transfer by marking them selectively. Once you have marked all the desired files, click the Export button to initiate the transfer.
Wait for the transfer to be completed.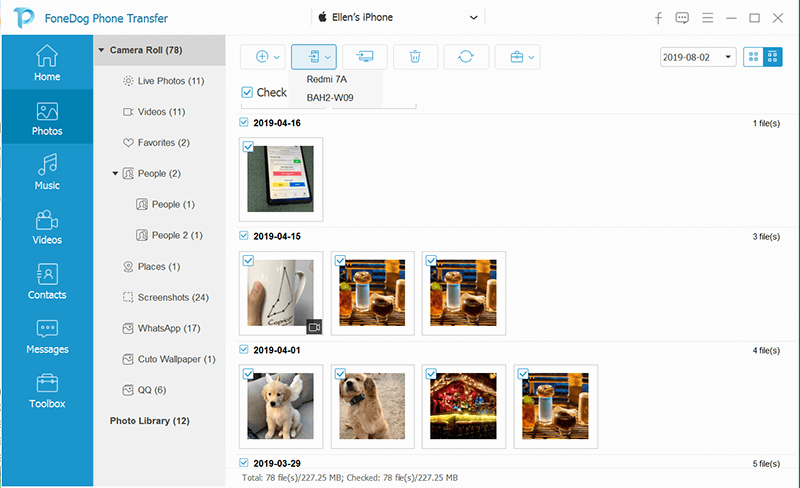
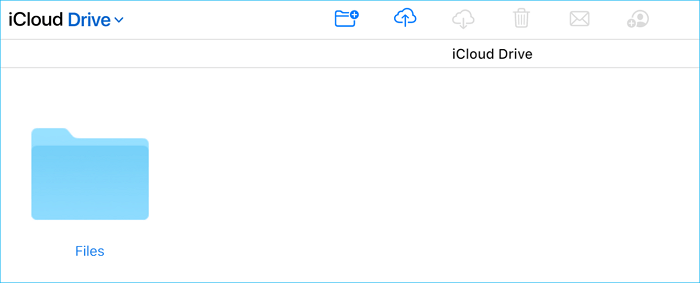
Transfer your photos, videos, contacts, documents, and other files to your iPad using the iCloud Drive. ICloud drive is the Apple counterpart of Dropbox wherein you can access this information online by simply logging in with your correct details.
You simply need to turn on the iCloud Drive setting on the iPad so you can easily perform the transfer as long as you are connected to the internet.
How to turn on iCloud Drive:
Make sure you got the latest iOS update on your iPad to be able to use iCloud Drive. Once you have turned on iCloud Drive, follow these steps on how to transfer files to iPad:
Another iCloud service you can take advantage with in order to transfer files to your iPad is by logging in to iCloud.com.
There are plenty more of cloud storage and services that you can take advantage with such as Google Drive and Dropbox. These services also allow you to transfer files to and from your iPad seamlessly.
How to Transfer Files to iPad using Google Drive and Dropbox:
Apart from the top 3 quick methods to transfer files to iPad, you can also use any email services for the same process.
Phone Transfer
Transfer files among iOS, Android and Windows PC.
Transfer and backup text messages, contacts, photos, video, music on computer easily.
Fully compatible with iOS 13 and Android 9.0.
Free Download
These are the top methods you can use on how to transfer files to iPad. But of course, there are still plenty more options. Follow the one that is quick and easy and can satisfy your needs!
Leave a Comment
Comment

Technical/Creative Writer
Kitchen, my safe space; black, my favorite color
Was a Technical Specialist for a while, troubleshooting Smartphone and Software-related issues until a writing stint caught my attention.
Phone Transfer
Transfer data from iPhone, Android, iOS, and Computer to Anywhere without any loss with FoneDog Phone Transfer. Such as photo, messages, contacts, music, etc.
Free DownloadHot Articles
 /
/
INTERESTINGDULL
/
SIMPLEDIFFICULT
Thank you! Here' re your choices:
Excellent
Rating: 4.8 / 5 (based on 107 ratings)
