FoneDog Screen Recorder
FoneDog Screen Recorder
Special Offer
Special Offer


By Vernon Roderick, Last updated: June 16, 2020
When one wants to keep their files safe, it is often a good idea to have a duplicate of those files in more than one place. That is why it is essential to know how to transfer all kinds of files from one device to another.
Alas, it is not as easy to do that if we are talking about iOS devices. This is because they tend to be incompatible with a lot of gadgets such as Windows PC and Android. This article will fix that for you by talking about how to transfer iPad videos to PC without having to spend a dime. Let’s start with what I consider to be the best method.
Part 1: How to Transfer iPad Videos to PC DirectlyPart 2: Other 6 Ways to Transfer iPad Videos to PCPart 3: Conclusion
Due to the incompatibility of iPad and PC, it would most likely be impossible to transfer iPad videos to PCthe normal way that is the Copy + Paste method. You would have to use a specialized method for this one.
FoneDog Phone Transfer is a tool that specializes in transferring files. Unlike your normal tools, it supports iOS devices and Windows PC, so it is the perfect tool for the job. Below are the steps you need to take in order to transfer iPad videos to PC:
Phone Transfer
Transfer files among iOS, Android and Windows PC.
Transfer and backup text messages, contacts, photos, video, music on computer easily.
Fully compatible with iOS 13 and Android 9.0.
Free Download

Connect your iPad into the Windows PC using a cable. Make sure the FoneDog Phone Transfer software is already open. This will automatically recognize the device and it will show some information about the connected gadget.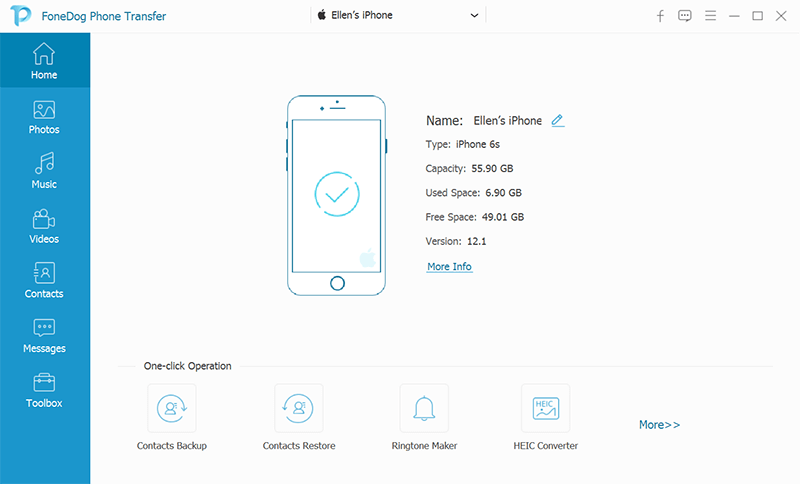
On the left side of the window, you will see a list of file types such as Photos, Music, Videos, Contacts, and more. Since we want to transfer iPad videos to PC, select Videos and it will scan for files belonging to the Videos category.
Once the scan is finished, you will be able to see a list of files in the right panel. These are the files belonging to the selected file type. In our case, they would be videos. Select the ones you want to transfer by clicking on their boxes. Click on the Export to PC button at the top menu once you are finished with the selection.
This is how you can easily transfer iPad videos to PC with a tool. Of course, there would be some of you who would prefer not to use a tool at all. If you’re one of those users, the next method might be more suited for you.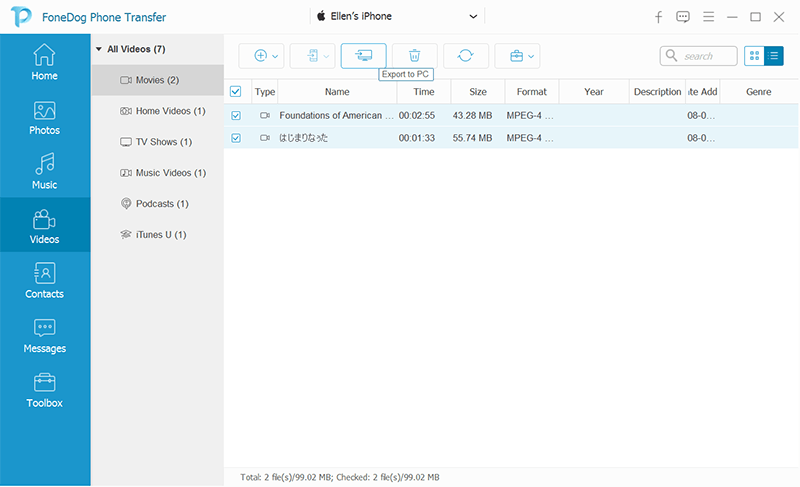
As I have said before, it’s most likely that you won’t be able to transfer iPad videos to PCusing the Copy + Paste method. This is because of the two devices’ incompatibility. However, I never said that it is impossible. Some Windows PC still allows users to transfer iPad videos to PC the traditional way.
In case you belong to those users, I suggest following these steps:
That is how you can transfer iPad videos to PCthe traditional way. Now don’t be worried if you can’t follow any of these because chances are, your Windows PC is completely incompatible with the iPad. In that case, another method is needed.
If your iPad has been with you for quite a while now, you may have already heard of iTunes. iTunes is a built-in function on most Apple devices including your iPad. It was originally a multimedia player, but now it has the ability to manage files, and that includes transferring them.
Now as luck would have it, iTunes is now available in Windows. As such, we will be using this app to transfer iPad videos to PC. Below are the steps you need to follow:
As you can see, up until now, you have been using a USB cable to transfer iPad videos to PC. What if you want to do it wirelessly?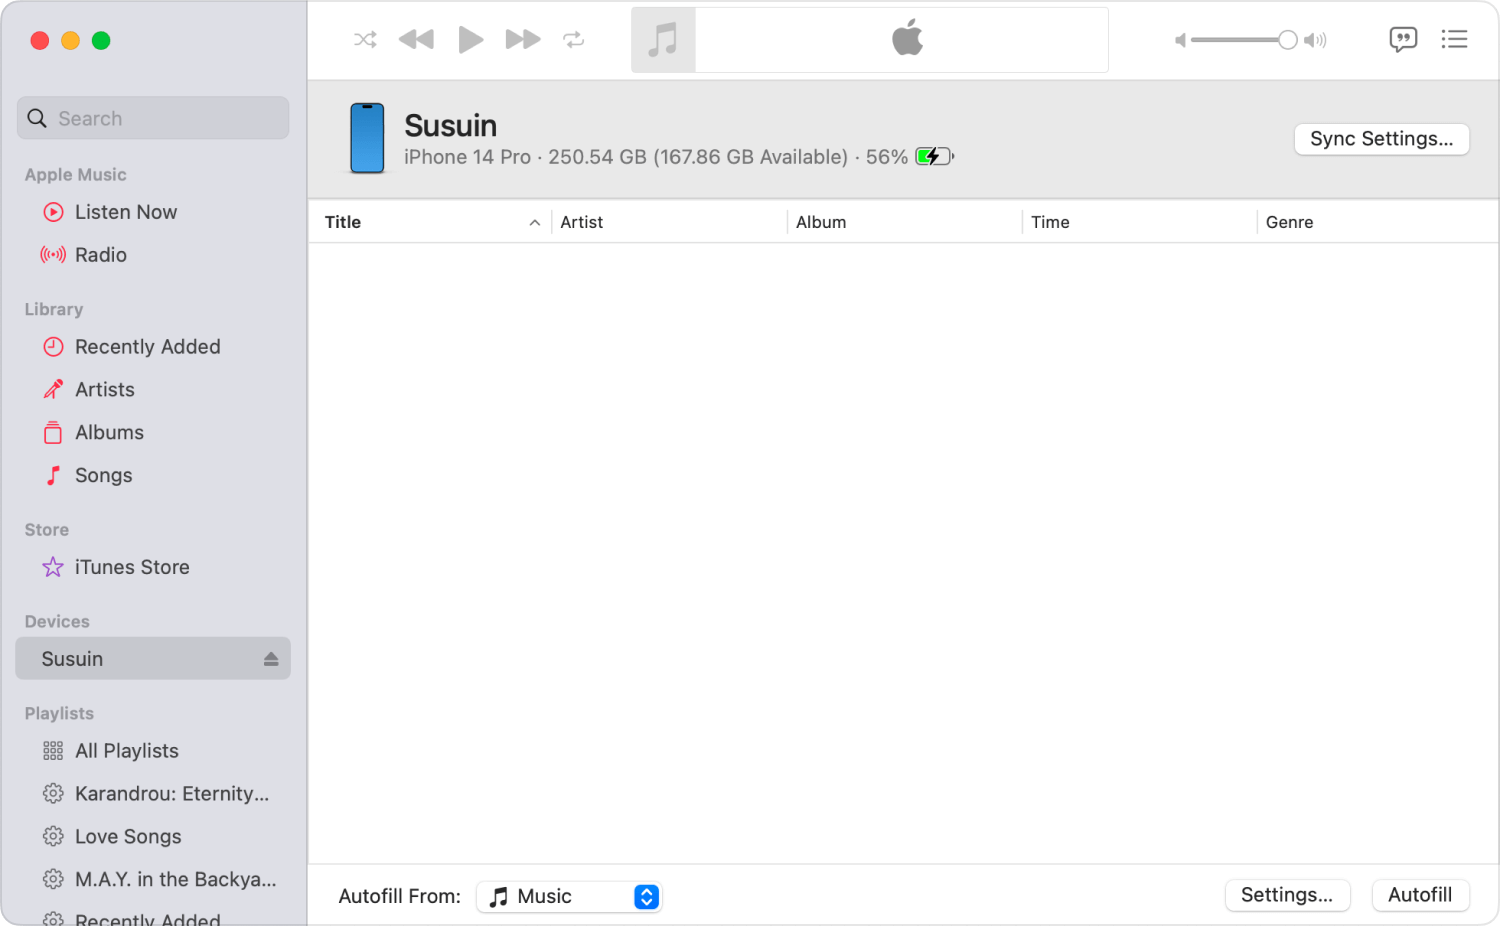
There are a couple of ways to wirelessly transfer iPad videos to PC, and for this guide, we will be talking about a total of four methods. The first one involves the iCloud Drive.
The iCloud Drive is where users can wirelessly store their files so that they may access them easily as long as they have internet. This feature is available to all devices, but it is a default feature on the iPad. Since you can store and access files, you can very well transfer iPad videos to PC with it as well. Here are the steps you need to follow:
This should take a while since we are talking about videos that are most likely large in size. Once it is uploaded, you can access it on your PC with these steps:
You now know how to transfer iPad videos to PCwirelessly through the iCloud Drive. The only disadvantage of this is that you need an internet connection.
Now that I have discussed how to use iCloud Drive, which is the cloud storage of Apple, it’s only right for me to discuss how to transfer iPad videos to PCwireless using the cloud storage of Windows PC.
OneDrive is the Windows PC equivalent of iCloud Drive. It allows the users the same features, as cloud storage. With that being said, it’s only natural to assume that you can exploit this the same way you did in the previous section.
Follow the steps below if you want to transfer iPad videos to PC:
Just like before, the files are now on the OneDrive platform. All you have to do now is to access those files on your Windows PC.
As you can see, trying to transfer iPad videos to a PCis as easy as that. So now that we’re finished with the cloud storage part, what other ways are there to transfer files wirelessly?
Lucky for us, there is a feature on iPad that allows you to transfer files easily, and that would be AirDrop. You can think of this as the Apple counterpart of Bluetooth. AirDrop allows users to transfer iPad videos to PCeasily by connecting the source and destination devices into one network. That’s pretty much what you need to know about AirDrop.
Now here are the steps you need to take to transfer iPad videos to PC:
You should now be receiving the video through your Windows PC. Of course, some Windows computers are incompatible with AirDrop.
If that’s the case with your computer, then I suggest trying the last method to transfer iPad videos to PC.
As you may already know, you can send emails regardless of your device. You can send emails from iPhone to Mac, from Android to Mac, and of course, from iPad to Windows PC.
What others don’t know, however, is that emails can store files such as videos. That is what we will be doing for today, attaching videos into emails and sending them from iPad to PC.
Here are the steps you need to take to transfer iPad videos to PC:
With this, you have seven ways to transfer iPad videos to PC. That should be plenty enough to not run out of options when the time of need comes.
iOS devices are known to have the tendency of being incompatible with devices of other brands. That is what most people know, and unfortunately, that is true for the most part. And for that reason, you will find yourself struggling with transfer files from an iOS device to another device.
Now that you have seven ways to transfer iPad videos to PC, that shouldn’t come as a burden to you. However, that doesn’t mean that you should manage your files recklessly. Make sure to still be careful when handling your files.
Leave a Comment
Comment

Technical Expertise for PC/Website Optimization
One of my passion is to develop software of my own
I write articles to share knowledge about IT technology and some experience in developing my own software, and developing my own software is one of my passions for work.
Phone Transfer
Transfer data from iPhone, Android, iOS, and Computer to Anywhere without any loss with FoneDog Phone Transfer. Such as photo, messages, contacts, music, etc.
Free DownloadHot Articles
 /
/
INTERESTINGDULL
/
SIMPLEDIFFICULT
Thank you! Here' re your choices:
Excellent
Rating: 4.6 / 5 (based on 104 ratings)
