FoneDog Screen Recorder
FoneDog Screen Recorder
Special Offer
Special Offer


By Nathan E. Malpass, Last updated: April 9, 2019
I am a new contributor to a music based website and I take many photos of concerts. Some of my pictures will be printed for use on their webpage, while I also want to build my portfolio for future use. How can I best resize my images for both purposes without losing the quality from my high definition camera?
- Budding Photographer
Part 1: Why do you need to resize images for uploading to the internet?Part 2: We live in a very fast world. How long does it take for your website to load?Part 3: The basics of image optimizationPart 4: Here’s the good news, there are loads of programs you can use to resize your images.Part 5: SEO - Yes, Search Engine Optimization is real even when it comes to images.Part 6: Use all the tools at your disposal.
Mobile phones and digital cameras of today carry the capacity to shoot in such high definition that these files often occupy tons of space and are of formats so high that they are not always suitable for the sites that you want to upload them to. Oftentimes, websites have a default auto correction for image sizing but in cases when they don’t, you will really have to resize these pictures in order to suit the design of the website you are uploading the picture too.
To paint a picture of what could happen if you don’t resize your photo and upload it onto a site that does not change the file size automatically, the picture on the published website could occupy the entire page and any text found on the same page could be seen in such a way that would be difficult for the reader to read, as opposed to it appearing as a nicely laid out paragraph.
As content creators, we have all learned that creating a page with supporting images help make the experience more enjoyable. Even tiny short articles have at least one photo supporting the document, whereas longer pieces of work are better assisted with multiple photos spaced several chapters apart.
But resizing a photo is not as simple as changing the percentage in which the photo exists as this could ruin the quality of your image. That is why it is wise to learn more about this in order to create the best uploads of the photos you would like published.
Let’s say you’re a webpage owner or employee, you spend hours developing content for your users to enjoy, and you work very hard at creating web pages that show off your incredible writing and perfectly composed photos, but when your user clicks the back button before your page even loads, then what would have been the point of all of your effort?
Did you know that if a web page takes more than 3 seconds to load, studies have shown that 40% of your visitors will leave? It may not seem like a long time, but with users experiencing much faster uploads of anything they click, in comparison, 3 seconds feels like forever. Let’s also not discount the fact that some of your users are probably running on internet connections that may be slower than yours, so imagine how much longer it would take for them to upload your massively sized photo.
These large images not only disrupt the user experience, but they also eat into the bandwidth of the account that is hosting your website. Naturally, there are sites that offer unlimited storage space, but a number of premier sites will offer you about 10GB of storage space. If you’re not careful about the file sizes of the photos you upload, your 10GB will be gone before you know it.
There are a few optimization options one has at their disposal when editing images. The most commons ones are file size and image type, but there are also more technical aspects like changing dimensions and image compressions. Let’s have a quick look at some of their differences.
File Type - File types are usually saved in either JPEG or PNG formats. Or GIF’s if the image needs animation. As a matter of fact, GIF’s have become very popular and we are seeing more and more of them everywhere we go.
It doesn’t matter to the user which of these file types you use considering that all browsers will be able to view all the file types mentioned above, but you as the creator can choose wisely depending on what serves the user and yourself the best. Here are a couple of basic rules of thumb that one can follow:
JPEG - JPEG’s are most commonly used for saving pictures. But being that they create images with much smaller file sizes, some of the pixels in the photo end up being bundled into pixels next to them. Typically though, these transformations are barely visible to the eye and that is why they are more often than not used for pictures that have people, places or things.
PNG - PNG files preserve the original quality of the image and all pixels of the images remain intact without them being grouped into bundles. So it is best to use this for images that contain logos, screenshots, and graphics with transparent backgrounds. But be reminded that the size of these images will be larger than those compared to JPEG’s.
GIF - GIF’s are used for images with animation.
Image Dimensions. Have you ever wondered how sometimes even a tiny picture can take forever to download? This happens when the creator uploads directly with his or her digital camera without bothering to resize the image to one that would suit the site he or she is uploading the image to. Remember, digital camera’s, heck, even mobile phones nowadays have such great quality that these files could be huge!
Internet browsers are sometimes able to scale down photos in order to fit nicely into the pages a user may view. When you look at a thumbnail or even full-size image, you are more likely than not looking at a photo that could have originally been a massive 12-megapixel picture. But it very important to know whether your browser or website is automatically scaling down your photos. If they do not do it automatically, you really will need a program like Adobe Photoshop or PhoneDog to compress your photos in order for your users to have a more pleasurable time while viewing your content.
Image Compression - There is a function called the lossy image compression and this reduces the sizes of your images more than anything else. Another major advantage of this is that you are hence able to save loads of space while your image barely suffers considering that the quality of the image is only altered by a little bit. Photo Editing software Photoshop has a function called Save for Web which is probably one of the most used options on image compression but the fact is that there are other tools that you can use to compress it another 40% without losing any quality, at least not to the human eye.
Have a look below at some programs you can use to further optimize your images.
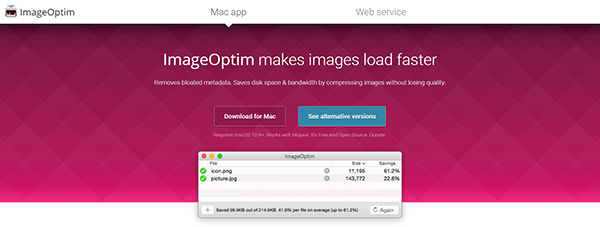
ImageOptim - used in tune with the Mac OS X, the ImageOptim is a free desktop tool often used for compressing PNG’s, prior to uploading them online. Though user-friendly via its drag and drop function, these files still need to be edited one at a time.
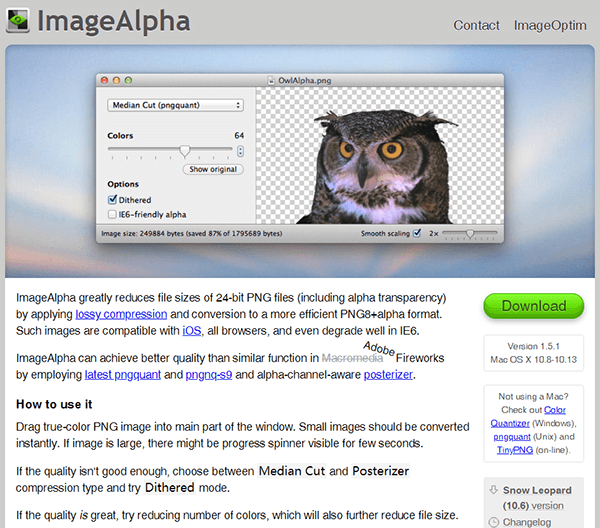
ImageAlpha - also used by the Mac OS X, is a lossy PNG compressor that is a master at compressing PNG images and shrinking file sizes by removing all unnecessary data from PNG’s, JPEG’s and GIF’s.
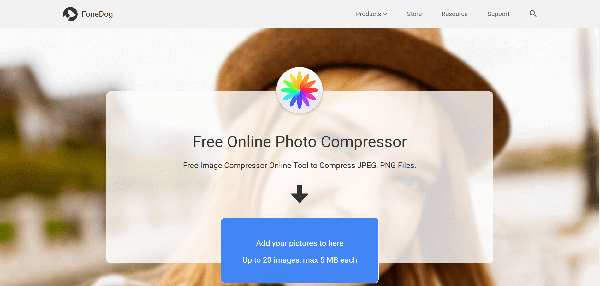
FoneDog - FoneDog is another solution to having to compress your images without losing quality. They also offer capabilities for both Mac OS X as well as Windows and can assist you better in running your site with less bandwidth and your computer with less disk space. They also their services for free and you can convert up to 20 images at a single time with a single command.
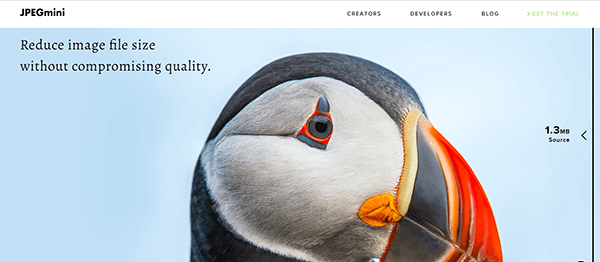
JPEGmini - This can be used with both OS X and Windows and has a lite version that allows you to resize up to 20 images a day for free. Should you need to optimize 21 or more pictures a day, for a fee of $19.99, you can edit as many pictures as you like.
TinyPNG - Despite its name, TinyPNG can also optimize JPEG’s. They are an online site that allows you to compress files or photos through its drag and drop user experience with a limit of 20 images for files that are 5MB or smaller and can all be optimized at the same time. TinyPNG offers 500 free optimizations per month. Should you need to optimize more than that within that time period, you can opt to pay $.002-$.005 per photo, depending on how many you need to optimize.
Kraken.io - Kraken is one of the popular online sites that allow you to optimize photos using their service although theirs is not quite as free as the others are. Their offer is that you can upload images that are no more than 1MB, for anything higher than that, there is a fee. However, they do have a WordPress plugin that is available for subscribers wherein you can automatically optimize your photos when you upload them to the media gallery. Now on the other hand, if your images are file sizes beyond 1MB, you can subscribe to their Micro plan which allows you to optimize 500MB of images for $5 a month, or, you could subscribe to their Enterprise plan for a massive 60GB of images for a cool $70 a month.
EWWW Image Optimizer - This one is for those who are not quite ready to spend the money to subscribe to the more popular sites and are not able to afford that much time for optimizing images manually. They do however have a premium offer which will charge you for a subscription that will perform lossy compressions as opposed to their free offer which optimizes lossless compressions.
At this point, it is very clear to us how optimizing an image can do wonders for your web pages, but did you know that your photos and images also help with Search Engine Optimization?
Yes, deciding on what you title the photos you upload, its file size, the alternate texts you assign to the photos, how relevant the photo is to the topic, where you have uploaded the photo too, and more details in connection to your photo will contribute to your SEO.
Let’s go through a list of how you can create the best images to go with your article.
Tip #1 - Have you selected an image that suits your topic? If for example, you’re writing about an island getaway vacation, it would really be quite pointless to show a photo of a supermarket. Obviously, you would want to show a photo of a beach with blue skies and clear waters, right? Remember that a properly selected image should support the subject of your post and will assist in emphasizing what you are writing about in order to create a better and more enhanced experience for the user. You may also want to remember that not every photo you upload needs to be a photo that you took. Many bloggers, in fact, take images from the internet and attach them to their posts, but be sure to credit the photographer if possible or add a link to the original photograph.
Tip #2 - As discussed in Part 3 of this article, we know that there are file type options that we can choose from. Let us now keep in mind some of the tips we learned earlier so as to choose the best file type for your article. Generally speaking, JPEG’s would be the first choice as they are smaller files as compared to PNG’s but that should not be the only factor considered when selecting your file type. It should also be noted that there are cases when PNG’s are actually smaller than the JPEG, and it is for this reason that one should really explore the possibilities in order to learn which really is better suited for your post.
Tip #3 - Pictures are not the only kinds of images. Sometimes, pages that contain paintings, drawings, charts, illustrations, GIF’s, screenshots, infographics, and other images can make a page more appealing to look at as a whole. By shaking it up and adding surprising images, the page then becomes more attractive to the user and will keep him or her coming back.
Tip #4 - Take the time to name your photos appropriately. You’ll notice that digital devices automatically name your photos. Though there is nothing wrong with that per se, it is not exactly help with your SEO of photos. Continuing the example of writing an article about an island getaway, what would it matter if your main header image had a file name of DCS8971, which means nothing to SEO or a user. Rather than leaving it as is, take the time to rename your photo with a name more SEO related such as best-beach-island-vacation.jpeg. These keywords must also appear in a natural fashion and must contain the dashes between each keyword as these dashes are read as spaces by Google. Once your images are named in accordance with your article, it will be more accessible by Google and will naturally help gain better visibility.
Tip #5 - Knowing when and when not to use captions, and how to use them correctly. A good rule of thumb would be to only caption your images if it provides valuable information. Remember that readers will scan through your page and look at your photos, if there are captions within them, your readers will read those captions. Make sure to use that opportunity to keep their attention by giving them catchy tidbits of information.
Tip #6 - Be sure to put those pictures where they belong. In a page full of text and ads and whatnot, having a picture out of place just does not help you offer the user a great experience. So always keep in mind that instead of having the task of uploading as many photos as possible to support the article, that the photos uploaded should instead be found near the pieces of information that the photo is supporting.
Being that there is no better time to optimize your images, starting yesterday will certainly assist you better in having users view your pages without the trouble of having to wait forever just to see a single image download. True, internet speeds are much faster than they used to be especially with the advent of fiber wiring and the likes, but one must also keep in mind that not everyone has a fast moving internet connection and those that do, still may not have the patience you would want them to have in order to view your high-resolution images.
Having said that, optimizing your images to best suit the pages that they will be found on is guaranteed to be your best bet and gaining the clicks, likes, and views that you may be targeting. And even if these are not your targets and you prefer your page to be private, optimization still remains a key factor for your own personal user experience. As they say, time is money and no one will wait forever just to see a photo download, especially if they don’t even know what they’re waiting for and if it’ll work it.
Watch out for your image dimension and always be sure to resize and adjust your percentages especially when dealing with photos that have come from digital cameras and mobile phones with high resolution.
Make use of the tools available at your disposal. It is there for you to use after all and they certainly have made it easy for just about anyone to use by having come up with payment gateways and options as well as free, although limited allowances, for optimizing your photos.
Leave a Comment
Comment

iPhone/Android Devices’ Maintenance Expert
Staying home, listening to music, writing tech articles
Many people asked me to repair their mobile phones so I have a lot of experience in mobile phone repair, and I know a lot about Android or Apple phones.
Free Online Photo Compressor
Hot Articles
 /
/
INTERESTINGDULL
/
SIMPLEDIFFICULT
Thank you! Here' re your choices:
Excellent
Rating: 4.5 / 5 (based on 88 ratings)
Free Online Photo Compressor
