FoneDog Screen Recorder
FoneDog Screen Recorder
Special Offer
Special Offer


By Nathan E. Malpass, Last updated: March 19, 2019
How to fix Dropbox error 413?
"Good evening. I am having an issue when it comes to attempting to upload some of my files to my Dropbox account. This has never happened to me before although I know that there are other errors that occur that can be fixed on your own. Is this one of them? I hope and pray that you can help me sort this out as I really need to upload a bunch of my files on to my Dropbox account and would rather try to fix it myself rather than to have to wait to go to a shop that can help me fix it, but may take a lot of time to do so. I am not that techy though so I’m hoping that the solution is something that I can handle myself. Thanks!"
— Mark from Nevada
Part 1: IntroductionPart 2: Tips and tricks on solving the problem of Dropbox Error 413: Request Entity Too LargePart 3: Uploading Files From Your Computer To Your DropboxPart 4: Other Common Dropbox Fixes For Your Dropbox Android AppPart 5: Conclusion
The dreaded Dropbox Error 413: Request Entity Too Large. What is it?
The Dropbox error 413 is an error that occurs when uploading a file or numerous files to the Dropbox account. It means the file(s) you are uploading are too large. Dropbox has a 50 GB of limit for uploading files. Therefore, the file(s) that you upload should be smaller than 50 GB.
There is no single reason why this happens and one user may experience this error while another user does not experience this error though the two users are doing the exact same thing. So it really is quite impossible at the moment to pinpoint the cause of this particular error.
However, there are a few helpful solutions that users can take in order to attempt to sort out this problem on their own. We hope that you find these helpful and that you will have your computer working for you just the way you want it to in no time at all. Good luck!
The different problems we face while sitting behind our computer screens come with a bittersweet experience. For one thing, any experience that does not go your way is obviously not what one would hope for.
However, if it were not for these inconveniences and problems, we would also not know any solutions and would, therefore, hit a brick wall with our problems and would not be able to move forward whatsoever.
Luckily for us, past experiences have now brought us here, to a section where we can offer a few tips and tricks on what users can do on their own without a professional assisting them along the way. Here we go!![]()
Solution #1: Try to reset your router
Resetting your router is a relatively easy task to do on your own. Many users have been able to roll up their sleeves and take a gander at it and a lot of them have found success in this not too time-consuming task.
The best part is, that resetting your router can actually solve a number of issues that you may be experiencing other than that of merely trying to sort out Dropbox error 413.
Before we continue, it is important to note that terminologies can become rather puzzling and it has happened too many times that the words reboot, reset, and restart have meant the same thing, yet they mean completely different things after all.
Granted, restart and reboot and one and the same, they mean to turn your device off. In the thousands of computer designs worldwide, some may have the command restart while others say reboot and yet the mean the exact same thing.
However, when you use the word reset, that is a completely different story and should be given the attention it deserves because resetting a device can lead to very different results or endings.
Since we are discussing restarting and resetting your router, this usually refers to a tiny little pinhole on the back of your modem or router.
By holding this button down for a few seconds, you are actually wiping clean all of the settings that you had previously programmed and taken you back to when you first purchased the device. Hence, tread carefully when doing so in order to not lose any information that you had not previously saved or have backed up.
For those who are unsure of how exactly to reboot your wireless router, please follow these three easy steps below:
This task, as mentioned earlier, is really rather simple. But what you may not know, is that by doing this, you may be solving a number of connection problems you have been having without the need to reset your router.
Solution #2: Make sure that you have updated your Android device
It can be commanded that your mobile phone and/or tablet are set in order to automatically update your applications when new updates are available for download.
But, this is not always the case but there are also ways in which you can do this manually. In either of the two options, they are easy to do and will not take up much of your time.
In order to manually update your applications, games, and what not, start by first connecting to a secure Wi-Fi network. This can also be done using your mobile or cellular data but a Wi-Fi network is simply more stable and secure.
Beyond a Wi-Fi connection having those advantages, updating your applications may also consume a large amount of data and may cost you a nifty amount that you might not be aware of.
Once completed, open up your Google Play Store on your android mobile phone and search for your device on the screen. There will be a dock with an icon that appears as a grid on white squares.
Click the grid and you will be able to navigate through all the applications found on your android mobile device. You can now scroll those pages until you find the Play Store.
Once you are in the Play Store, click on the Menu icon which appears as three horizontal lines at the top left of your screen. Navigate to the My Apps page and you will then see all the applications that are installed on your android phone.
If an application is not at its most recent update, you will clearly see an “Update” button. At this point, you can choose to either update that specific application or you may also choose to update all your applications. Select either of the two, depending on the command you wish to proceed with.
You will also need to accept the terms and conditions as you begin to update your applications. This must be selected in order for the update to take place. Failure to click on the acceptance button will result in the application not to update.
Solution #3: Be sure that you have also installed the latest operating system updates
Keeping your operating systems up to date can also have a drastic effect on how your devices and computers operate.
Partly because old operating systems cease to exist and therefore will no longer function, while the new operating systems are normally those that have fixed their bugs and are now working better and with more advanced features.
Updating your operating system is also rather easy and will not take too much of your time. Before we take you through the steps on how to update your OS, please be reminded that you should back up your device using iTunes or iCloud as you may lose some data along the way as you command an update of your operating system.
There are a couple of ways that users can update their operating systems and we will go through it in the list below.
The first would be how to update your Operating System on your device wirelessly. Start by plugging in your phone and then connecting to the internet through Wi-Fi. From there, go to your settings, followed by general, and finally, software update. Click on download and install.
Now if in case an error arises or your device needs more storage space, you can also opt to update by using iTunes and/or you may also choose to delete your content manually in order to give room for the update.
If you would like to update your device automatically, to on your option of automatic updates by going to settings, followed by general, then on to software update, till finally, you are in automatic updates. At this point, your iOS device will always update to the latest version of iOS so long as there is a new version to download.
Finally, you can also update your device through your iTunes. This is typically done by users who are unable to update wirelessly and have access to a computer that they trust.
First, you would need to be sure that you have the latest version of iTunes on the computer that you are using. After that, connect your device to the computer and then open iTunes.
Once opened, select your device and click summary, followed by clicking check for update. When that has completed, click download and update.
In part 3 of our article on what causes your Dropbox to error, we thought that it would be good to also explain how to upload files into your Dropbox, considering you do not already know how it is done.
In this section, we will walk you through the basic ins and outs of how it can be accomplished and we hope that you find this section useful as well.
Knowing that we keep valuable files on our mobile phones, we also know that mobile phones break, can get stolen, and as a result, these precious files can disappear. So it is a great practice to always know how to store these files in case of such a heartbreaking problem that may cause us to lose our valuable information.
Dropbox is a place where we can store files safely and best of all, it is kept safe from other users and will always remain secure, so long as you are not giving your username and password to other people.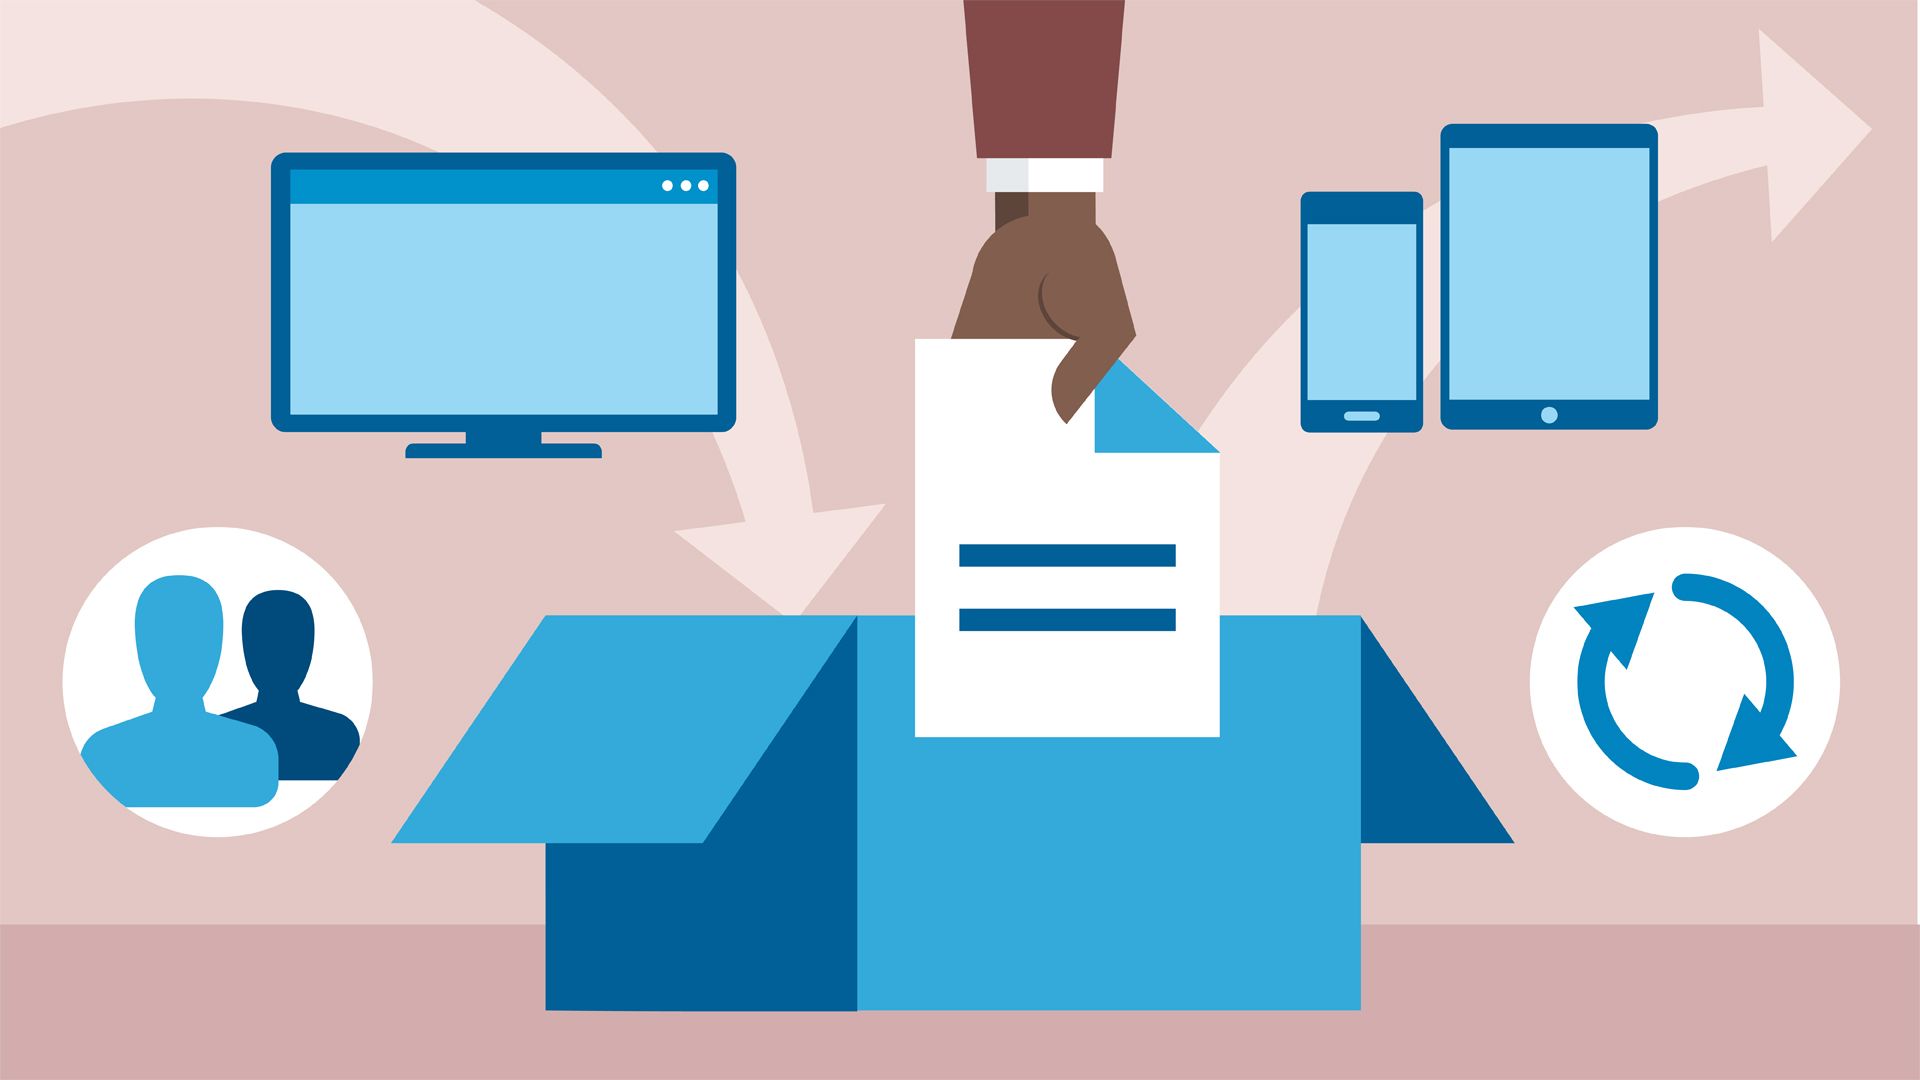
Here are the necessary steps that one must take in order to upload your files into your Dropbox from your computer.
First, we will tackle how to upload your files into your Dropbox account using the Dropbox application.
Second, we will now quickly elaborate on how to upload your files into your Dropbox from the actual Dropbox website.
Start by going to www.dropbox.com. When you have opened the page, log in to your Dropbox account. After you have logged in, click the button on your right-hand side and then select the files that you want to upload.
After having done that, click on the folder on your Dropbox account that you want to upload then simply click Upload. Soon after, the files that you had selected will now be found in the uploaded folder you had selected.
Third and final is how to upload your files into your Dropbox account using AnyTrans for Cloud. This is a powerful cloud manager that also lets you upload your files into your Dropbox account from your computer directly into your Dropbox account.
To do this, upload your files into your Dropbox account from your computer. Since you are utilizing the multithreading-transfer technology, AnyTrans will enable you to upload and download your files into your Dropbox account rather speedily.
You can be 100% sure that your files are secure and safe and AnyTrans for Cloud will protect your files during this entire process.
To use AnyTrans, simply download it into your computer and then log in with your AnyTrans account. From there, click on the + sign and then select Dropbox. You will need to give your authorization in order to add your Dropbox account to AnyTrans.
After having done so, simply click the upload button and select the files you wish to backup and then you will then be able to open your Dropbox files.
Since Dropbox does face a number of problems, which can be very frustrating, we have decided to include a few bonus bits that can help you troubleshoot on your own in case you are experiencing any other problems with Dropbox.
Hopefully, you have never and will never experience any of these inconveniences, but in case you do, here are a few helpful tips to help you get your Dropbox account working your way again.
Problem #1: Your files will not open.
If you are unable to open files that you have saved in your Dropbox account, it could be a result of your file being corrupted. You can start the problem solving by trying to view the file in a third-party application to check if there is a problem with the actual file.
To do this, open your Dropbox application and go to the file in question. Click on the arrow on the right side of the file and then scroll up in order to select export. Select an application that allows you to open the file. For example, if the file in question is a photograph, be sure to select an application that allows you to view images.
If you are unable to view the file on that application, it could be that your files are corrupted. If so, you really won’t be able to view that same file on your Dropbox application.
Problem #2: Are you unable to download or upload a file because the file size is too big?
This problem occurs occasionally when trying to download a file that exceeds 100MB. It happens more often in cases when your connection is through your mobile device as opposed to a secured Wifi network.
If and when this happens, you can attempt to upload the file through your Dropbox desktop application on your PC. It just so happens that using the Dropbox desktop application is able to handle receiving larger files. If you do not have the Dropbox desktop application, you can easily download it and then sign into your account.
Problem #3: How to cancel an upload?
If you have decided that you no longer want to upload a file that you had already selected, you can easily cancel the transfer by following the 4 steps found below:
People Also ReadHow to Fix Google Drive Network Error ProblemHow to Do Sanpchat Login and Fix Login Error
The Dropbox is a brilliant storage facility that allows us to safely and securely keep all types of files. It is easy to use and takes barely any time in order to familiarize ourselves with its basic functions.
However, like most applications, it does come with its fair share of errors that can frustrate and inconvenience us. But the best part of that all is that we can do something about it on our own and all is never lost.
We encourage you to learn these basic troubleshooting tips and rather than experience frustration, know how to deal with it in order to get going once again to do exactly what it is you have set out to do.
Leave a Comment
Comment

iPhone/Android Devices’ Maintenance Expert
Staying home, listening to music, writing tech articles
Many people asked me to repair their mobile phones so I have a lot of experience in mobile phone repair, and I know a lot about Android or Apple phones.
Android Toolkit
Recover deleted files from your Android phone and tablet.
Free Download Free DownloadHot Articles
 /
/
INTERESTINGDULL
/
SIMPLEDIFFICULT
Thank you! Here' re your choices:
Excellent
Rating: 4.6 / 5 (based on 74 ratings)
