FoneDog Screen Recorder
FoneDog Screen Recorder
Special Offer
Special Offer


By Nathan E. Malpass, Last updated: March 1, 2019
Please help! My computer is not one of those supercomputers that can store thousands of GB’s worth of data. In fact, it can barely store what some mobile phones can store. But I love taking pictures and editing them as I also love sharing them on my blog and on social media. Do you have any advice or tips to a newbie that can help me minimize the size of my PNG files that way I can continue to store them on my computer and don’t have to keep deleting them after I’ve put them online? Thank you in advance and hoping for your wisdom!
- Girl with a Small Computer
A PNG, otherwise known as a Portable Graphics Network, is a common file type used for saving images. These images are often edited and shared and then displayed for yours and someone else’s viewing pleasure. A PNG file is lossless compression and allows for advanced features such as gamma correction and gives you the ability to reproduce specific image colors over a large range of functions such as logos, titles, and copyright information.
Here is a little bit of history and trivia about the PNG. Did you know that PNG is pronounced as “ping”? But don’t make the mistake of spelling it as “ping” otherwise no one will know that you are referring to the PNG. As a matter of fact, it was noted in the specification and was a major topic of conversation during its design stages.
Furthermore, it must be stated that not resizing your images could result in your users to lose patience in waiting for your site to download. Yes, large image sizes will slow down the rate in which your web page downloads its information thus delaying the viewing pleasure of you and your users.
Considering today’s bandwidth and speed in which people view other sites, it is safe to say that if a page doesn’t load within the first 3 seconds, he or she will likely click the back button and opt to view something else, and there is also another site waiting to be clicked and viewed and enjoyed.
Digital images have two main formats, raster, and vector. A raster works on the basis of colored dots which are stored in a rectangular view, which are so tightly knit together that one is practically unable to differentiate where one ends and another begins. The vector image works on the basis of lines and circles and is distinguishable from one another.
The reason why two different formats exist is simply that one provides you with the tools you need depending on what you are trying to achieve, and both are able to do that, it simply depends on what your goals are when optimizing an image. A photo of your family may have different needs compared to an image of a logo you are creating for your company. Vectors are commonly used for creating letterheads and other graphics that contain text and one of its main advantages is that you can compact the file without losing the sharpness of the image, regardless of how closely you zoom in. A raster image is more characterized by depth.
The deeper the image the more colors it will have. Bits measure the pixel depth of an image wherein the smallest unit of measurement of a single bit is represented by two colors which are more often than not, black and white. Conversely, 2-bit would be 4 colors, 8-bit at 256 colors, and so on and so forth. When compressing, it may be helpful for you to know that it takes 8 bits to make a byte. So that would mean that 320 x 240, a 24-bit image would have a resolution of 76,800.
In short, vectors and rasters are both used with PNG’s, it simply depends on what you want to do with your image. But considering that we are discussing PNGs, and rasters are a format that is more common, let’s have a closer look at its features. As specified above, a raster is a series of dots, these are known as pixels (picture elements). Pixels are the common term used for describing an image’s dimensions. This is also sometimes referred to as resolution. Some common image sizes include 640 x 480, 800 x 600, and 1024 x 768 pixels. These are also the displays of common computers.
There are many benefits that come with using PNG’s. When editing images, whether photographs or others, PNG offers an ideal option for saving the secondary stages of that file. Since it operates on lossless compressions, you would be able to save, re-edit, and store again, the quality of your image will remain the same. Conversely, this would not be the case if you were working on a JPEG format with even its highest setting in operation. PNG files that are saved on one application are also beneficial for users as they can be opened and read by other applications, so long as they support PNG files. PNG’s also allow you to store images with a transparent background which is not something typical or common on other image-based file storage types.
When the late ’90s rolled in, the common file types used were JPEGs and GIFs, and though these work very well and do what they were built to do, they simply do not have some of the qualities that a PNG image has. JPEG’s are very good at doing what they were built to do though, they store 8-bit grayscale and 24 bit true colors with satisfying quality and very good compression, whereas the GIFs, and PNGs work better when it comes to fewer colors yet higher precision of sharp edges. PNG also helps support brightness and transparency, vital tools when optimizing certain images.
With the GIF being the originally planned optimizing file type for web use, it remains a great option and is still widely used today. However, you will find that the main purpose it serves is for animation images. Something JPEGs and PNGs are unable to do. But the PNG was originally designed to replace the GIF and has its own set of advantages. These are alpha channels, gamma correction, and two-dimensional interlacing. Compressions of PNG’s are also better than that of a GIF. Ultimately though, the GIF’s main advantage over PNG’s is that it can reproduce multiple image support.
Additionally, When creating a transparent background, keep in mind that there are also automated tools in which you can use to simplify your optimization process. Try the Clipping Magic Tool and the Background Burner Tool. These tools will help you figure out how to easily turn your backgrounds into transparent images.
For example, when turning images transparent using Adobe Photoshop, create multiple layers by first placing your image in its own layer. From there you can delete the background and then use any of a number of tools, some of which include the eraser, the marquee, and the lasso in order to manually delete the background you don’t want.
Adobe Photoshop is probably the most popular image editing software used in today’s digital arena. Photoshop is not free but has proven to be able to support most of the needs of your common designer. But there are others like Microsoft’s Paint and Paint 3D, as well as GIMP. With today’s technology and advancements in computer capabilities, chances are you have at least two different tools that would allow you to open a PNG file on your computer. But be mindful of what your computer has and consider that when you click an image file to open as there are chances that the default program that opens up will not be your preferred software to use. For this, there are guides online on how to reprogram that command in order for your double click to take you straight to the program that you do want to open your image.
But Adobe Photoshop is not the only software you can use to resize your images.
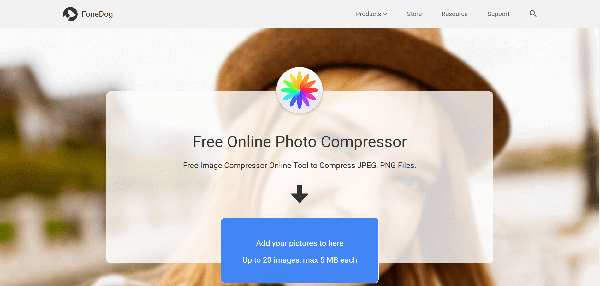
FoneDog, for example, is one of the more user-friendly websites you can use to optimize your photos plus it lets you resize 20 images at the same time, considering that the images are within 5MB of data. They also have an easy to use click and drag option at the top of the page to make your optimizing needs a little more effortless. The site is also free so you can count that in as another advantage of its use.
People Also Read[Solved] iPhone Photos Disappeared from Camera Roll.How to Recover Photos from Recently Deleted on iPhone
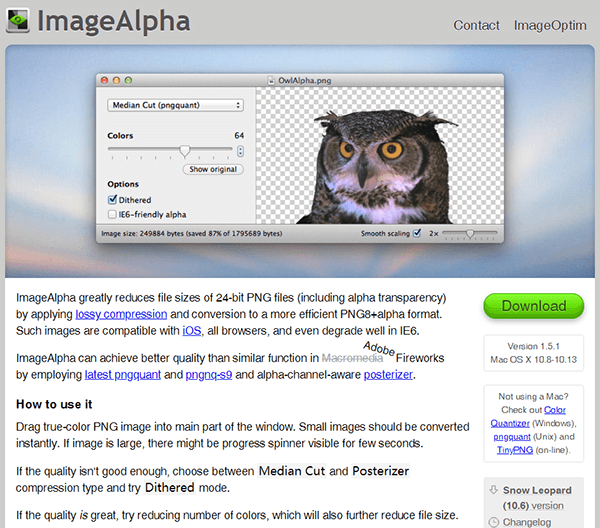
There is also ImageAlpha which is a software you can use with your Mac OS X that helps reduce your image size as it allows you to remove any unwanted data found in your PNG. ImageOptim is not merely web-based and by having this you will be able to optimize your photos from anywhere you are as you won't even need to be connected to the internet to do so. JPEGMini is like FoneDog in that it allows you to resize 20 images at the same time, however, if you are unable to work within that limit, then you can choose to subscribe to their package that lets you optimize as many photos as you want for $19.99 per month.
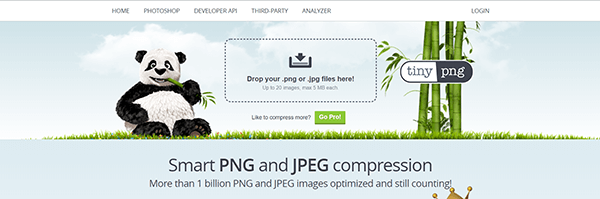
TinyPNG is quite similar to FoneDog. They are both web-based sites that allow you to optimize up to 20 images at the same time through the nifty drag and drop function on their home pages. TinyPNG also has a 5MB limit per photo, which is a decent size for most pictures. What TinyPNG has that FoneDog does not have though is a paid subscription for added service, in this case, you could choose to pay TinyPNG if you need to resize more than 500 images a month and they would charge you $.002 - $.005 per image depending on how many images you would like to resize.
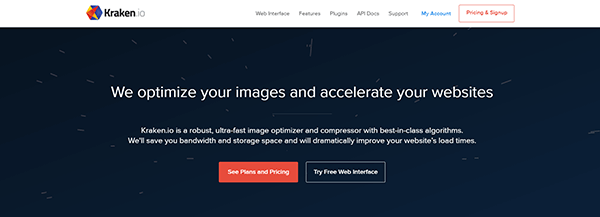
Kraken.io is also a web-based software that is free provided that the images you are resizing are within its 1MB size limit. If you choose to use Kraken but need more out of them, you can also subscribe to their Micro Plan that allows you to resize up to 500MB of images per month, or subscribe to their Enterprise Plan that gives you 60GB worth of images to optimize for a cool $70 per month.
In a nutshell, it is clear that there is a need to make your PNGs smaller and to conclude, some of those reasons are:
01 - Your site will run at a greater speed than that of a site that does not optimize their images appropriately.
02 - Google will score your page speed higher.
03 - Google will even like you better hence giving you greater search results as opposed to those that are unable to resize their images.
04 - Google also counts bounce rates. Bounces are caused by viewers visiting your website but clicking away quicker than other sites with lower bounce rates.
05 - Less storage on your computers. This is vital, especially in the long run and will help with your efficiency as it will help you work quickly.
06 - Money will be saved. Yes, for mobile data users, you and your visitors will be spending less as a result of quicker load times.
Now that you know how to resize your PNG’s and have learned why it is so important to optimize your photos, as opposed to uploading massive raw files onto the internet or even just saving them on your hard drives, let’s get into the other benefits of what you can now achieve.
Google has bots that look at all sorts of factors of your website. They take a close look at all the text written on every page to determine keywords and they also count the number of milliseconds it takes for your web page to download. Having said that, it is wise to keep in mind that images, graphics, and other embedded links slow down your download speed. However, there are ways to save your PNGs properly that will help you reduce the size of your files and avoid bloating of your images. There are web owners who don’t mind so much whether they are visible by Google, and there is nothing wrong with that, but one should still keep in mind that user experience is important and even if you the owner and the only user, then wouldn’t it still matter how you view your own web page? By reducing the sizes of your images, you will be making yours, and everyone else’s user experience better, and they will thank you for it.
Thanks to the PNG image type and its great compression, we now have the option of using them to help us reduce the size in which we upload our images at. PNGs also happen to be widely used and viewable by any of the many web browsers and are great as they offer so much, including very specific optimization as well as transparent backgrounds.
Did you know that there are two versions of PNG files? That’s right, the incredible PNG offers two different versions to their users, once again depending on what best suits your needs. The 8-bit PNG is the limited version that has 256 indexed colors, and the 24-bit PNG that contains millions.
The compression of the PNG will also save you tons of disk space. Without the need to get technical, raw files taken from your mobile devices and digital cameras are saved with rather large data storage. Resizing your PNGs will save you enough space that you will no longer have to keep deleting images from your computers just to allow for space for new incoming images. The PNG compression works very well and by using it will not only save you disk space but will also help your computer run better.
For those who worry about losing the quality of their images as a result of compressing PNGs, have no fear, the PNG keeps your images clear. That is one of the main claims to fame of the PNG file, it works very well at compressing their images whilst maintaining great quality. Try it yourself and see how though you can compress your files down from heavy data to a much lighter version, the image will remain practically the same.
PNG files are clearly a brilliant option for a file type to use, but it would also be wise to remember that there are other file types available out there, depending on what you really need. For instance, a PNG file may actually contain higher data and make it a heavier file to use when attaching PNG files to an email and may also slow down your web page download speed. So here are a few things to keep in mind when using PNG files to your best advantage.
Consider the image quality of your file. Since PNGs don’t compress like the JPEG in terms of lossy formatting but the quality will remain the same. So it is in effect better to use the PNG for files that are not for simple low contrast images. Use them for lines and texts in the image, for files that would benefit from the transparent background, and for files that have large areas of solid colors. Illustrations and screenshots work best with PNGs as well.
You may also benefit from using PNGs in cases where images need to be edited time and time again. So for files that would require frequent editing or adjustments and development. PNGs will not have any loss to their quality even with many changes done to them as there is no generation loss, whilst formats like the JPEG will lose its quality over time with repeated optimization done to it.
Leave a Comment
Comment

iPhone/Android Devices’ Maintenance Expert
Staying home, listening to music, writing tech articles
Many people asked me to repair their mobile phones so I have a lot of experience in mobile phone repair, and I know a lot about Android or Apple phones.
Free Online Photo Compressor
Hot Articles
 /
/
INTERESTINGDULL
/
SIMPLEDIFFICULT
Thank you! Here' re your choices:
Excellent
Rating: 4.7 / 5 (based on 59 ratings)
Free Online Photo Compressor
