FoneDog Screen Recorder
FoneDog Screen Recorder
Special Offer
Special Offer


By Nathan E. Malpass, Last updated: March 1, 2019
Hi! I work as a contributor to a magazine during my free time and work full time as an accountant. My question is since I take high-resolution photos with my Canon digital camera, is there a way that I can resize up to 30 photos at once? Or do I have to do this manually one by one?
- Elmer Go
Part 1: Introduction.Part 2: Before Choosing Your File Type, Choose Between Raster and Vector.Part 3: Is Higher Resolution Better than Lower Resolution?Part 4: The Different Types of File Types.Part 5: The Importance of Resizing Multiple Images At Once.Part 6: Where You Can Go to Resize Multiple Photos at the Same Time.Part 7: Conclusion
Bloggers and web developers have seen it a million times. We sometimes find ourselves with the need to create an article that not only contains a ton of text but also have a need to upload countless images in order to better support the article. As we may have learned from the past, images often provide better SEO and are generally more appealing to the user as opposed to a text-heavy page that leaves no room for images.
However, lessons have also taught us that optimizing photos can be quite the tedious task and can take a lifetime to complete, when not done with optimum precision or style. It is because there are options in which one can perform tasks with better quality, we are here today to talk about how you can resize multiple images at the same time, and save you the trouble of losing an entire day repeating the same method over and over again, just to get your photo heavy article published.
Unless you are an experienced or trained graphic designer, chances are you may have not yet heard about what a Raster Image File is, nor are you familiar with the Vector image file. But without knowing it, you’ve used them before. Raster images are created through a succession of pixels that form an image. JPEG’s, PNG’s and the rest of these file types are raster image extensions.
As a matter of fact, every photo you’ve seen whether in person or online is a raster image. The pixels that create the image are proportioned based on the resolution given, and when pixels are stretched to fill empty spaces, these areas start to appear blurred and unclear. However, to maintain good quality, the percentage of your compression must be specified accordingly to match that of your file size. Having said that, it is wise to save your raster files at the exact dimensions needed for your upload.
With Vector image files, there is more than you can do as these files offer a wider scope of possibilities. They use proportional formulas as opposed to pixels and are your best choice for creating graphics, particularly for those that are often resized. These vector image files are also a must when creating your logo and other brand graphics. Vector files offer such a wide range of image precision that developers often use these for creating images as small as a tiny thumbnail to images as large as airplane graphics.
In case you haven’t picked this up from experience or from sitting around a table with developer friends and photographers, there is a very important need in deciding what type of resolution you need for your task at hand. Since we are talking about resizing images for the internet, then it’s safe to say that you would be working with relatively low resolution. A web page for example displays at 72dpi, otherwise known as dots per inch. But for conversation's sake, a photo resized to a perfectly crisp image displayed on your computer, if printed onto a large format would look terrible. It would be blurred and pixelated and would lose color, etc. The minimum dpi that a picture can be printed to be presentable is around 300dpi.
DPI, dots per inch, and PPI, pixels per inch, are the units of measurement that we use to determine how dense the pixels are, for whichever format we are using them for. As mentioned earlier, websites only display at 72dpi yet photos should be printed at no less than 300dpi, this gives us a clear insight as to just how vital it is to select the right size for the photo you are using.
It is always helpful to remember that though we have access to resizing images and selecting our own dimension and can crop where we please, this does not simply mean that any photograph can simply be placed where you want it to be. Many things can still go wrong if you are not thorough in your optimization.
01 - JPEG - Joint Photographic Expert Group. JPEG’s are the most common image file type used across the board. Known for their compressions to be “lossy”, users are aware that the quality of the image decreases as the size decreases as well.
JPEG’s are often used for attaching images to digital documents or when printing at a high resolution is required. Experienced optimizers are aware that there is a fine balance between selecting your file size and adjusting the resolution of your image.
02 - PNG - Portable Network Graphics. PNG’s are best used with interactive documents that require a ton of editing as you can edit as much as you like without losing any quality. However, they are relatively low in resolution and are therefore not the best choice for printing photos with.
One of the major advantages of the PNG file type is the fact that you can save your images with a transparent background giving the viewer a sharper quality online image.
03 - GIF - Graphics Interchange Format. GIF’s are the craze nowadays. You see them on many ads as well as on multiple websites that now allow for animation. They are the moving pictures that you see and repeat every few seconds. GIF’s, to the technical users, are created from using 256 colors in the RGB colorspace. However, due to its relatively limited number of color usage, have low file sizes needed.
04 - TIFF - Tagged Image File. A TIFF is an image of great quality that uses large raster files. It is a file type that uses “lossless compression” which means that even if you re-save it or compress it, the quality will remain the same. However, one must keep in mind when using TIFF’s, that they take longer than other file types to upload so it may not be your best option if your images are to be used for online publication. TIFF’s are generally used for printing of photographs.
05 – PSD – Photoshop Document. Adobe Photoshop may well be the most famous used photo editor in the world. The word “photoshop” in itself is already used as a noun. PSD’s allow editors to take advantage of the many layers that Photoshop lets you use in order to edit your images in any way that you please. Though the most popular optimizing tool, one of the disadvantages of using Adobe Photoshop is that it works with raster images as opposed to vector images.
06 – PDF – Portable Document Format. Another Adobe product, PDF’s biggest claim to fame is that it enables users to view rich information from any application and with any computer or device available. For example, you hire a designer to create a logo for your company using a vector image in a PDF format, you will be able to have a good look at your image without any blurring or pixelations, even without having any kind of editing software. And based on what you see, your editor will be able to conduct further adjustments based on your specifications. Sharing graphics using PDF’s has been the most universally used tool in image optimization.
07 EPS – Encapsulated Postscript. This vector format editing software is best used for producing high-resolution images meant to be printed. Of all the design software on the market, you will find that nearly all of them are capable of creating an EPS file. Like the PDF files, EPS extensions can be used to optimize vector images, even if they are not Adobe products. By doing so, designers are able to open files in other software such as Corel Draw through a safe and secure file transfer.
08 – AI – Adobe Illustrator Document. If there was ever a software image optimization tool mostly preferred and relied on by designers, it would have to the Adobe Illustrator Document. Whether creating, editing, and finalizing images for online use or for print, AI stands above the rest. This is quite possibly because Adobe Illustrator allows you to create images from start to end, without having needed anything to start with. It also produces the easiest type of file to manipulate, vector files and can also create all possible file types. All designers probably already use Adobe Illustrator and if they don’t, they should start, now.
09 – INDD – Adobe Indesign Document. Most commonly referred to as Indesign, INDD is best used for larger scale publications such as magazines and newspapers. Another advantage in using the Adobe Indesign is that you can use images saved from Adobe Photoshop and Adobe Illustrator and combine them in order to execute content-rich designs that contain advanced typography, formatting information, page content, embedded graphics, plus other more advanced layouts.
10 – RAW – Raw Image Formats. Raw images are the least used types of images on this list. They are frequently the first file type but these images do not often remain as Raw files. What happens is, when you take a photo, it is automatically saved as a Raw file, however, once you download that photo and do any editing to it, that image is then saved as one of the file types found above
No matter what camera you use nowadays, the chances of those images being too large are very high. In fact, I seriously doubt that anyone would send, upload, or share a raw photo with anyone online without first resizing it. Even cameras with lower resolution still save images at the relatively high file size and it would take forever just to send or upload a single photo. Luckily, technology has also come a long way in helping photo sharing and with that, are multiple tools that one can use in order to resize their pictures so as to upload on to the internet, send via email, or even put on social media.
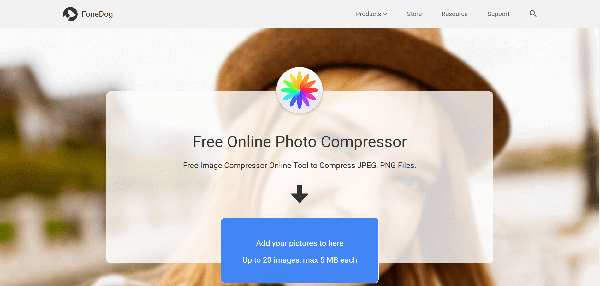
FoneDog is one site that allows users to resize up to 20 photos at the same time, so long as they are each within 5MB. Naturally, you will find that there are other programs that will allow you to do the same, however, you’ll notice that some will force you to subscribe in order to avail of their services, while others may have limits as to how many you can optimize.
The importance of this feature is simply found in the fact that we take tons of photos. Whether on our mobile phones, tablets, laptops, or digital cameras, we love creating memories and documenting them with pictures. Some people take hundreds of photos in a single day!
The following are a few examples of software that one can use in order to optimize or resize photos. Please take note that not all of these allow you to do so for free, or 30 at the same time, and may have other limitations. But, I have decided to list them down all the same in case you find that one day you’ll have a need for these options since each of them provides you with their own set of pros and cons.
FoneDog - One of the best things about using FoneDog is that it allows you to resize up to 40 photos at the same time, considering that each photo is no larger than 5MB. Which I’m sure you’ll find is not a bad deal at all. Furthermore, FoneDog works with both Mac OS X as well as Windows. This free offer will help you maximize your file types and will lessen your worries about occupying too much disk space on your hard drives.
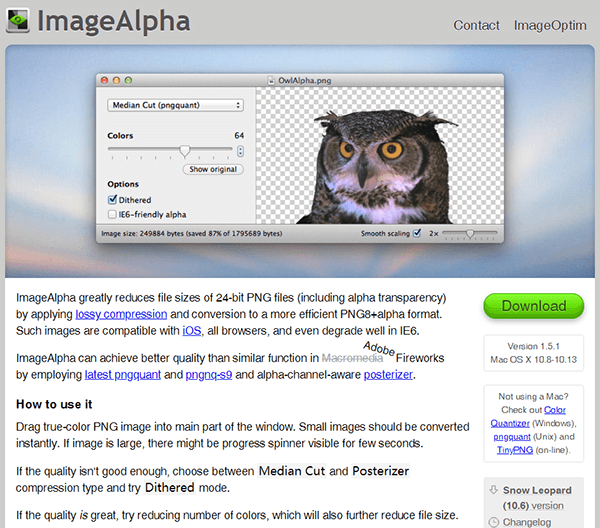
ImageAlpha - This lossy PNG compressor is a genius at compressing PNG files because it helps remove all unnecessary data found in your JPEG’s, GIF’s, and of course, PNG’s too. However, ImageAlpha only works on the Mac OS X so if you’re a Windows user, this is not exactly your best option.
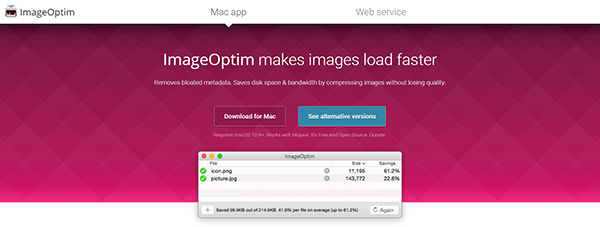
ImageOptim - Here’s another great tool, however, it also works only on Mac OS X. But, it’s reasons for being great are that it has a desktop function that allows you to edit your photos offline. It has a very helpful drag and drops function too, but one of its downsides is that you have to compress your images one at a time.
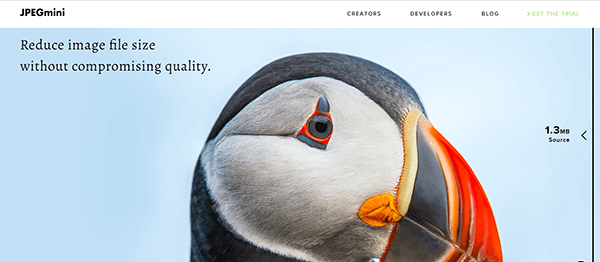
JPEGMini - This option has a free offer for users who only need to resize up to 20 photos per day. If however, you have the need to optimize more than that, you can opt to subscribe to their paid package, you would have to pay $19.99, but would be able to resize as many photos as you like.
TinyPNG - Don’t be fooled by its name. TinyPNG does not mean that only PNG files are welcome to use it, JPEG’s are welcome here as well. They are an online based site with a cool drag and drop function and will allow you to compress up to 20 photos at the same time. Like FoneDog, in order to compress 20 photos at once, these photos will also have to be a maximum of 5MB per photo. TinyPNG offers up to 500 photos a month, but if you need to resize more than that, you will be asked to pay anywhere between $.002 - $.005 per photo depending on how many you will be resizing.
Kraken.io - Here’s a service that has numerous payment options, depending on what best suits your needs. If you don’t want to pay anything, you can avail of their services considering you keep your photos within 1MB. Or, you can subscribe to their Micro Plan which allows you to compress 500MB of photos within a month for $5. Or for $70 a month, you can subscribe to their Enterprise Plan that will allow you to resize 60GB worth of images.
People Also ReadiCloud Photo Recovery: Best Guide to do it.3 Top Ways to Recover Deleted Photos from iPhone X
One thing is clear, there is a need for resizing multiple images at the same time. It is impossible to expect users to do this manually, considering the volume in which we view photos. As it is, we take the same photo at least twice with our mobile devices, and that’s merely for a selfie. We take tons more when photographing something we deem very important or something that needs to be well documented. If we have any intention of sharing these photos, regardless of the avenue in which we choose to share them in, then there will for sure exist the need to resize.
It would be in every user's best interest to explore the different optimizing options. One may be better for you, while another may be best for your partner. Experimenting and learning each function will play a major role in knowing which one would be best for you. But the best part is, have no fear, there is definitely a program out there for you, you just have to find it. Chances are, you’ll even find it within minutes of exploring.
Leave a Comment
Comment

iPhone/Android Devices’ Maintenance Expert
Staying home, listening to music, writing tech articles
Many people asked me to repair their mobile phones so I have a lot of experience in mobile phone repair, and I know a lot about Android or Apple phones.
Free Online Photo Compressor
Hot Articles
 /
/
INTERESTINGDULL
/
SIMPLEDIFFICULT
Thank you! Here' re your choices:
Excellent
Rating: 4.7 / 5 (based on 60 ratings)
Free Online Photo Compressor
