FoneDog Screen Recorder
FoneDog Screen Recorder
Special Offer
Special Offer


By Nathan E. Malpass, Last updated: May 10, 2018
"My cousin advised me to start backing up photos on my iPad. While I don’t mind the time and effort involved in creating backups, I haven’t started yet because I don’t know the best way to backup photos. I am hoping your expert advice can help me out. Thanks."
We will introduce you to the best way to backup photos in the following article.
Part 1. Why Backup Photos Part 2. FoneDog Toolkit: The Best Way to Backup PhotosVideo Guide: How to Selectively Backup PhotosPart 3. Other Options for Backing Up PhotosPart 4. Conclusion
People Also ReadBackup iPhone to ComputerHow to Backup Music to iCloud?
iPhones are known for their exceptionally powerful camera. It won’t be surprising then if you use yours all too often to take photos and videos. In this case, it is a must that you back up your photos. You will never know when you would actually need your backup.
It may be a week or a year from now. Here’s what you should know: Data loss excuses no one. Tapping the delete button by mistake or a failed update can both cause you to lose files. Imagine losing all your photos in a blink of an eye.
Images serve as a collection of cherished memories, so losing them would surely frustrate anyone.
That’s where backups come in. By backing up your photos, you create a copy of them. There are many ways you can do that. You can manually transfer photos from your device to your PC or a USB flash drive.
You can even upload your photos to Flickr, Pixabay, and Facebook. These are all acceptable means of backing up, but surely there are better and quicker ways to do that. We’ll explore those methods in this post.
If you want to back up your photos, you should do it with the most convenient and effective way there is. That’s by using FoneDog iOS Data Backup and Restore. Unlike other means of backing up, there is no limit to the number of files or size you can back up.
The software saves backups on the computer. This means that the only constraint there is would be your computer’s memory capacity. We highly doubt your files won’t fit on your computer. If your iPhone’s internal memory can keep all your data then more so your PC.
You can even encrypt your backup, so only you can lay eyes on your photos. In case you want to know, all photos are backed up in their original resolution.Restoring backups with FoneDog is very easy too. Several clicks would get your files back to your iPhone. That’s without erasing a single file on your phone. Sounds interesting? It is. Download FoneDog iOS Toolkit now to start backing up your pictures.
Launch FoneDog iOS Toolkit and connect your iPhone or iPad to the computer. Choose iOS Data Backup & Restore from the list of options.
To back up your photos, choose iOS Data Backup. The software will present you with two options.
Select Standard Backup for an ordinary backup. If you want to secure your backup with a password, hit Encrypted Backup instead.
When you have made your choice, click Start.

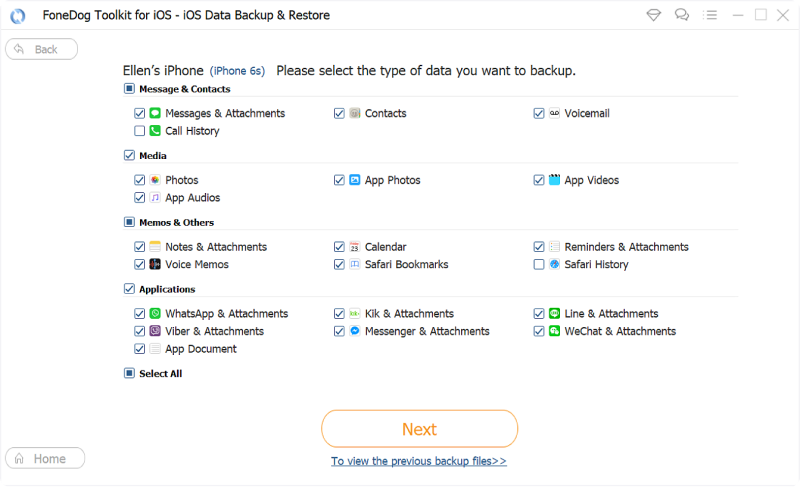
Supported file types will now appear on the screen. Tick Photos and App Photos.
You may also mark the other file types that you want to back up as well. When you’re done choosing, click Next. The backup will begin shortly.
As the software is backing up your iPhone or iPad’s photos, do not unplug your device from the computer.
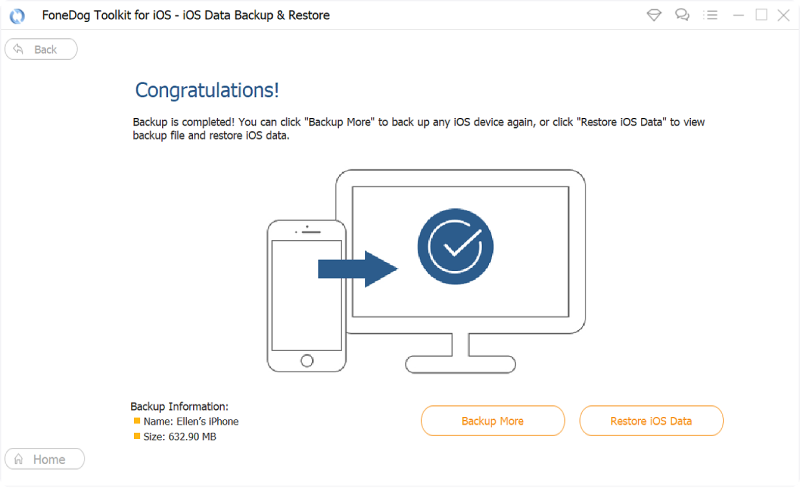
Wait until you see a message on the screen saying that the backup is complete.
On the other hand, if you wish to restore your backup in the future, launch FoneDog iOS Toolkit > iOS Data Backup and Restore > iOS Data Restore.
iCloud offers a free 5GB storage. If you keep many photos, you would know that 5GB is not enough. Luckily, you can buy more iCloud storage. There are plans for 50GB, 200GB, and 2TB, which come with a minimal cost. It’s up to you to see if it’s worth it.
The good thing is iCloud can automatically back up your photos. You just need to enable the service, and you’re good to go. Here’s how.
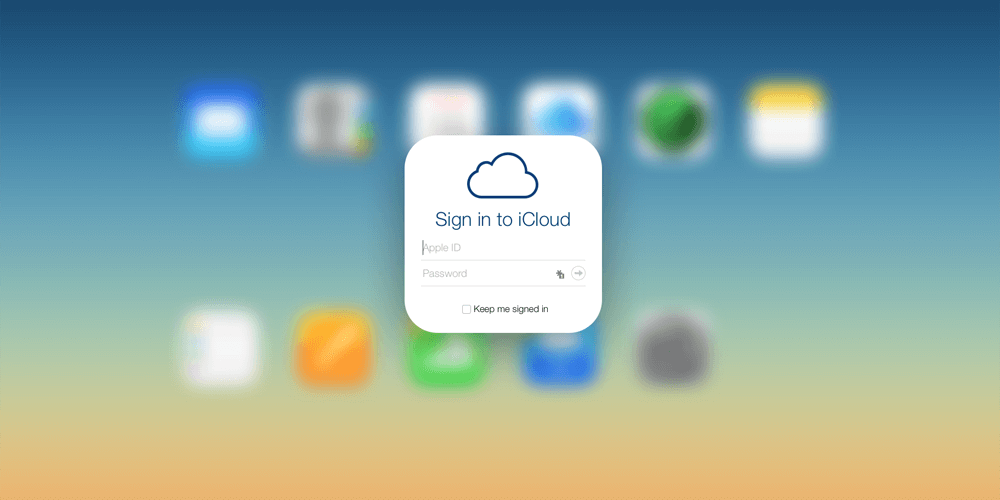
Head to Settings > [Device name] > iCloud. If you have not signed it yet, enter your Apple ID and password to proceed.
Tap Photos and slide the toggle next to iCloud Photo Library to the right to turn it on.
By default, your original photos with its original resolution are uploaded to your iCloud Photo Library and the same stays on your device. If you activate Apple’s optimize storage feature, space-saving versions of your images remain on your phone or tablet.
This way, you can have more memory space for new photos. To enable the feature, follow the steps to activate iCloud Photo Library and tap on Optimize [device] Storage.
You can also use iTunes to back up your photos on your computer. However, there is no way you can back up your photos alone. iTunes perform a complete backup of iOS devices. Likewise, it only allows you to restore the entire backup. You should know that restoring your backup will wipe off existing data on your device. You must restore backups with caution. It is also important to back up regularly, so you have even your most recent files covered
To get started, check if you have the latest version of iTunes. For Windows computers, click Help > Updates. For Mac, press iTunes from the menu bar > Check for updates. Follow the on-screen instructions to install any available update.
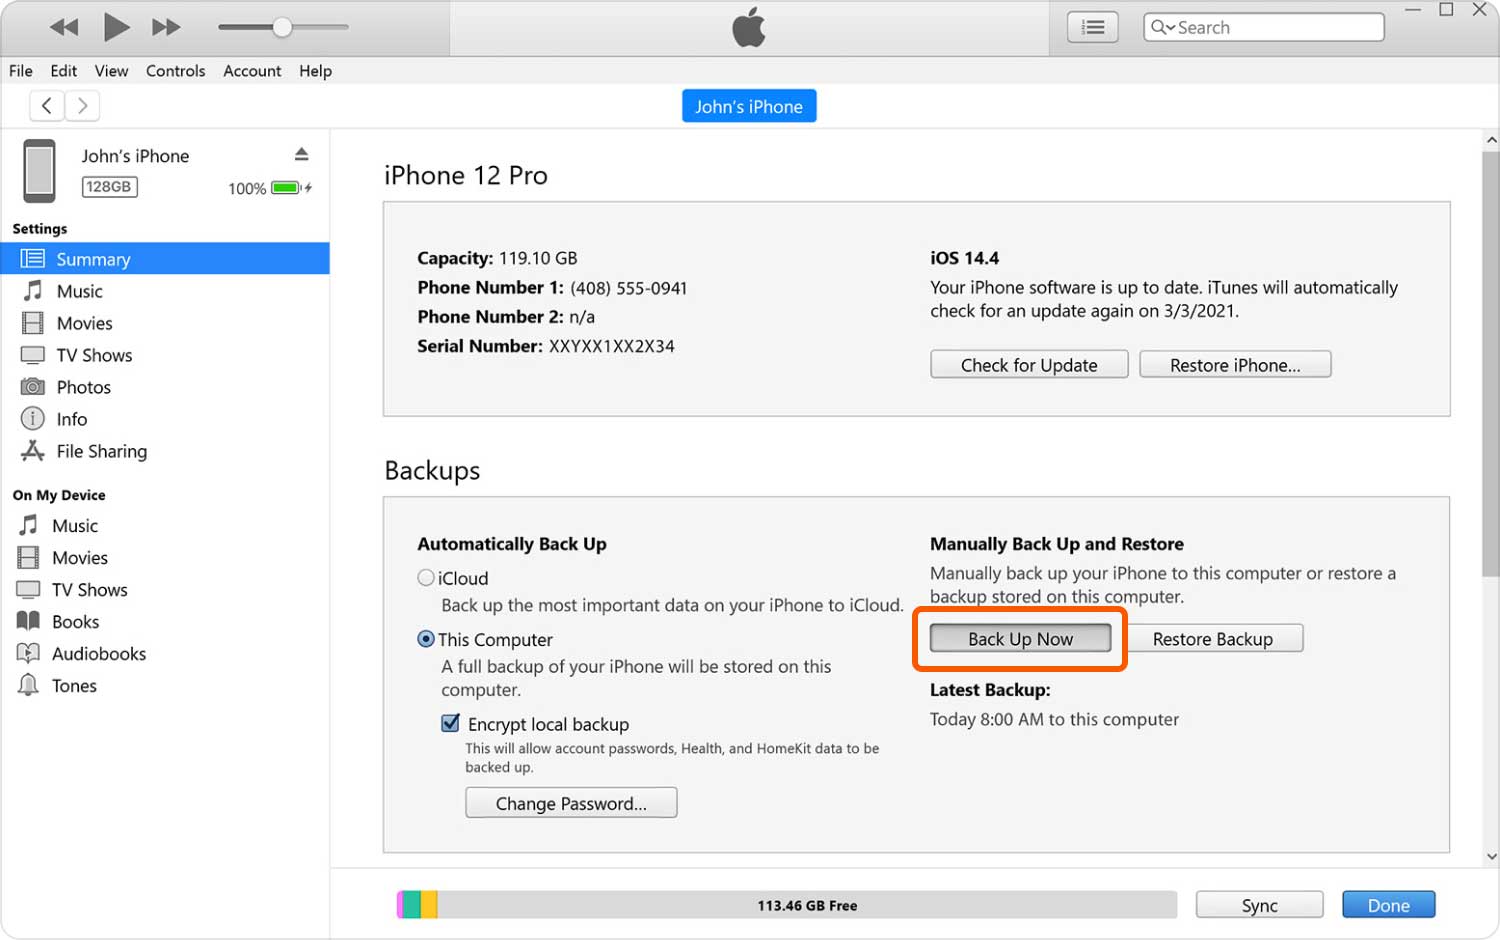
Connect your device to the computer. Run iTunes and wait for your device to appear in the window. Click on the icon once it appears.
From the left tab, click Summary.
Mark This computer under the Automatically Back Up section. This will activate the auto backup feature of iTunes. This would mean that every time you plug in your device, a backup would be created. Nevertheless, you can still back up your device manually at any time you want.
Since this is your first time to back up your device via iTunes, you must initiate the backup yourself. Click Back Up Now to begin.
Here’s a word of warning:
If you’re planning to restore your backup in the future, make sure to disable the automatic backup feature first before you connect your device to the computer.
There are a variety of best ways to backup photos. Each method has its own fair share of advantages and disadvantages. However, FoneDog iOS Data Backup and Restore offers the most benefit.
We do recommend doing more than one backup method. Why not do all three ways that we have presented in this post? This will ensure that you’ll have your photos back no matter what. It’s better to be safe than sorry, right?
Leave a Comment
Comment

iPhone/Android Devices’ Maintenance Expert
Staying home, listening to music, writing tech articles
Many people asked me to repair their mobile phones so I have a lot of experience in mobile phone repair, and I know a lot about Android or Apple phones.
iOS Data Backup & Restore
Back up your data to PC and selectively restore iOS data from backups.
Free Download Free DownloadHot Articles
 /
/
INTERESTINGDULL
/
SIMPLEDIFFICULT
Thank you! Here' re your choices:
Excellent
Rating: 4.6 / 5 (based on 64 ratings)
