FoneDog Screen Recorder
FoneDog Screen Recorder
Special Offer
Special Offer


By Nathan E. Malpass, Last updated: August 23, 2019
For most people, music is of great importance. The music that they have downloaded from different platforms cannot be lost because it is hard and time-consuming to find and install that music again. Then what should they do if they want to change their phone and at the same time move the music from their old phone to the new phone?
If you are one of these people, then this article is definitely writing for you. This post mainly introduces an easy guide on how to transfer Android music to iPhone. After reading this article, I am sure you will receive a lot.
Part 1. Move Your Android Music to iPhone Using Phone TransferPart 2. Manually Move Your Android Music to Your iPhonePart 3. Conclusion
FoneDog Phone Transfer is a wonderful tool for users to move their files from one device to another. It can also be used to transfer your Android music to iPhone. Here are the specific steps.
First of all, you have to download this free software—FoneDog Phone Transfer on its official website. Then you need to connect your Android to your PC using a USB cable. After it is connected to your computer, Phone Transfer will detect your Android automatically and display the details on the interface.
On the left side of this software, you may see Home, Photos, Music, Videos, Contacts, Messages, and Toolbox. Choose Music and preview all the songs on your phone. Then you could decide to transfer the songs that you wish to move to your iPhone. Under such a category, you are able to view the song name, its created time, the size of the song and other information related to the music.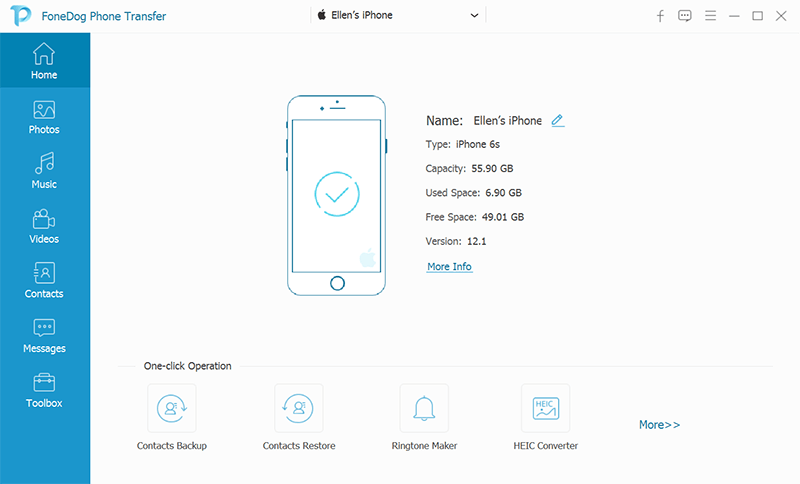
After you see all the songs, you could select the songs you like and move them to your iPhone. You are free to choose all songs or just select some songs to transfer.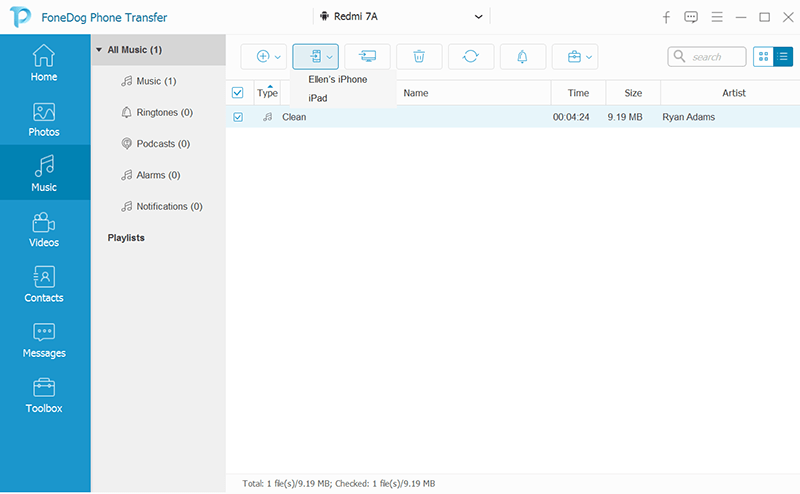
After selecting the songs to transfer, all you have to do is just to wait for a while. The waiting time depends on the number and size of the songs you wish to transfer. When the process complete, Phone Transfer will inform you. Then you could just open the Music in your iPhone to see whether your songs in Android are transferred to your iPhone or not.
The most simple way for you to transfer music from Android to iPhone is to move them one by one. That is to say, you have to move this music manually. Under this method, you have to use a computer and iTunes. Below are the details of this method.
Step 1: You have to connect your Android phone to the computer first. And you need to find out all the music on your Android device. Usually, you can find those music data in Music.
Step 2: After the first step, you are free to choose the songs that you would like to transfer and then drag these songs to a certain folder. The folder can be an existing folder on your computer, or you could just create a new folder.
Step 3: As long as you have chosen the music which you want to move, you can disconnect your Android from your computer. Then connect your iPhone to the same computer.
Step 4: After you iPhone is connected with your computer, you have to open the iTunes in your computer. Then click on the Library in order to find Music.
Step 5: Then you could just open the folder which has the songs you have dragged into. Drag those songs from the folder to the Music in iTunes.
Step 6: Then you have to select Music on your iPhone. Here you are free to select to sync all songs or just sync certain songs.
Step 7: Just click Sync and wait for the whole process to be finished. The process may be long or short, which depends on the size of your songs.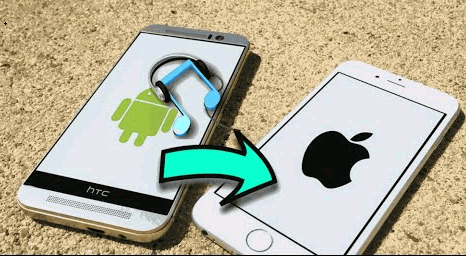
Above are two methods for you to transfer your music from Android to iPhone. The FoneDog Phone Transfer is quite useful and it can save you a lot of time. It is a good choice for people who are strange with iTunes and for people who would like to save their time to transfer music. So here we strongly suggest you try FoneDog Phone Transfer. It is the most useful and popular software which can help you transfer your music and other data or files from one device to another device. Go to the website of FoneDog and download Phone Transfer right now. We are sure that you may find a new world there!
Leave a Comment
Comment

iPhone/Android Devices’ Maintenance Expert
Staying home, listening to music, writing tech articles
Many people asked me to repair their mobile phones so I have a lot of experience in mobile phone repair, and I know a lot about Android or Apple phones.
Phone Transfer
Transfer data from iPhone, Android, iOS, and Computer to Anywhere without any loss with FoneDog Phone Transfer. Such as photo, messages, contacts, music, etc.
Free DownloadHot Articles
 /
/
INTERESTINGDULL
/
SIMPLEDIFFICULT
Thank you! Here' re your choices:
Excellent
Rating: 4.6 / 5 (based on 67 ratings)
