FoneDog Screen Recorder
FoneDog Screen Recorder
Special Offer
Special Offer


By Gina Barrow, Last updated: August 27, 2019
If you want to create a slideshow on your Mac, you can do so using several methods. Whether you want to create one for a work presentation or for a birthday celebration, you can easily create your own. In this passage, two useful methods are introduced. One is creating a slideshow by using the Mac Finder, the other is creating a slideshow by using the Preview. Before the methods are shown, let's learn about a quick tip on how to find out and delete the duplicate images on Mac, which will take up much storage and affect your Mac's running.
Quick Tip on Using FoneDog PowerMyMac – Similar Photo2 Methods on How to Make A Slideshow on MacLet's Wrap It Up
People Also ReadHow to Fix iTunes Error 360017 Reasons Why Your Mac Running Slow!
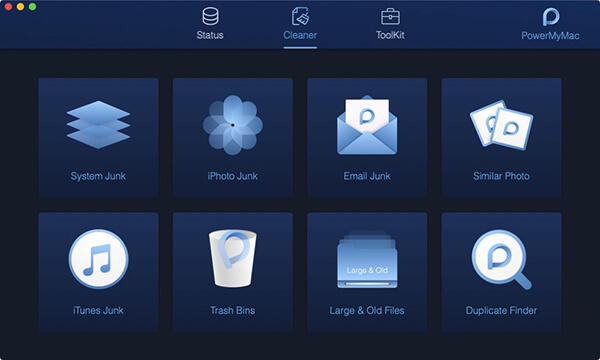
Since you are creating a slideshow on your Mac, you might have several duplicates or those that you no longer need. In such instances, it is recommended to use a tool that removes similar or duplicate photos on your device. A suggested tool is FoneDog PowerMyMac – Similar Photo.
Generally, images can eat up a lot of space on your device. For some, they have several copies or duplicates for each photo that have different file names and sizes. This is where FoneDog PowerMyMac – Similar Photo will come in handy. This tool can efficiently find and clean similar photos on your Mac.
After creating your slideshow on your Mac, you might have some leftover duplicate photos. Let us take a close look at the steps on using FoneDog PowerMyMac – Similar Photo to remove duplicate photos to free up space.
Depending on the reason why you need a slideshow, there are various ways on how to make a slideshow on Mac.
Once you decide to create a slideshow on your Mac, you might be surprised to find out that the Finder in Mac OS X has an in-built instant image slideshow feature. Generally, it is a component of Quick Look which has been around for some time, but a less known feature that is ideal if you want to showcase a batch of photos. In addition, it is a good choice if you want to display a single photo in full screen without requiring you to open an application such as Preview.
Let us take a close look at the tricks when using Mac Finder.
The initial move is to choose a photo or batch of photos from your desktop and utilize the following:

Generally, the zoom features are separate from the slideshow. You must enable them for the features to work which is easy to do in devices with OS X Mountain or Maverick. You can activate the features with a keyboard shortcut.
For those who have previous versions of OS X, you can enter a limited slideshow via Quick Look by using the Command+Option+Y. Remember that this does not offer all the features added in the Lion or Mountain Lion OS, but you will surely enjoy a good slideshow.
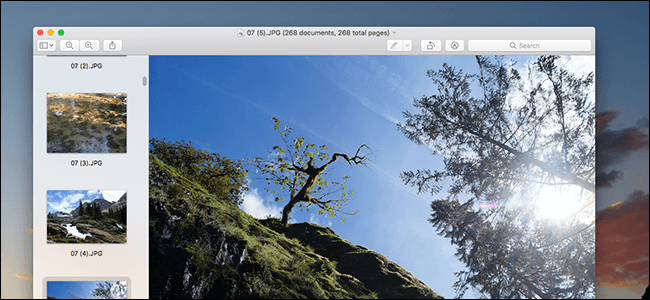
Another option on how to make a slideshow on Mac is using Preview. When you double-click on a photo in the Windows file browser, you can easily use the arrow keys to view all photos in that folder. As for Mac users, when a photo in Preview is opened, nothing happens when pressing the arrow keys. Generally, this is the reason why it is hard to enjoy a quick view of the slideshow.
Although you can effortlessly create a slideshow using Photos, it only displays the photos that you have imported there. You can even press on Spacebar to view the images on Quick Look, but you cannot do so in a full-screen slideshow view.
Let us take a close look at how to use Preview to create a slideshow.
There are instances in which a series of images open in several windows. This can be prevented by tapping on Preview > Preferences in the menu bar and go to the “Images” tab.
At the side of “When opening files”, you have to check “Open groups of files in the same window”. By doing this, your slideshow will include all the photos that you have chosen.
Creating your own slideshow on your Mac is a simple process. With the methods on how to make a slideshow discussed above, simply choose one that you prefer.
Once you are done with your slideshow, do not forget to remove any leftover duplicate or similar photos from your slideshow project. With the help of FoneDog PowerMyMac, it can efficiently find and remove any unwanted similar photos to free up space on your Mac.
Leave a Comment
Comment

Technical/Creative Writer
Kitchen, my safe space; black, my favorite color
Was a Technical Specialist for a while, troubleshooting Smartphone and Software-related issues until a writing stint caught my attention.
Hot Articles
 /
/
INTERESTINGDULL
/
SIMPLEDIFFICULT
Thank you! Here' re your choices:
Excellent
Rating: 5.0 / 5 (based on 1 ratings)