By Adela D. Louie, Last updated: December 13, 2023
Ever wished to capture that perfect moment during a presentation, highlight a crucial step in a tutorial, or immortalize a gaming triumph? Look no further! This article serves as your passport to unlock the full potential of how to record screen Windows 7.
Unveil the secrets of seamless captures, discover hidden features, and learn step-by-step techniques to transform your interactions with the digital realm. Whether you're a novice or a tech enthusiast, our purpose is to guide you effortlessly through the process, ensuring that every screen recording is not just a moment but a masterpiece.
Part #1: Benefits of Screen Recording on Windows 7Part #2: Different Methods on How to Record Screen Windows 7Part #3: Top Tool to Record Your Windows 7 Screen – FoneDog Screen RecorderConclusion
Part #1: Benefits of Screen Recording on Windows 7
Being able to record screen Windows 7 can be useful for various purposes. While Windows 7 is an older operating system and may not have built-in screen recording features like more recent versions of Windows, you can still use third-party software to achieve screen recording. Here are some benefits of screen recording on Windows 7:
- Create Tutorials and Demonstrations:
- Screen recording is an excellent way to create tutorials and demonstrations. You can record your screen while explaining a process or demonstrating how to use a particular software or application.
- Training and Education:
- For educational purposes, screen recording can be used to create training videos or online courses. Teachers and trainers can record lectures, presentations, or demonstrations for students.
- Troubleshooting and Tech Support:
- Screen recording can be a helpful tool for troubleshooting and tech support. Users experiencing issues with their software or systems can record their screen to show technical support exactly what problems they are encountering.
- Software Testing:
- Developers and QA professionals can use screen recording to document software bugs and issues. This can be particularly useful for capturing intermittent bugs that are challenging to reproduce.
- Gaming and Streaming:
- Gamers can use screen recording to capture gameplay and share it with others. Additionally, content creators can use screen recording to create streaming content for platforms like Twitch or YouTube.
- Presentation and Collaboration:
- Professionals can use screen recording for presentations and collaborative work. This is especially useful for remote teams, allowing members to record and share presentations, software demos, or project updates.
- Documentation and Archiving:
- Screen recording provides a visual record of activities on your computer. This can be useful for creating documentation or archiving a process for future reference.
- Personal Productivity:
- Individuals can use screen recording as a personal productivity tool. For instance, you can record your screen while working through a complex task, creating a visual reference for yourself or others.
- Review and Feedback:
- Screen recording is an effective way to provide feedback on designs, documents, or any digital content. It allows reviewers to visually demonstrate their comments and suggestions.
- Capture Live Events:
- If you want to capture a live event or webinar, screen recording can be a convenient way to record the entire session for later viewing or sharing.
While Windows 7 itself may not have a native screen recording feature, there are third-party tools available that you can install to achieve screen recording functionality on this operating system. Always make sure to use reputable software from trusted sources to ensure the security of your system.
Part #2: Different Methods on How to Record Screen Windows 7
In Windows 7, since there isn't a built-in screen recording feature, you'll need to use third-party applications to capture your screen. Here are a few methods on how to record screen Windows 7:
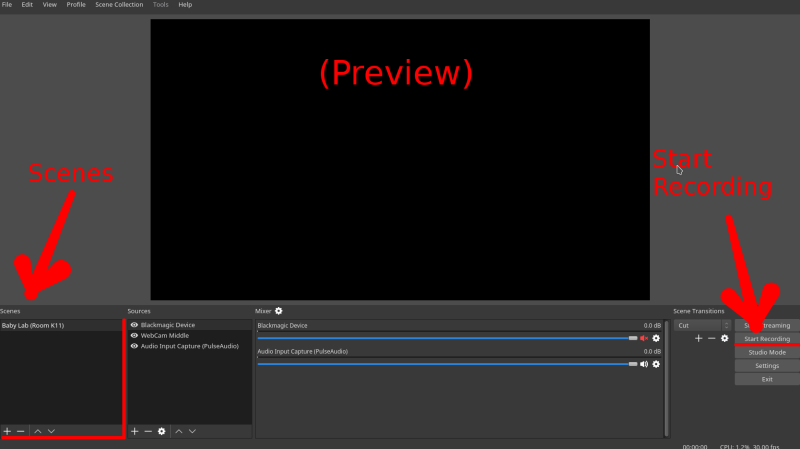
Method #1: OBS Studio (Open Broadcaster Software):
- Begin by navigating to the OBS Studio website at https://obsproject.com/ to access the application. Proceed to download the installer from the site.
- Once the installer is downloaded, proceed to install OBS Studio on your Windows 7 computer.
- Open OBS Studio and navigate to the "Settings" tab. Within the "Output" section, designate your preferred recording format, such as MP4. In the "Video" subsection, configure the base resolution to match your screen resolution.
- To add a source, locate and click on the "+" icon under the "Sources" menu. This can include options like Display Capture or Window Capture, depending on your recording needs.
- Adjust the settings as necessary to meet your requirements. When ready to commence recording, click on the "Start Recording" button.
- Upon completion of your recording, click on the "Stop Recording" button to conclude the capture process.
- Your recorded video will be automatically saved to the location specified during the configuration process.
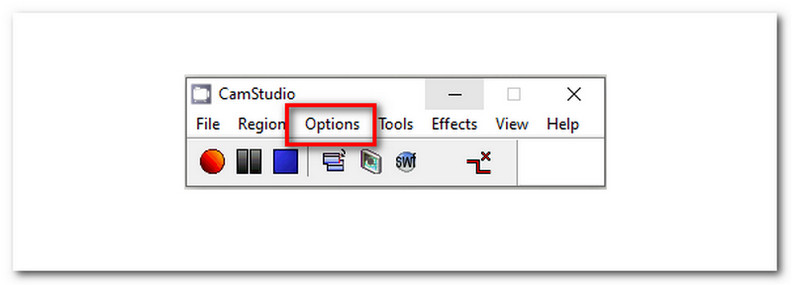
Method #2: CamStudio:
- To begin the process, it is recommended to obtain CamStudio software by accessing the official website. Please proceed with the installation of the program on your Windows 7 operating system.
- Once the CamStudio software has been installed, users can proceed to run the program and access the "Options" area. In this part, users are able to adjust and configure various options based on their own tastes.
- Choose the particular location you like to capture, whether it encompasses the full screen or a specifically selected area as per your preference.
- To begin the recording procedure, the user should choose the "Record" button located on the CamStudio interface. After the completion of your recording, it is essential to ensure that the file is saved in the place of your choice.
- In order to finish the recording session, it is necessary to find and click on the Stop button, so effectively ceasing the recording process.
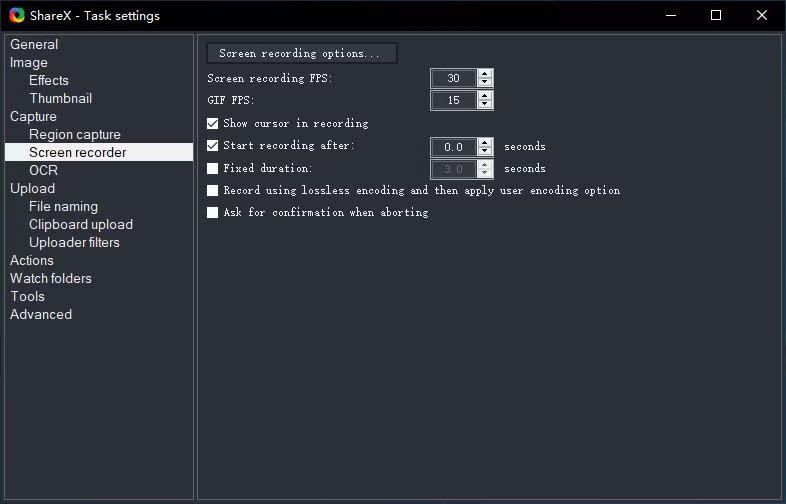
Method #3: ShareX:
- First, acquire ShareX by visiting its official website. Subsequently, proceed to install the software onto your Windows 7 machine.
- Launch ShareX and navigate to the "Task Settings" section. Within the "Screen Recorder" settings, tailor configurations to your preferences, such as choosing the video codec and setting hotkeys.
- Initiate the recording process by pressing the designated hotkey that you have configured.
- Choose the specific region or window you wish to record.
- Conclude the recording session by pressing the hotkey once more, thereby stopping the recording.
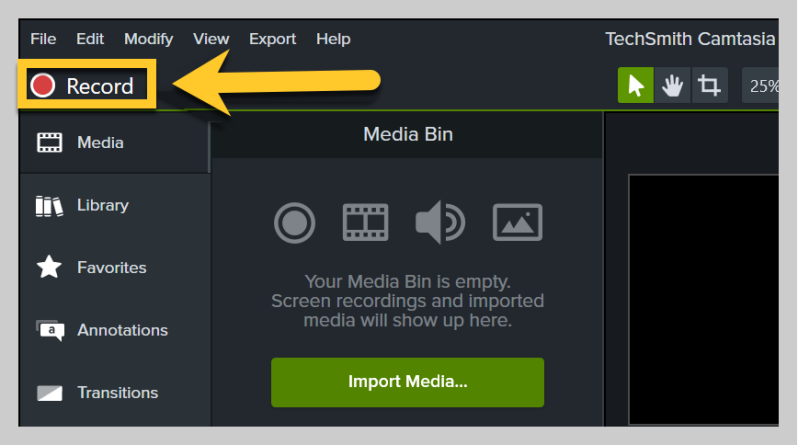
Method #4: Camtasia (Paid Software):
- First, download Camtasia from the official TechSmith website. After the completion of the download process, proceed with the installation of the program on your Windows 7 operating system.
- To initiate the Camtasia software, access the application and proceed to the menu containing several choices. Within this menu, locate the option labeled "Record" and proceed to choose it. During this stage, it is necessary to clearly define the specific region or window that will be targeted for capture in the next recording session.
- To commence the recording procedure, the user should activate the recording function by selecting the relevant "Record" button located inside the Camtasia interface. This action denotes the beginning of the screen-capturing process.
- In order to finish the recording session, it is necessary to locate and click the stop button that is positioned in the Camtasia toolbar. This step successfully interrupts the recording process and readies the obtained material for further editing purposes.
- To begin the post-recording process, proceed by entering the Camtasia editor. In this context, users have the ability to make essential revisions or improvements to the recorded material prior to preserving the ultimate rendition. It is important to properly save your altered recording within the Camtasia editor for future reference or sharing purposes.
Remember to check the documentation for each software for more detailed instructions and troubleshooting tips. Additionally, ensure that you have the necessary permissions and rights to install and use third-party software on your Windows 7 computer.
Part #3: Top Tool to Record Your Windows 7 Screen – FoneDog Screen Recorder
FoneDog Screen Recorder is a third-party screen recording software designed for Windows 7, 11 and Mac systems. It provides a simple and user-friendly way to capture and record activities on your computer screen. Here's an introduction to FoneDog Screen Recorder and how to use it to record screen Windows 7:
 Free Download
For Windows
Free Download
For Windows
 Free Download
For normal Macs
Free Download
For M1, M2, M3
Free Download
For normal Macs
Free Download
For M1, M2, M3
How to Make Use Of It:
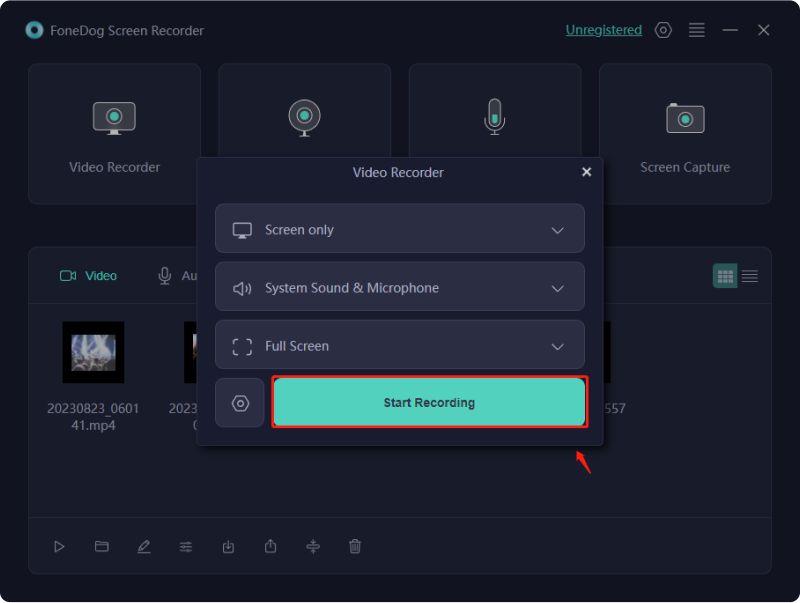
- Go to the FoneDog Screen Recorder website and get the software for your Mac or Windows computer. To put the program on your computer, follow the steps given. Startup FoneDog Screen Recorder after the installation is done.
- Set the recording area, audio sources (such as the system sound and microphone), and video file that you want to use.
- To record your screen, click the "REC" button. If you click on the right buttons, you can pause or end the recording at any time.
- If you want to add notes, writing, or shapes to your video after you've recorded it, you can use the built-in editing tools. You can also trim and cut out parts of the clip that you don't want.
- Save the video to your computer in the format you want once you are happy with the recording and any changes you made. You can also upload the recording straight to sites like Google Drive, YouTube, or Vimeo if they allow it.
- Use FoneDog Screen Recorder's scheduling tool to set up clips to happen at certain times. You can set the software to record regularly at certain times, such as when you start and end each session.
This freely-try screen recorder can capture screen activity for lessons, webinars, software difficulties, and more. Its simple interface and features make it ideal for beginners and experts.
People Also Read2023 Beginner's Guide: How to Record Video on MacUser-Friendly Guide 2023: How to Screen Record on Windows 10
Conclusion
Knowing how to record screen Windows 7 is crucial for effective communication, tutorials, and troubleshooting. It enhances collaboration, simplifies complex processes, and preserves valuable content. Embrace the power of screen recording to amplify your digital presence, share knowledge seamlessly, and elevate your Windows 7 experience. Harness the screen, unleash potential.


 /
/
