FoneDog Screen Recorder
FoneDog Screen Recorder
Special Offer
Special Offer


By Gina Barrow, Last updated: December 29, 2021
“Learn the most ideal option on how to transfer photos from iPhone to PC with iTunes in this new article”
Ask any iPhone users what’s the one thing that hogs their iPhone's storage and for sure they will answer that it’s their photos. Photos are in fact, one of the biggest space eaters along with videos and other media files.
We all are guilty of this, because hey, the iPhone camera is packed with amazing features that hook you up on capturing whatever is in front of you. Plus, you can always move the photos from your iPhone to another device for safekeeping.
You can easily move the pictures any time you need more space on the iPhone. Today, let’s find out how to transfer the photos from your iPhone to your PC with iTunes. Read along to find out!
Part 1. How to Transfer Photos from iPhone to PC with iTunesPart 2. Transfer Photos from iPhone to PC in One ClickPart 3. How to Transfer Photos from iPhone to PC via Windows Explorer and AutoplayPart 4. Summary
Apple’s official way for content management is iTunes. You can basically do a lot of things with iTunes from getting the coolest music and TV shows to backing up your iOS device, fixing the iPhone, and down to transferring files for storage. Also, in this case, transfer photos from iPhone to PC.
There is also a compatible iTunes for Windows that you can download if you don’t have a Mac computer. You can find it in the Microsoft Store or from the Apple website.

Check out this guide on how you can transfer your photos from your iPhone to your PC:
Click Done when the transfer is complete. Remember that if this is the first time you do this transfer in iTunes, the process can take a while.
If you have thousands of pictures on the iPhone, it would probably take a while before the transfer is completed and you have to endure a lot of processes before you can even transfer. You might want to know how to transfer photos from iPhone to PC a bit faster?
Phone Transfer
Transfer files among iOS, Android and Windows PC.
Transfer and backup text messages, contacts, photos, video, music on computer easily.
Fully compatible with the latest iOS and Android.
Free Download

There is a better option that you can transfer all the iPhone photos in just one click. Use the FoneDog Phone Transfer tool to manage all the pictures effortlessly. This software is able to transfer all the images from your device quickly and even provides you with more options like transferring the files to another device such as Android and the computer.
FoneDog Phone Transfer offers a wide selection of transfer modes. It is very handy and easy to use, no need to have a technical background to use this tool. Check this guide:
On your PC with iTunes, download and install FoneDog Phone Transfer. Follow the quick installation procedure and then launch the software.
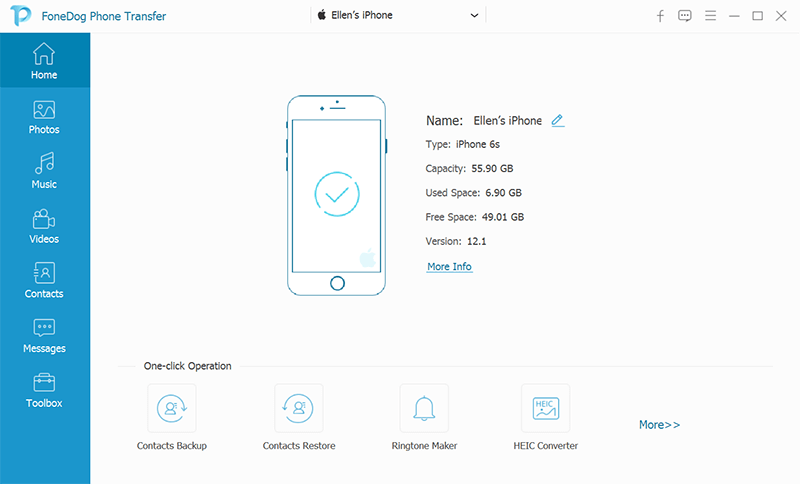
When FoneDog Phone Transfer is launched on the PC, connect your iPhone using a USB cable. The software will automatically detect your device and once recognized, your phone data is displayed on the screen.
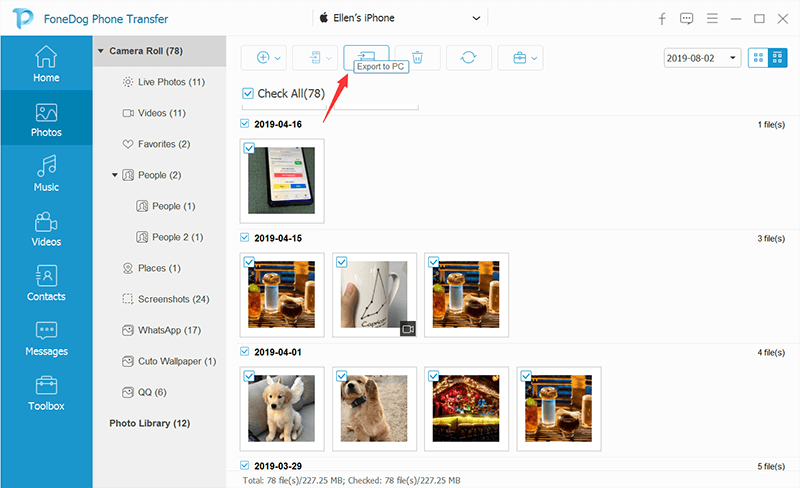
Click the Photos menu from the left side.
All the albums and folders from your iPhone will be displayed and you can have the option to Select All for transfer or selectively mark the photos you only desire to move.
Once you have decided what photos to move, find and click the Export to PC option from the main menu. The software will start transferring selected photos from iPhone to PC.
Wait for the process to be completed.
Now, apart from photos, FoneDog Phone Transfer also lets you transfer other content such as videos, music, contacts, and more. All these files can be moved to a different device or to the computer with great ease.
If iTunes provide you with a full content management service, Windows Explorer gives you more options. You can easily transfer different files to a PC as long as your device is recognized.
Follow this guide below on how to transfer photos from iPhone to PC via Windows Explorer:
Windows has a feature called Autoplay where it automatically plays whatever media device is connected to the computer. If this is enabled on your PC, you can practically transfer your photos with ease from the iPhone.
How to transfer photos from iPhone to PC with iTunes is easy. You just need to follow the steps carefully and off your pictures go. You can now enjoy the space freed from your iPhone.
iTunes for Windows is available and free to download from the Microsoft store or you can also get it from the Apple website. If you prefer using Windows Explorer, it’s fine as well. This built-in Windows feature gives you similar capabilities to iTunes.
But, the most powerful transfer option you can take advantage of is FoneDog Phone Transfer. This software gives you all the resources you need to make the transfer smooth. All you need is to download it on your PC and access it anytime.
People Also ReadA Quick Guide On How To Transfer Photos From iPhone To PC4 Ways to Transfer Music from Your Computer to Your iPhone
Leave a Comment
Comment

Technical/Creative Writer
Kitchen, my safe space; black, my favorite color
Was a Technical Specialist for a while, troubleshooting Smartphone and Software-related issues until a writing stint caught my attention.
Phone Transfer
Transfer data from iPhone, Android, iOS, and Computer to Anywhere without any loss with FoneDog Phone Transfer. Such as photo, messages, contacts, music, etc.
Free DownloadHot Articles
 /
/
INTERESTINGDULL
/
SIMPLEDIFFICULT
Thank you! Here' re your choices:
Excellent
Rating: 4.8 / 5 (based on 89 ratings)
