FoneDog Screen Recorder
FoneDog Screen Recorder
Special Offer
Special Offer


By Vernon Roderick, Last updated: January 2, 2024
Most of the time, we use SD cards to fill in for the insufficient internal storage of our phone, but that’s not all. We also use SD cards for other reasons. For one, you may be having trouble with managing your files, so you arranged to send some files to another place. It may also be that you want to switch to another phone and you will use an SD card for this.
Regardless of the reason for using SD cards, you will have to learn how to transfer pictures to an SD card, or any other file types for that matter. Here is another post about transferring photos from camera to iphone. With that said, let’s discuss how you can do this, starting with the equipment you’ll need to accomplish this.
Part 1. Everything You Need to Transfer Pictures to SD CardPart 2. Transfer Pictures to SD Card Before Taking the PicturePart 3. Final Words
Before we head to the methods on how to transfer pictures to an SD card, you first have to acquire the equipment needed to pull this off. Here’s a look at the materials you’ll need:
Once you have this equipment, then you will be truly ready to learn the methods of how to transfer pictures to an SD card. With that said, let’s start with the method that we recommend the most to users and perhaps the most effective method there is.
Without a doubt, transferring photos can be difficult, especially if you are suffering from issues on your device. And for that reason, many corporations developed their own software to help with the problem. While there are a lot of tools out there, we recommend FoneDog Phone Transfer the most.
FoneDog Phone Transfer is your typical phone transfer tool, except that the performance is top-notch. For one, it supports both the latest version of iOS and Android, and it updates itself whenever the two operating systems get an update. The software can transfer photos at top speed and it includes additional features as well. For example, it can teach you to easily transfer data from android to iphone. Here’s how you can use this tool:
Phone Transfer
Transfer files among iOS, Android and Windows PC.
Transfer and backup text messages, contacts, photos, video, music on computer easily.
Fully compatible with iOS 13 and Android 9.0.
Free Download

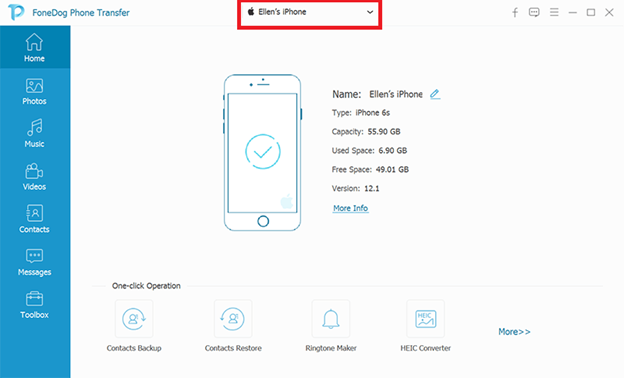
You have to first download and install the FoneDog Phone Transfer software on your computer. Once that’s done, open the software. Then, connect your phone to the desktop using a cable. This software will then automatically recognize the device that was connected to the desktop, showing the details about the device such as the used space, free space, and more.
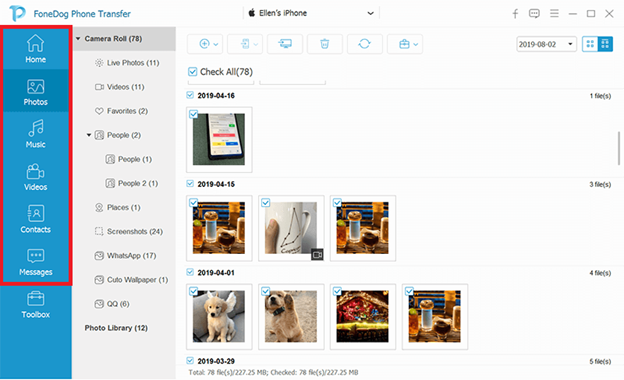
The next step involves locating the files to transfer. First, you have to select the file type from the left panel of the interface. You only have to select Photos since we’re going to transfer pictures to an SD card. Once that’s done, you will see a selection of items categorized in an orderly manner, with the directories seen on the left side of the selection pane.
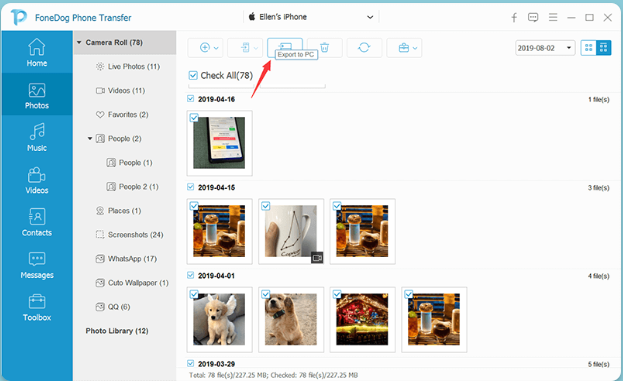
Find the picture that you want to transfer to your SD card. Simply navigate to the path where the picture is found, then click on the corresponding boxes of the items you want to transfer. Once you’re finished with the selection, click on the Export to PC button that can be found at the top of the selection pane.
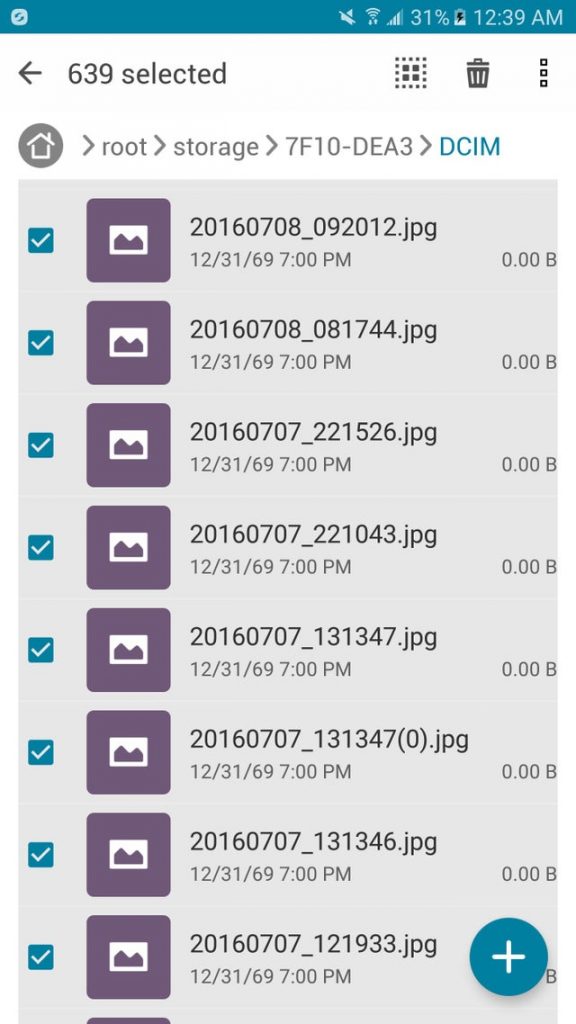
This is how you can use FoneDog Phone Transfer to transfer the pictures to your computer. Once you do this, you should then proceed to copy the files from your computer to the SD card. If you’re not fond of using third-party software, then here’s another worthwhile method to transfer pictures to an SD card.
A third-party software makes it more convenient since it will detect photos that you normally can’t find on your phone. However, if you’re not really facing any issues with your device, then do the transfer manually might be your best choice.
To do this, you only need your phone and the SD card from which the pictures can be found. Now let’s head to the steps that you will need to follow:
While Method 1 is the most effective and convenient, this method to transfer pictures to an SD card is the easiest since it only requires you to use your smartphone and no other equipment such as cables, computers, and more.
Of course, you can still do it using a third-party file manager app rather than the built-in File Manager app on your device. With that said, let’s head to our third and last method which doesn’t involve any third-party tools.
Our last entry in this article involves using your computer to transfer pictures to an SD card, but this time, it doesn’t require you to use the third-party software, as we’ve previously said. However, you do need to acquire a computer and either a cable or a card reader for this one. Let’s start with how you can do this with a cable:
This is how you can transfer pictures to an SD card. However, as we’ve said before, you can do it with an SD card, too. Such a method is usually used in the SD card does not appear in the removable disk. You can do this by following these steps:
While this is similar to Method #2, it’s actually a little bit different since you won’t have to use your smartphone for this method. For that reason, it is suitable in case you can’t use your phone properly due to some kind of error.
That sums up our three methods to transfer pictures to an SD card. Meanwhile, other users may find it troublesome to always do this whenever they want to transfer pictures to an SD card. And that’s why we have yet another recommendation for you.
Contrary to common belief, smartphone users actually have the option to set their SD card as the default location for pictures that they take using the camera or pictures that are downloaded. While downloading pictures prompts you to indicate where to save it, pictures from the Camera app do not. So here’s what you can do:
This will make the SD card the default location for pictures you take with the Camera app. This will make it easier for you if you intend to use your SD card to the fullest. That way, you won’t have to learn how to transfer pictures to an SD card every time.
People Also ReadHow to Transfer iPhone Photos to AndroidHow to Transfer Photos from iPad to Computer
There are lots of people in the world that have countless pictures on their phones, be it a professional, an influencer, or even a student. For that reason, it’s important to learn how you can manage those pictures. Fortunately, we have SD cards to make photo management easier, but that’s not enough.
We may, and we will end up facing issues with SD cards, such as being unable to transfer pictures. However, there are different ways to transfer pictures to an SD card. If you know this, you will be able to easily manage your pictures.
Leave a Comment
Comment

Technical Expertise for PC/Website Optimization
One of my passion is to develop software of my own
I write articles to share knowledge about IT technology and some experience in developing my own software, and developing my own software is one of my passions for work.
Phone Transfer
Transfer data from iPhone, Android, iOS, and Computer to Anywhere without any loss with FoneDog Phone Transfer. Such as photo, messages, contacts, music, etc.
Free DownloadHot Articles
 /
/
INTERESTINGDULL
/
SIMPLEDIFFICULT
Thank you! Here' re your choices:
Excellent
Rating: 4.7 / 5 (based on 72 ratings)
